White Water Rafting with Mimi


You are invited to share your creativity by linking up your crafty projects at the end of this post! Your project should feature Lawn Fawn stamps, dies, stencils and papers. This challenge will run for 2 weeks and be open until Sunday, August 20 at 11:59PM ET.

For each challenge, we will randomly select an entry to receive a $50.00 gift certificate to the Lawn Fawn shop! Everyone who enters a challenge has a chance to be the random drawing winner! Woohoo!

We will also be highlighting a few of your fabulous projects at the close of each challenge! By linking your projects to our challenges, you will give permission for us to post your work to this blog and our social media sites. Check out the How to Play page for a few guidelines to play along. We want this to be FUN, so we’ll keep the rules to just a few!

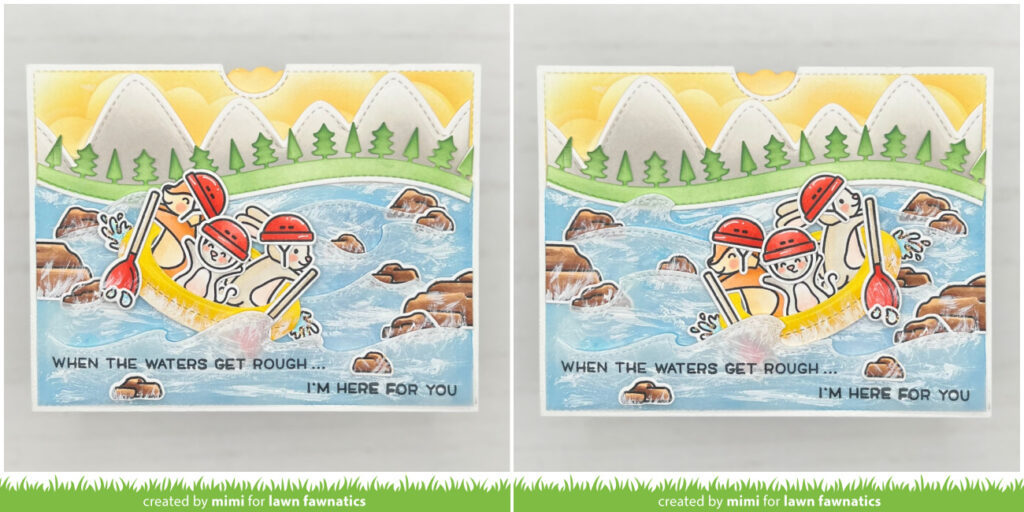
It’s the last weekend for the Into the Woods challenge and Mimi has a super fun idea to inspire you! Her interactive whitewater rafting scene is filled with fun and adventure!
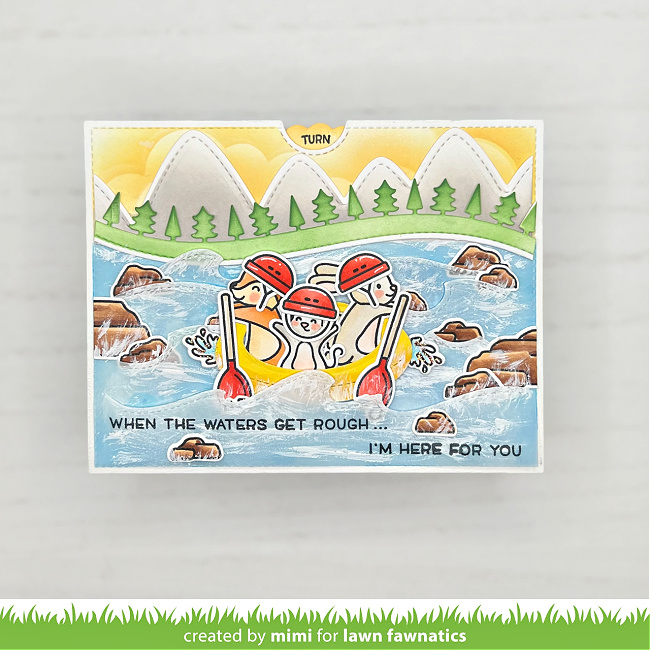

Mimi used the Reveal Wheel to add the fun interactive element to her card! She built her scene with stenciled clouds, Stitched Mountain Borders, Forest Border and Stitched Wave Borders. She used animals from Scootin’ By and You Autumn Know. The helmets are from Scootin’ By, the “paddles” are spoons from Baked with Love and the rocks in the river are from Mermaid for You, Ocean Shell-fie and Christmas Fishes. The raft is made using an altered Flamingo Floatie.

Here are Mimi’s step by step instructions:

I die cut 2 large stitched rectangle panels (top/bottom) and die cut a notch on top of each for the reveal wheel.

I masked all the edges of my top panel. I ink blended with distress oxide inks. The clouds were blended with Wild Honey at the top 1/3 of the panel. The rest, I ink blended with Salty Ocean.

I die cut the stitched mountain border, ink blended with Hickory Smoke and the forest border with Mowed Lawn and Rustic Wilderness.

Using a 5 3/8” x 3” piece of vellum, I die cut 4 stitched wave borders, carefully not cutting pass the ends, leaving about 1/4” in tact. I used white paint and brushed streaks to create water waves.

I stamped, colored and die cut all my images. The raft was made from the Flamingo Floatie, trimming off the head/neck and tail.

I placed the vellum on top of my top panel and die cut the arc-shape window (from the Reveal Wheel die set). I put the vellum piece aside and assembled the the reveal wheel mechanism along with the bottom panel. I also die cut 3 circles from the Flamingo Floatie die, glued them together and placed it on my wheel through the exposed arc-window.

I assembled the card by adhering the vellum piece first, then the mountains and the forest border. I glued the critters in the raft and attached it to the circle die on the reveal wheel. I then glued the paddles and the water drops/splatters to the raft. I randomly placed the rocks in between the wave borders. I used a few foam squares to ‘lift’ the bottom wave border up so the raft can move back and forth smoothly. Lastly, I also added some final touches of water waves on the rock with the white paint.

I stamped the ‘turn’ and the sentiment in Jet Black ink to finish the card, adding some sparkle glaze to the water drops/splatter for some interest.

Turn the wheel and watch the critters raft through some whitewater rapids on the river!

Thank you so much for this amazing inspiration, Mimi! Such a great way to close out the Into the Woods samples!

Supplies:

Featured Fawnatics and Challenge 129 Random Winner

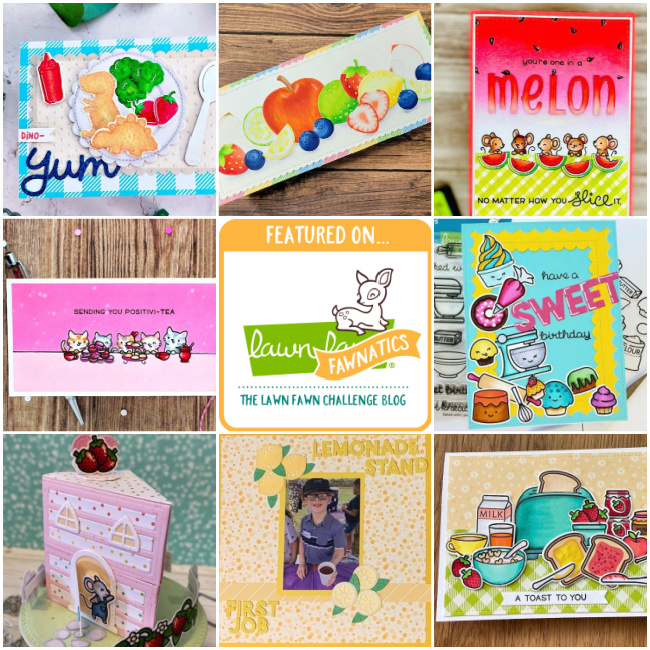
Hi everyone! The Fun with Food challenge gallery was filled with so many great ideas and wonderful designs! Be sure to check it out when you need some awesome inspiration! Thanks so much to everyone who shared your amazing creativity with us!


If you are one of our Featured Fawnatics today, we invite you to grab this badge to share on your blog or other social sites!


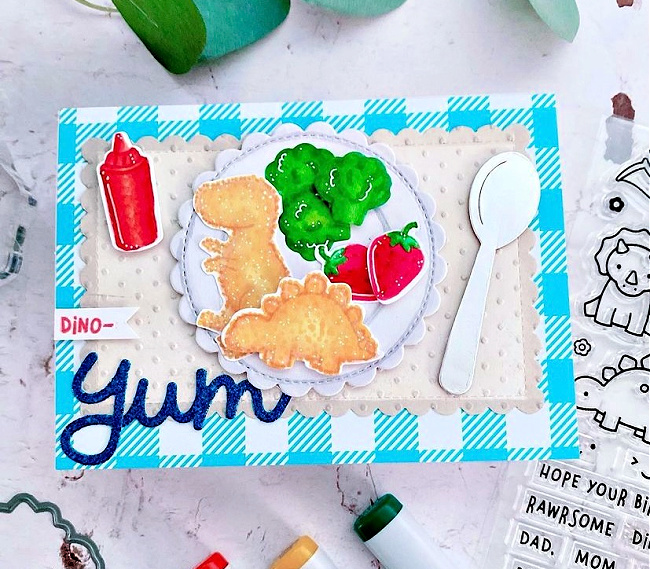
by Veronica
using Critters from the Past, RAWRSOME, Rooting for You, Summertime Charm, Let’s BBQ, Stitched Mug Frame, Scripty Joy, Scripty Hugs, Scripty Mine, Outside In Stitched Scalloped Circle Stackables, Outside In Stitched Scalloped Rectangle Stackables

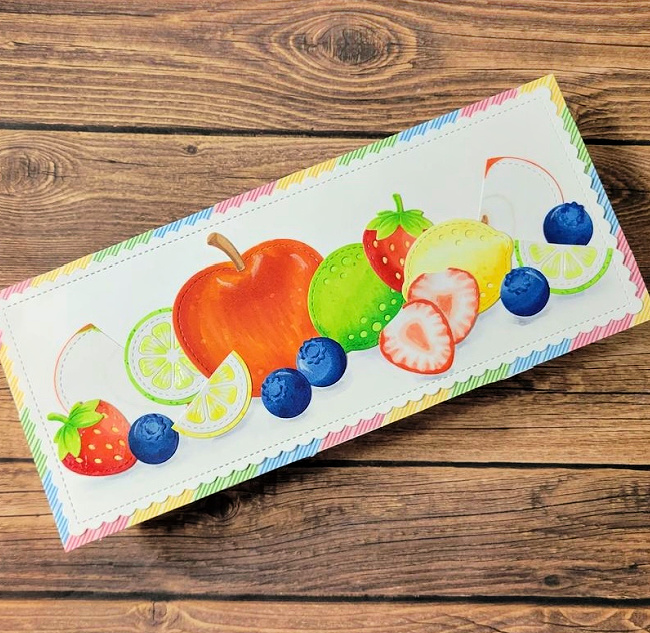
by Jessica
using Strawberry Patch, Zesty Lemon, Outside In Stitched Apple Stackables, Scalloped Slimline with Hearts: Portrait, All the Dots paper

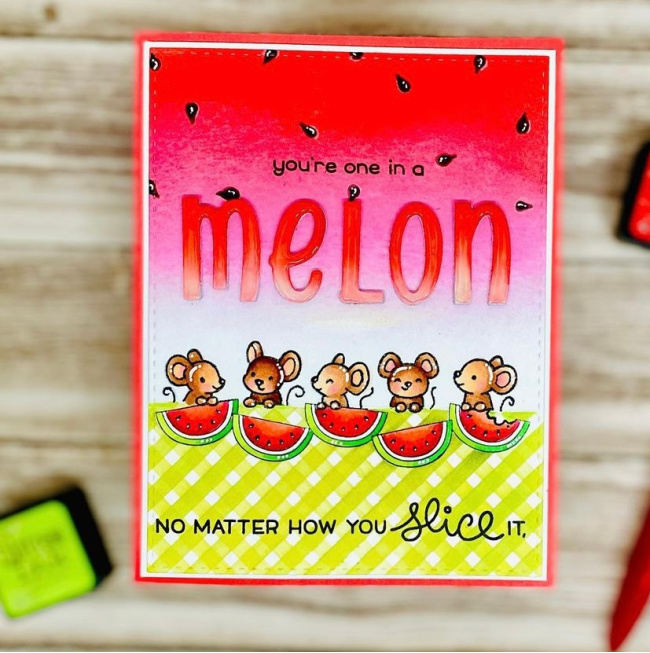
by Aiysha
using Simply Celebrate Critters, Simply Celebrate Summer, Henry’s ABCs, Skinny Stripes Stencils, Pizza My Heart, One in a Chameleon

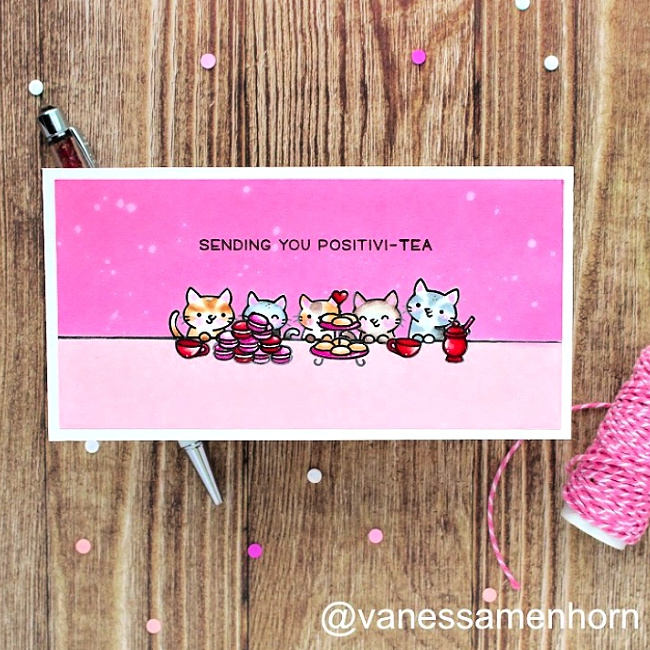
by Vanessa
using Simply Celebrate Critters, Tea-rrific Day

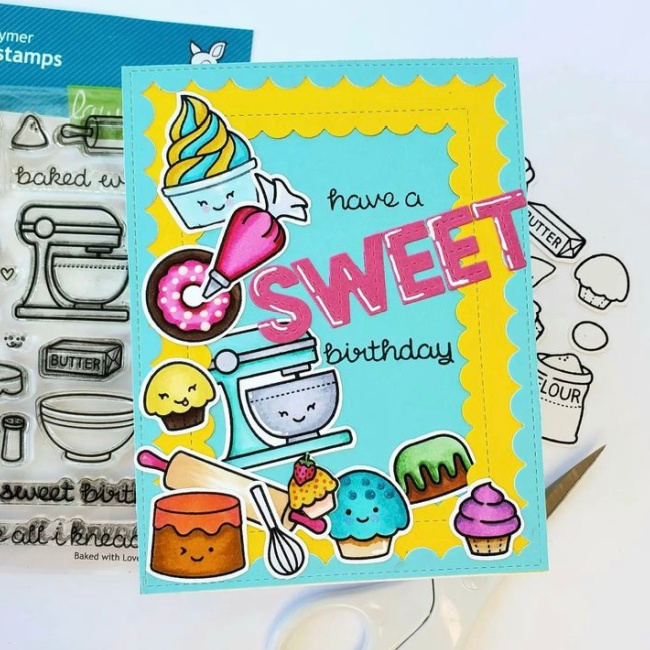
by Sweet T
using Sweet Friends, Baked with Love, Oliver’s Stitched ABCs, Reverse Stitched Scalloped Rectangle Windows

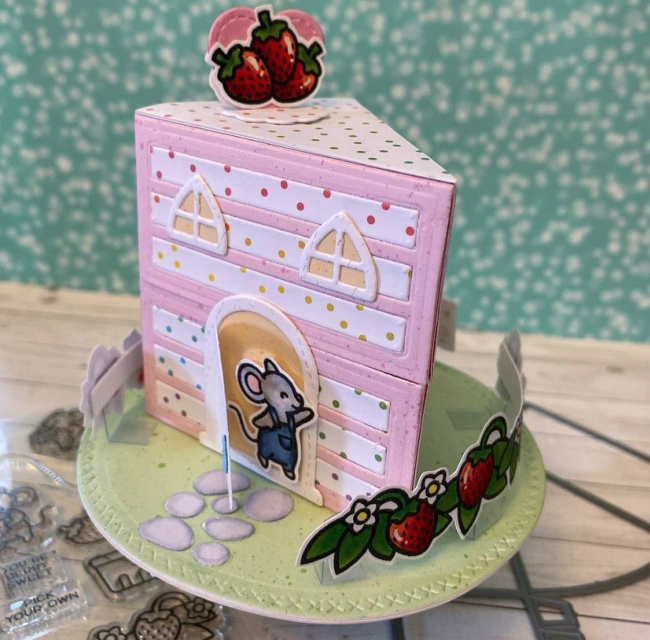
by Susan
using Cake Slice Box, Berry Special, Acorn House, Mushroom House, Cross-Stitched Circle Stackables

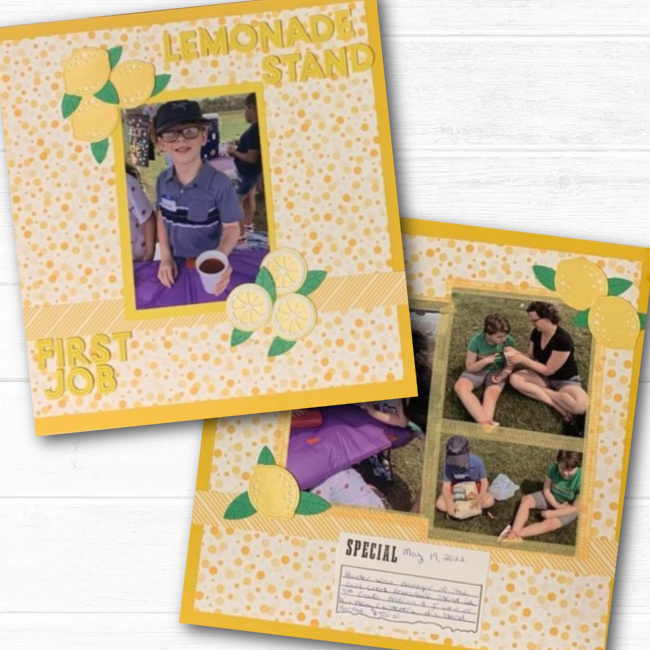
by Tera
using Zesty Lemon, Oliver’s Stitched ABCs, All the Dots collection

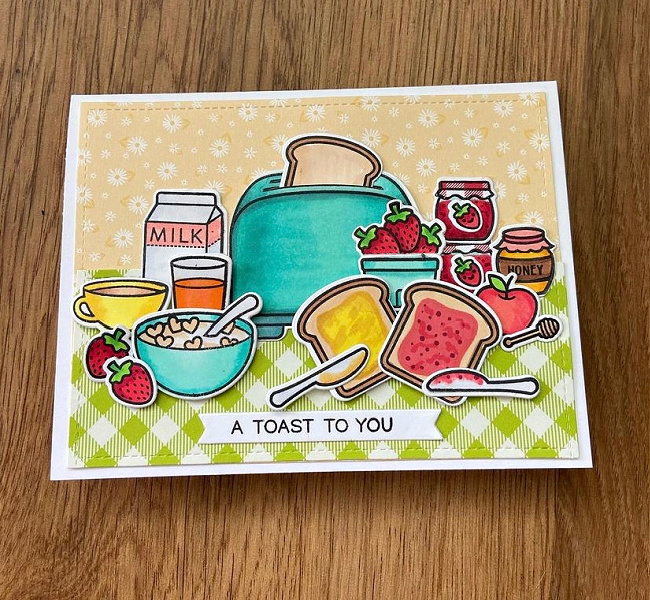
by Laurie
using Let’s Toast, Cerealsly Awesome, Milk and Cookies, Berry Special

And now we have ourandom drawing winner from Challenge 129 who wins a $50.00 gift certificate to our shoplawnfawn.com! And the winner is…#36


Congratulations to Michelle! Please send an email to fawnies(at)lawnfawn(dot)com with “Lawn Fawnatics random winner” in the subject line. Then grab this winner badge to display on your blog and social media!


We will share Design Team inspiration during the next 2 weeks for Challenge 130 – Card Sketch. This new challenge runs until Sunday, August 14th at 11:59PM ET. We can’t wait to see how the card sketch inspires you!

Supplies:


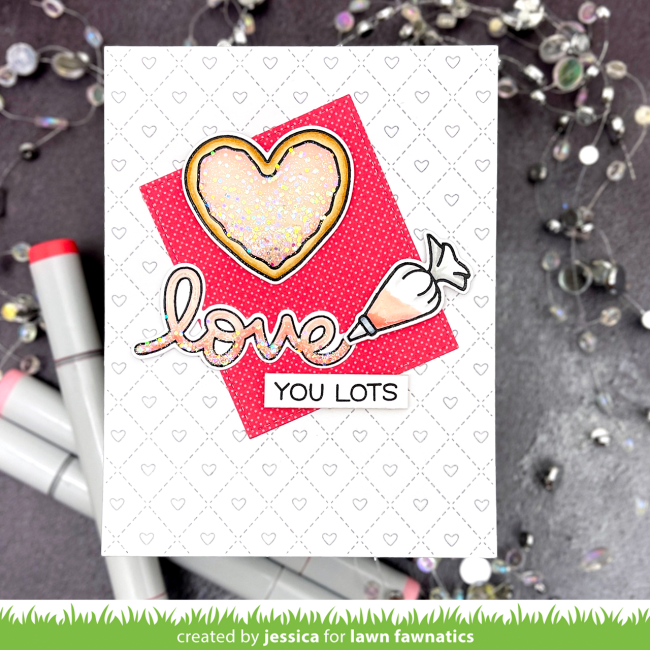
Jessica’s Glittery Heart-Shaped Cookie Card

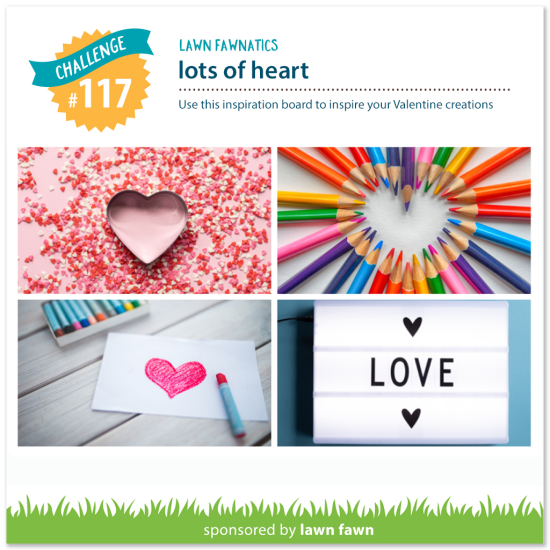
We invite you to share your creativity by linking up your crafty projects on the Lots of Heart Challenge post! Your project should feature Lawn Fawn stamps, dies and papers. This challenge will run for 3 weeks and be open until Sunday, February 6th at 11:59PM ET.


Good morning!  Jess here with a card for our current Lots of Heart challenge!  I was inspired by that little silver cookie cutter and sprinkles to think outside the box and create a cookie card!

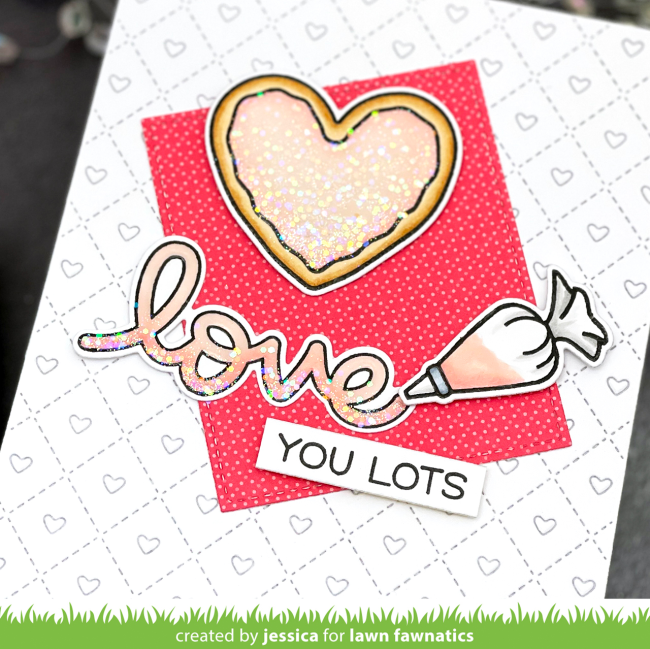
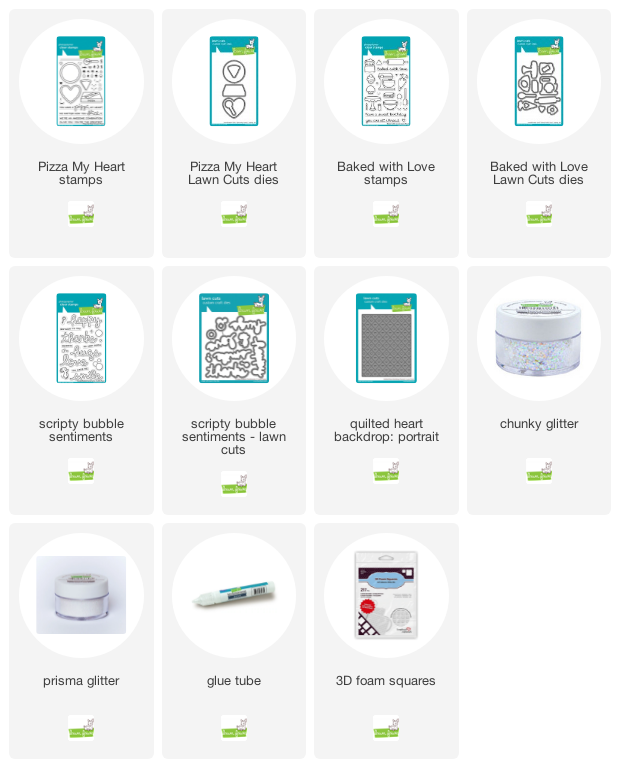
To start I stamped the heart-shaped pizza from Pizza My Heart, the icing bag from Baked with Love, and the love word from Scripty Bubble Sentiments with Versafine and heat-embossed them with clear embossing powder.  I colored the pizza to resemble a giant sugar cookie using Copic markers in E30, E31, E33, E35, R00, R20, and R21.  I used the same pinks for the scripty word and the icing bag.  I also used cool grey Copic markers to add a little shading to the bag.  Then I die-cut them all with the coordinating dies.

I also stamped part of a sentiment from Wavy Sayings but I curved it on my acrylic block so it would be straight instead of wavy.  I trimmed that to a thin label.  Then I die-cut an A2 panel of white cardstock with the Quilted Heart Backdrop: Portrait.  I added a stitched rectangle “napkin” die-cut from the retired Hello Sunshine Remix paper pad and then adhered my cookie, sentiments, and icing bag on top.  I positioned the bag so it would appear that the scripty love was created using icing.

Finally I added a thin layer of nuvo crystal glaze all over the cookie, icing, and sentiment and sprinkled Chunky and Prisma glitter over the cookie and love word to finish the card!

And that’s it!  You two more weeks to get crafty and I can’t wait to see how Lots of Heart inspires you!!  Thanks so much for stopping by and have an amazing weekend! –Jess

Supplies:

Have a wonderful weekend!
Happy Crafting!