Lawn Fawnatics Challenge 59 – Something See-Through

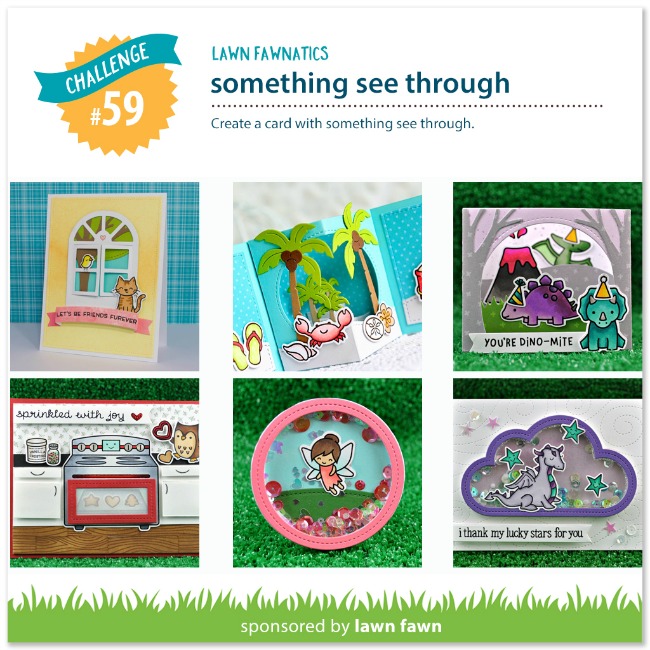
It’s that time again, Fawnatics Friends! We have a brand new challenge for you today! We would like you to create a card or crafty project that includes something see-through! Add some vellum, create a shaker card, make a card with a window…see where your imagination takes you!

We would love for you to share your creativity by linking up your crafty projects at the end of this post! Your project should feature Lawn Fawn stamps, dies and papers. This challenge will run for 2 weeks and be open until Sunday, September 1st at 11:59PM ET.

For each challenge, we will randomly select an entry to receive a $25.00 gift certificate to the Lawn Fawn shop! We will also be highlighting a few of your fabulous projects at the close of each challenge! By linking your projects to our challenges you will give permission for us to post your work to this blog and our social media sites. Check out the How to Play page for a few guidelines to play along. We want this to be FUN so we’ll keep the rules to just a few!

We have a super sweet and talented Guest Designer joining us for this challenge! Help us welcome, Tammy Stark! She shares her amazing creativity on Instagram as paperprettyboutique!

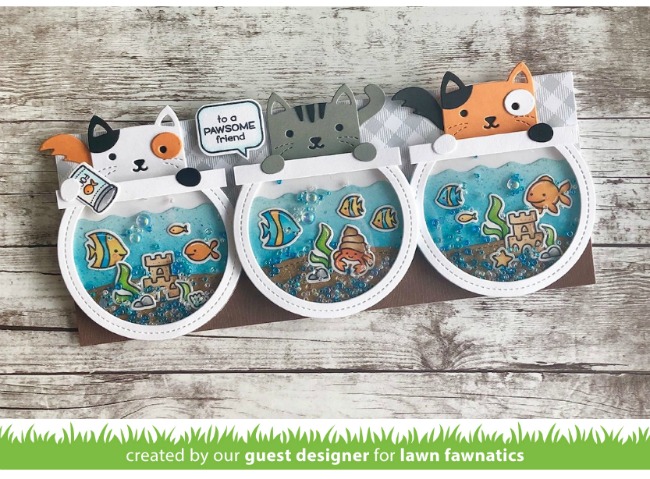
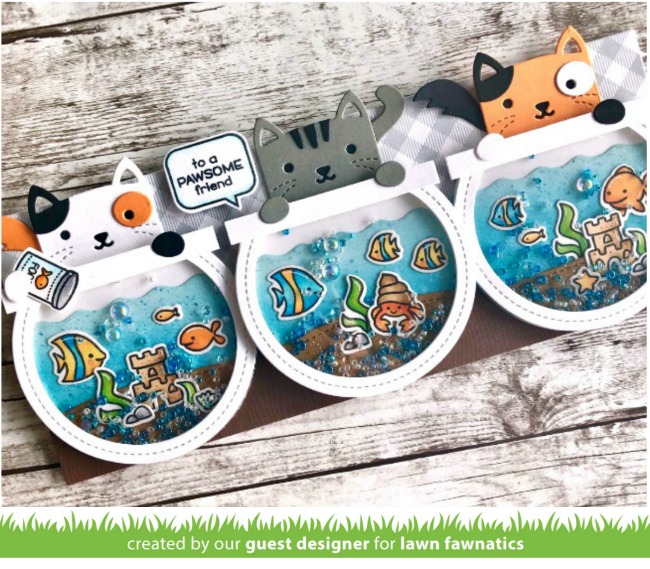
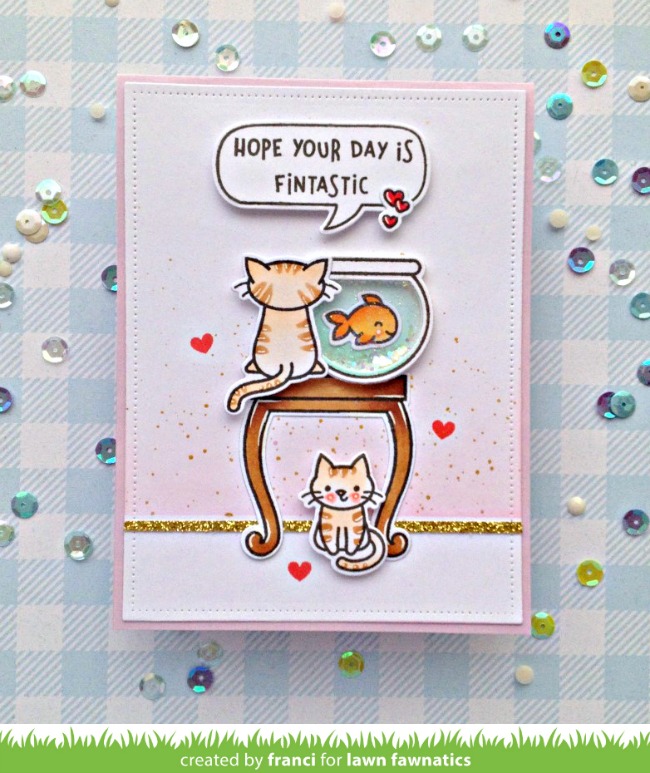
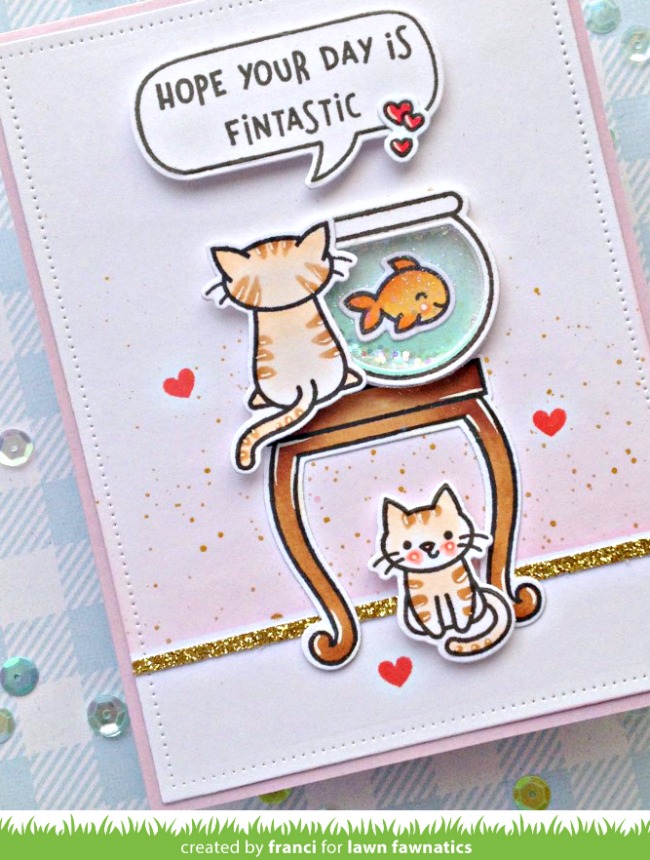
Tammy created a super charming card with a trio of Tiny Gift Box Cat Add-On kitties and their fishy friends! Each fishbowl is a shaker element made with a Stitched Circle Frame and strip of cardstock to make the lip of the bowl. So creative! Tammy filled the fishbowls with cute critters from Fintastic Friends along with tiny seed beads. The sweet message in a speech bubble is from Say What? Pets!

Now let’s check out what our awesome Design Team has created to inspire you!

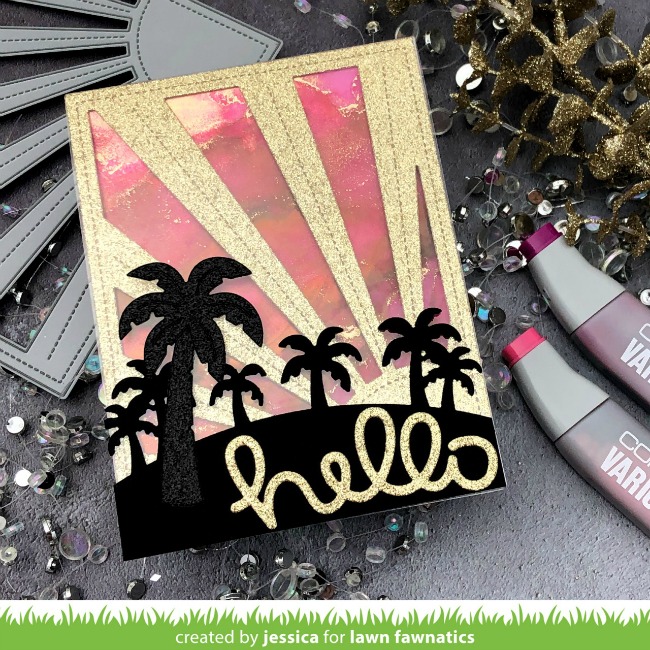
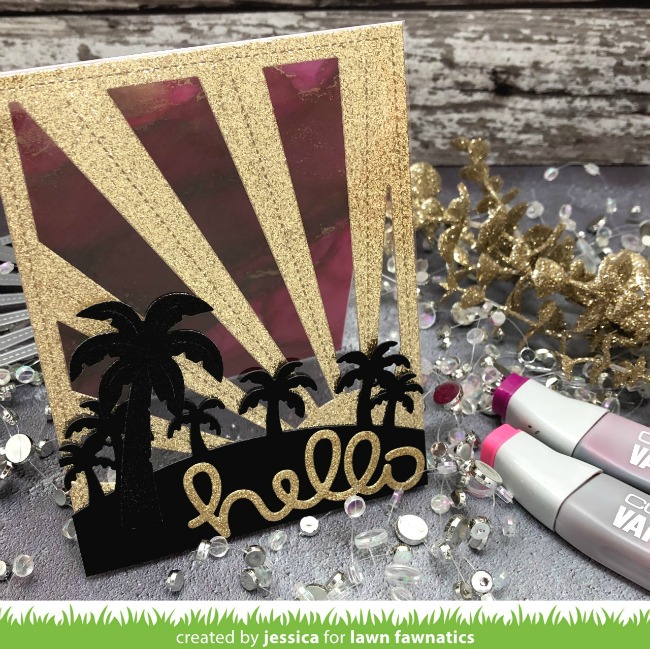
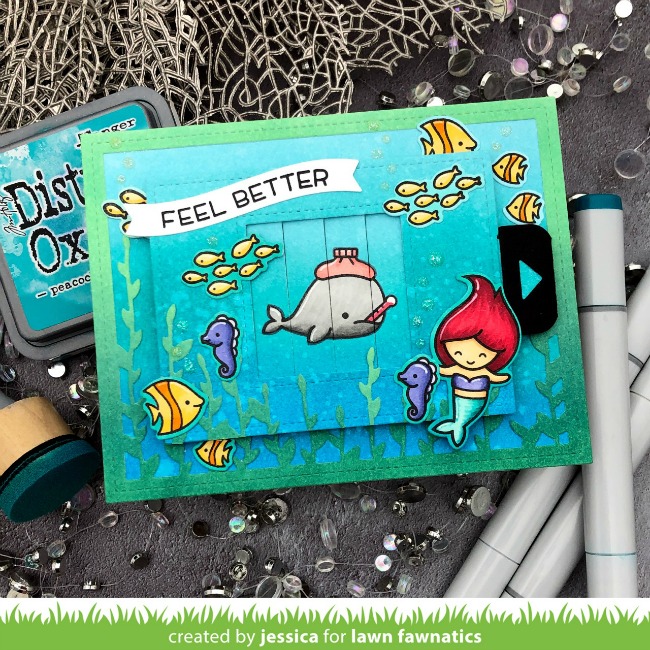
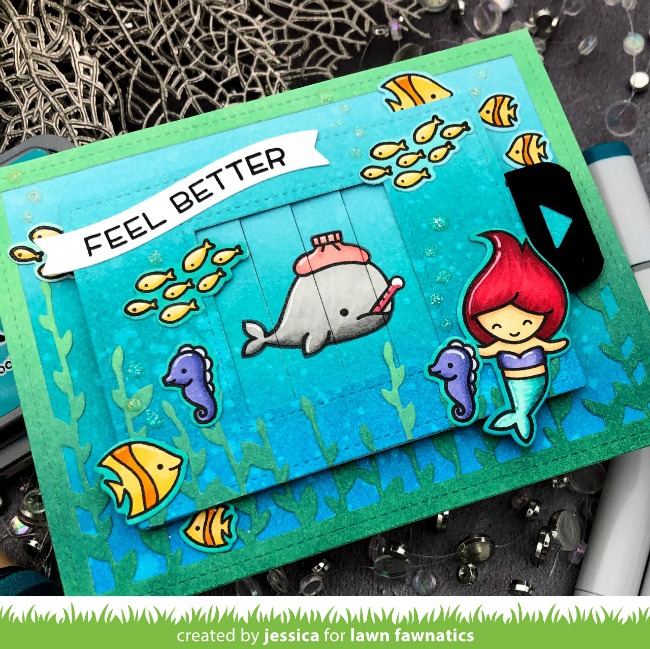
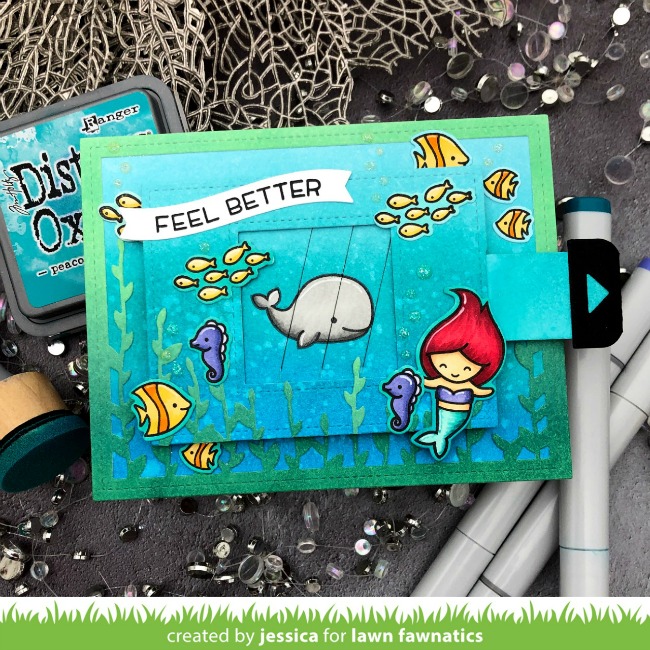
Jessica‘s amazing alcohol inked background could not be more beautiful! She used the Sunray Backdrop, die cut from gold glitter cardstock as the see-through element. I love the silhouette Palm Tree Border and glittery Scripty Hello!

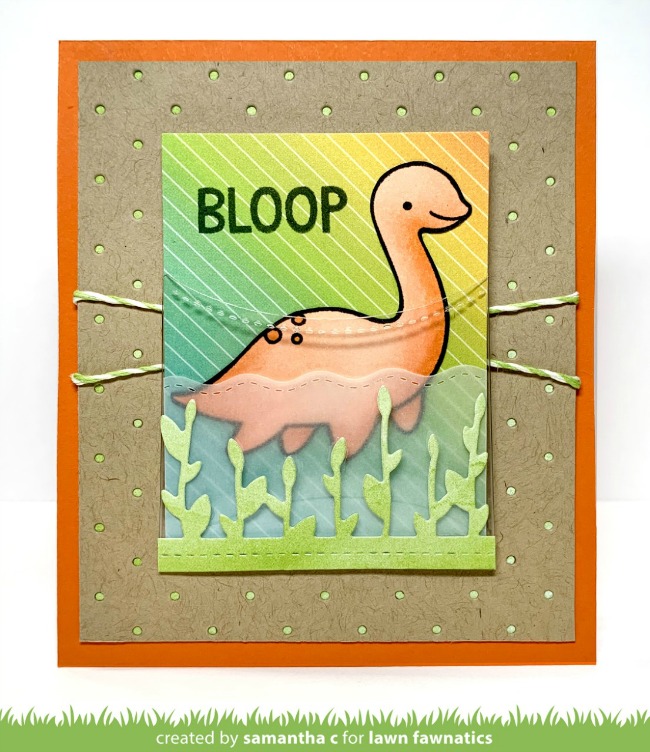
The cuteness here is off the charts! Samantha die cut the Stitched Gift Card Pocket from acetate then slipped this adorable Lovable Legends card inside! To create the look of Loch Ness, she added a vellum layer cut with a Stitched Wavy Border and a piece of the Bayou Backdrop.

Franci crafted an adorable Keep on Swimming card with sweet pastel colors! She turned the little fishbowl into the shaker element using the Reveal Wheel Keep on Swimming Add-On. She filled the fishbowl with Chunky and Prisma glitter and sealed it in with acetate!

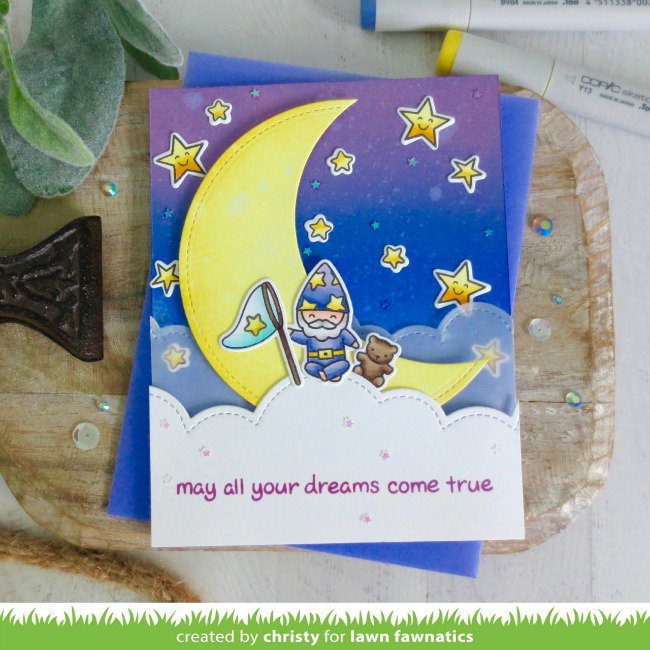
My age is really showing, but when I saw Christy‘s gorgeous card I started singing, “Mr. Sandman, bring me a dream…”! This dreamy design uses a layer of vellum for the clouds! The Sandman is our cute gnome, his net is from Butterfly Kisses and the teddy bear is from Holiday Helpers!

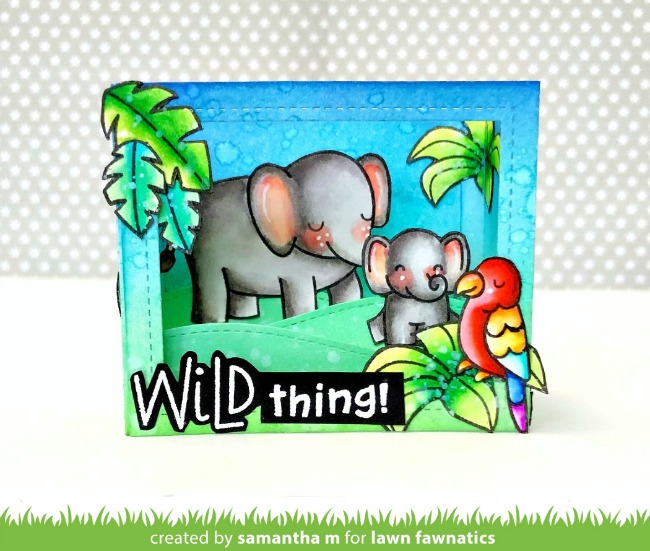
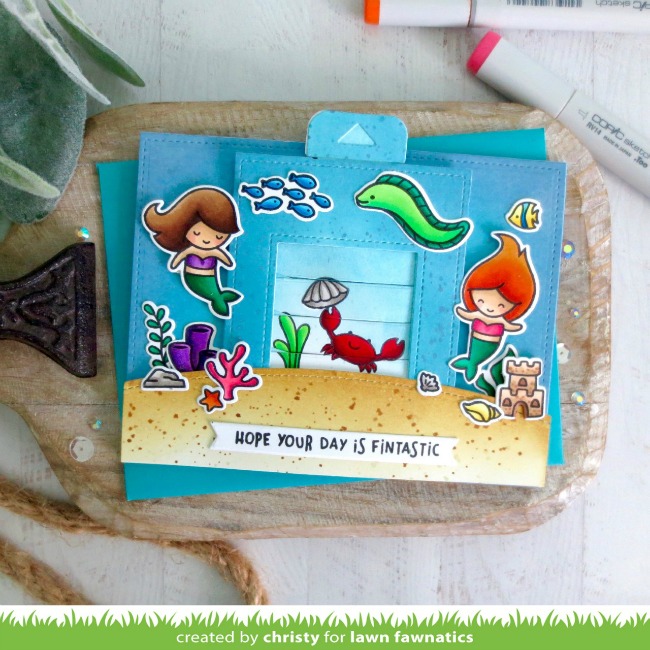
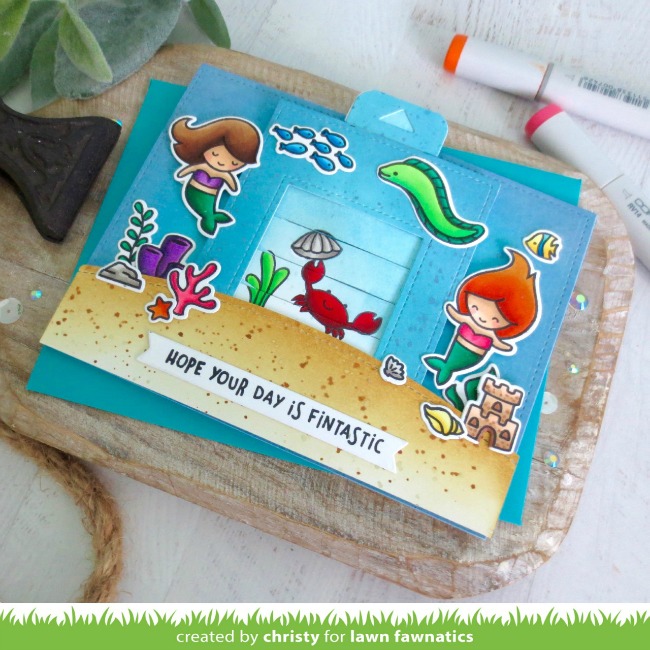
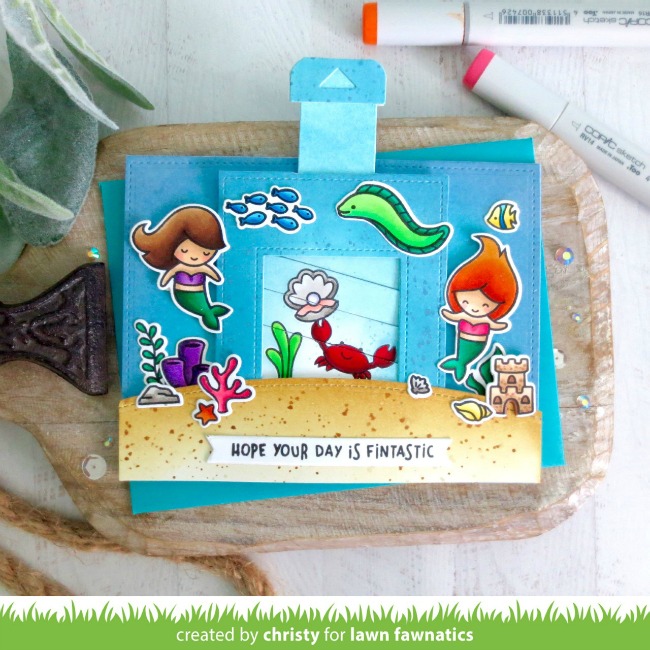
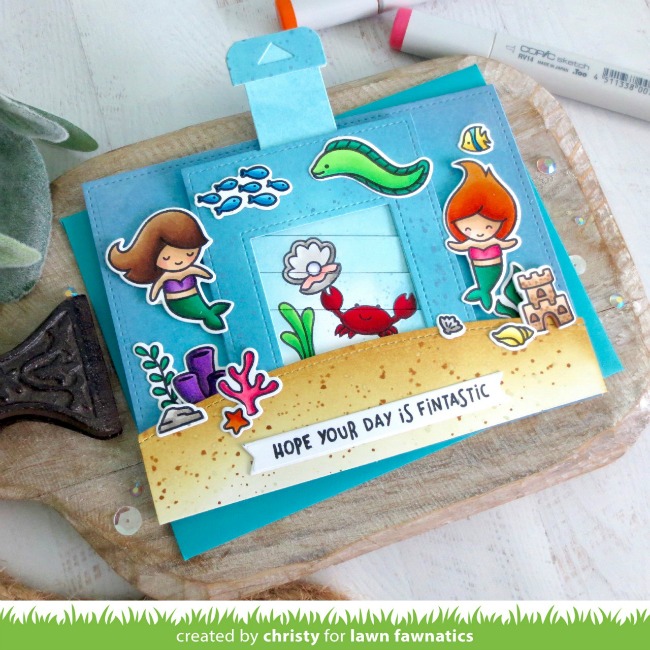
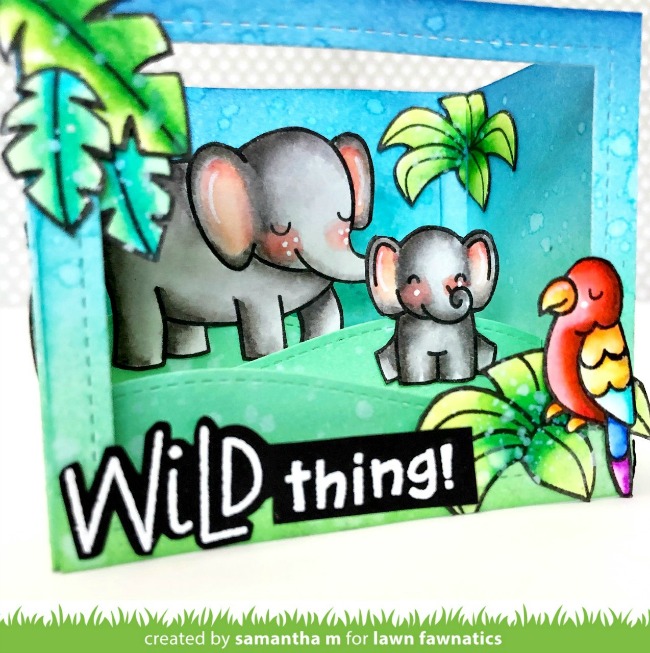
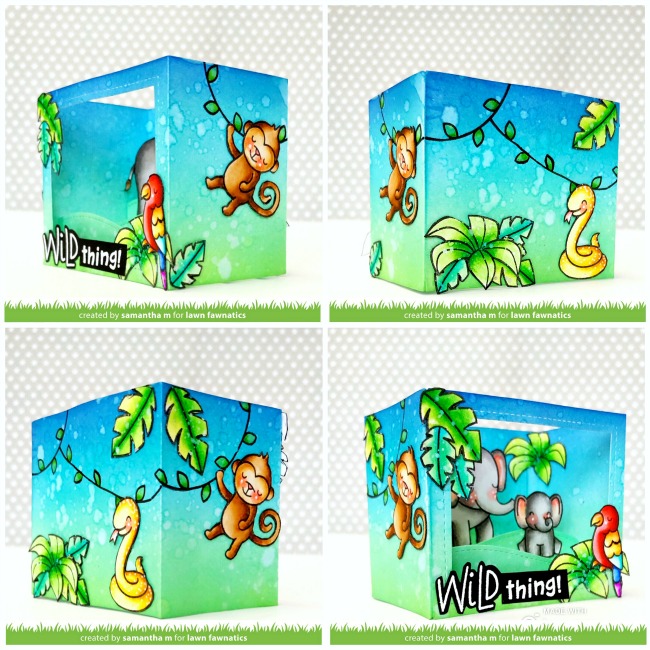
Samantha‘s Shadow Box Card fits the challenge theme with its 3D scene of Wild for You and Critters in the Jungle images! Scroll down to see how she stamped and colored the outside of this amazing design!

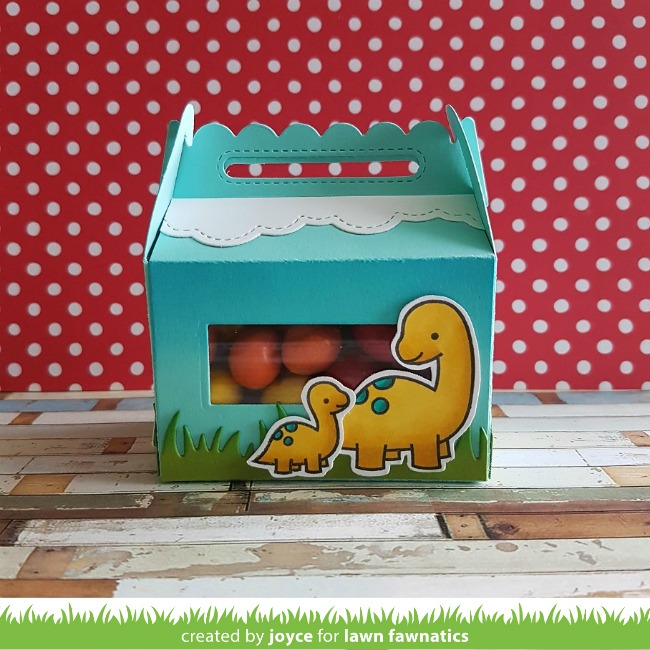
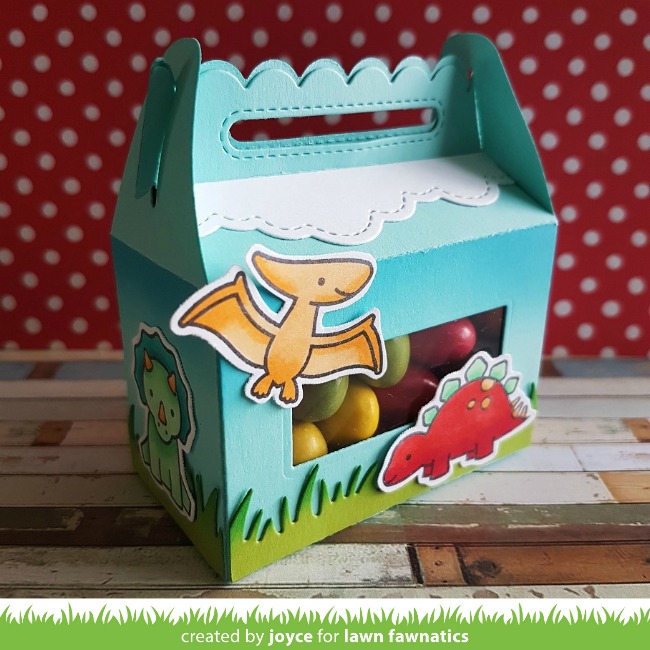
Joyce created a fun RAWRSOME Scalloped Treat Box filled with candy! Her see-through element is a little window in the side covered with acetate so you can see the treats inside! So clever!

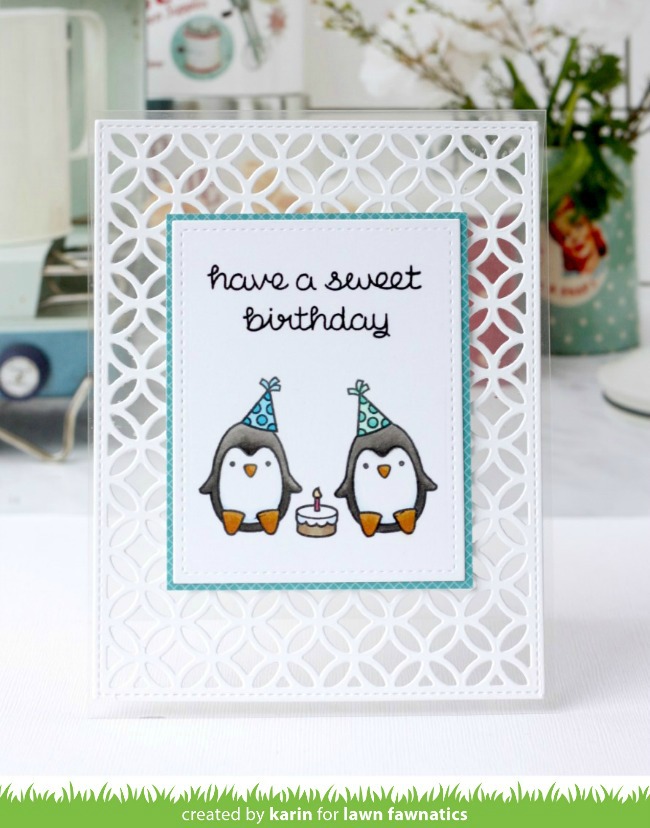
Karin‘s gorgeous card has an acetate card base layered with a Fancy Lattice Backdrop! This sweet birthday card features the cute penguin from Toboggan Together!

We will share Design Team inspiration for you over the next 2 weeks and we’ll announce our Featured Fawnatics and random winner for Challenge 58 tomorrow!

You are invited to the Inlinkz link party!

Click here to enter

A Get Well Before ‘n Afters Card with Jessica!

Good morning! Jess here with a card for our current Interactive challenge! I just love interactive cards and couldn’t wait to create this underwater scene with the Magic Picture Changer dies!

To start I stamped the cute sick and healthy whales from Get Well Before ‘n Afters onto Strathmore Bristol cardstock and colored them with Copic markers. Then I masked them with a Post-it note and blended Tumbled Glass, Mermaid Lagoon and Peacock Feathers Distress Oxide ink onto both backgrounds. Then I die-cut the scenes with the Magic Picture Changer dies and created my Magic Picture Changer scene. I also used the Magic Picture Changer Add-on set to add a black pull tab.

Next I stamped a bunch of images from Fintastic Friends and Mermaid for You and colored them with Copics before die-cutting them with the coordinating dies. I also colored around the die-cuts so they’d match my background.

Then I blended the same three Distress Oxide ink colors onto an A2 panel. I also blended Cracked Pistachio, Evergreen Bough, and Pine Needles Distress Oxide ink onto a second A2 panel and die-cut it with the Bayou Backdrop. I die-cut a banner with the Simply Wavy Banners and then stamped the sentiment from Wavy Sayings.

I adhered the Bayou Backdrop onto my blended background and adhered that to a card base. Then I added my Magic Picture Changer scene onto the background panel with foam mounting tape. I added all the extra fish and mermaid around my scene and adhered the banner on top. Finally I added a few accents with a white gel pen and some sparkly bubbles with glitter drops to finish the card!

And that’s it! You have one more weekend to get crafty with our Interactive Challenge and I can’t wait to see what you’ll create! Thanks so much for stopping by and have a fantastic weekend!

Jess

Supplies:

The Interactive Challenge will be open until Sunday, August 18 at 11:59PM ET. We hope you will join us!

Christy’s Under the Sea Magic Picture Changer!

Hey friends, it’s Christy here with a Magic Picture Changer card for our Interactive Challenge! I combined a total of five different stamp sets on this one. Don’t you just love how easy Lawn Fawn sets are to mix and match?

I started by stamping out images from Mermaid for You, Fintastic Friends, and You Are Sublime. I colored them in with Copic markers, trimmed them out with the matching dies, then set them aside.

Then I took one 4 1/4” x 5 1/2” piece of cardstock and one 4 1/4” x 11” piece and traced the openings for the Magic Picture Changer dies with a pencil. Once I knew where to stamp, I stamped the crab from Life is Good, and a sea plant from You Are Sublime on each, then added the closed clam from Keep on Swimming to the crab’s claw on the long panel, and the open clam to the shorter one. I colored them with Copic markers as well, and then created masks for the images with a full-stick Post-it note.

Once they were covered, I took Tumbled Glass Distress Oxide Ink and blended it over top. Then I created two more panels by blending Tumbled Glass in the center, then Broken China, and finally Stormy Sky on the outside edges. I watered a bit of those inks down and flicked drops of them over the panels with a small paint brush. Then I trimmed one of them down with the Magic Picture Changer Add-On, and the other with the Large Stitched Rectangle Stackables. I also created a sand bar with Antique Linen and Brushed Corduroy Distress Ink.

Going back to my crab panels, I used the windows to line up the Magic Picture Changer dies over the images, and ran them through my die-cutting machine. Then I assembled the two together using 1/8” Double-sided Tape on both sides of the flaps. Lawn Fawn has an excellent Magic Picture Changer intro video on their YouTube channel on how to assemble the mechanism, and I will have a video tutorial on this card as well showing the entire process. I used an EK Success Powder Tool to help the mechanism slide smoothly, made sure everything was aligned nice and straight,  and sealed it up. So fun! I love how it looks like the clam is opening to reveal the pearl inside!

Once I assured that it was working properly, I glued the background panel to the card front, then added the Magic Picture Changer on top with foam tape to help the recipient get a good grip on the pull tab. I adhered the panel that was trimmed down with the Magic Picture Changer Add On over top, and used the small square that was left over from the center to die-cut the handle for the pull tab.

I added the sand bar to the bottom of the scene using foam tape on either side of the Magic Picture Changer, then adhered my images all around with a combination of foam tape and liquid glue. To finish it off, I added a sentiment from Keep on Swimming that I trimmed down with an Everyday Sentiment Banner.

I continued the stamping on the inside of the card with a pun and a few images stamped in Forget-Me-Not ink. If you’d like to watch this card come together, you can find it on my YouTube channel, Christy Gets Crafty!
I hope you enjoyed today’s card, and feel inspired to create something for our Interactive Challenge!

Our Interactive Challenge will be open until Sunday, August 18 at 11:59PM ET.

Supplies:

Thanks so much for stopping by today! I hope Christy has inspired you to create something fun!