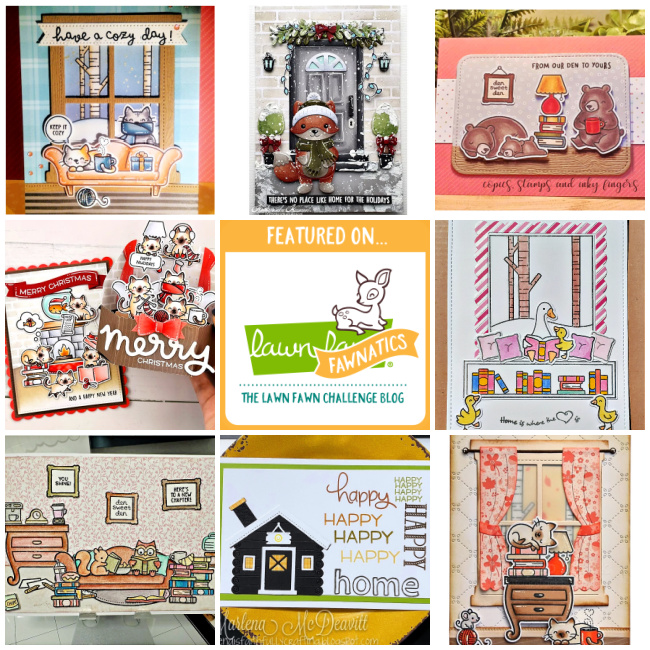
This challenge was a little light on participation, but every entry captured the challenge theme! We loved seeing new cardmakers join us for this challenge! Be sure to check out the There’s No Place Like Home challenge gallery for all the cozy and homey inspiration and invite your friends to join us!
If you are one of our Featured Fawnatics today, we invite you to grab this badge to share on your blog or other social sites!
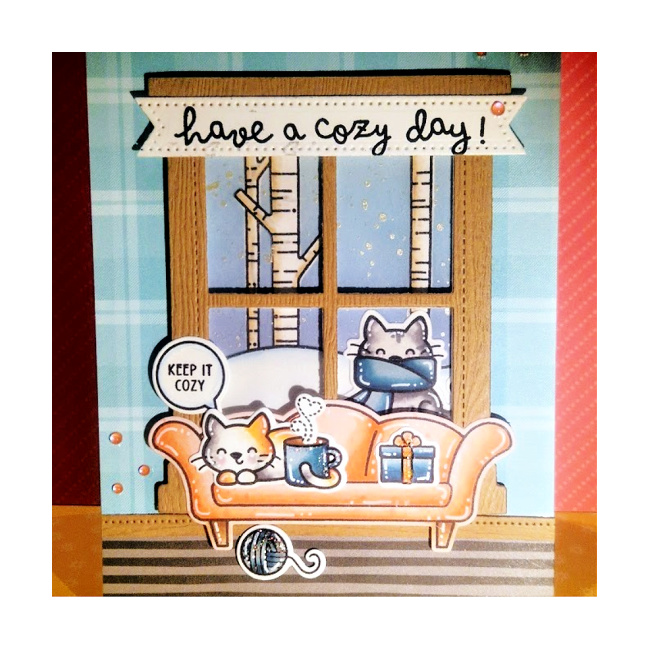
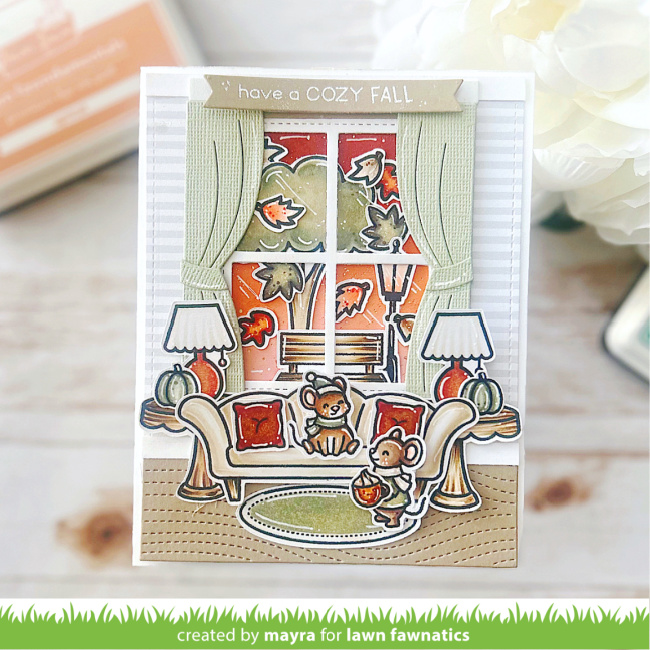
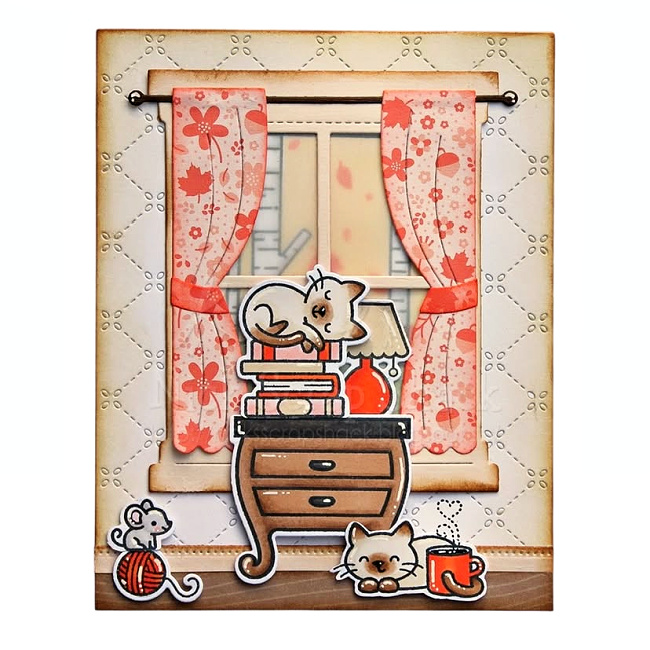
by Jeanette
featuring Cozy Cats, Window Frame, Window Scene: Winter

by Kathrin
featuring Build-A-Fox, Build-A-Critter Winter Accessories,
Shut the Front Door, Winter Birds Add-On, Christmas Garland, Pumpkin House, Acorn House
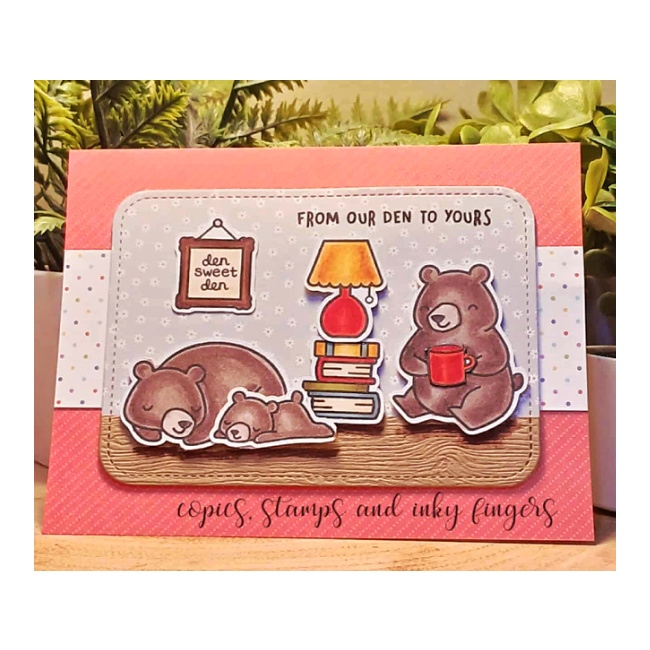
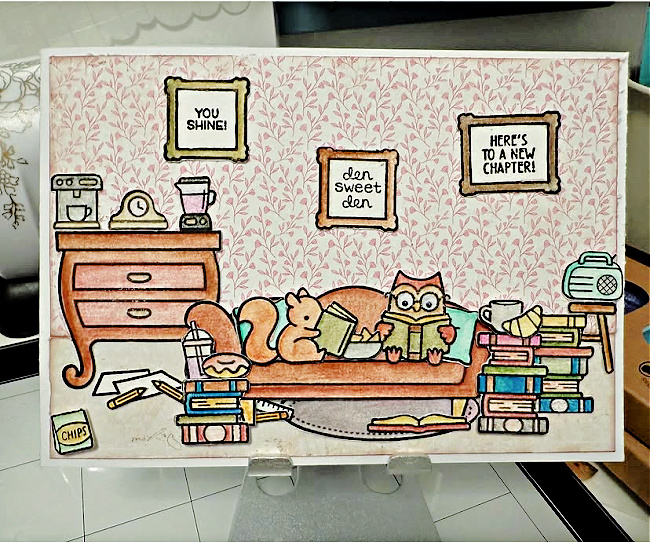
by Tracey
featuring Den Sweet Den, Stitched Rounded Rectangle Stackables
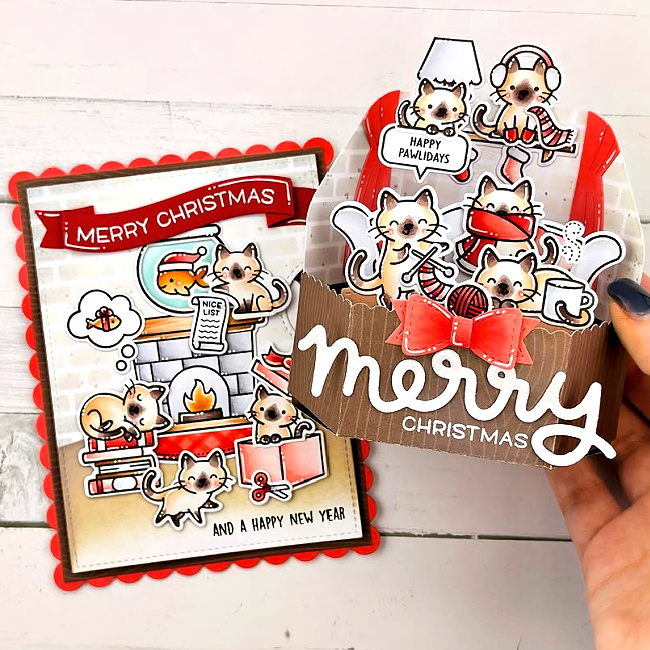
by June
featuring Cozy Cats, Purrfectly Wicked, Christmas Dreams, Christmas Fishes,
Keep on Swimming, Holiday Helpers, Platform Pop-Up, Window Scene: Winter, Den Sweet Den
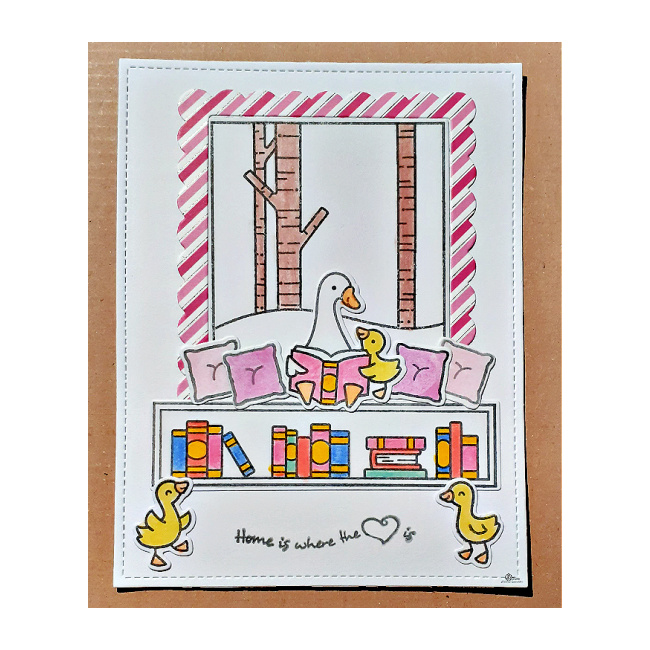
by Ellen
featuring Silly Goose, Simply Celebrate Hangouts, Window Scene: Winter
by Camilla
featuring Window Scene: Winter, Little Woodland Library, Little Woodland Library Friends,
Little Snow Globe: Dog, Treat Cart Add-On: Coffee, Christmas Dreams, Cheesy Christmas
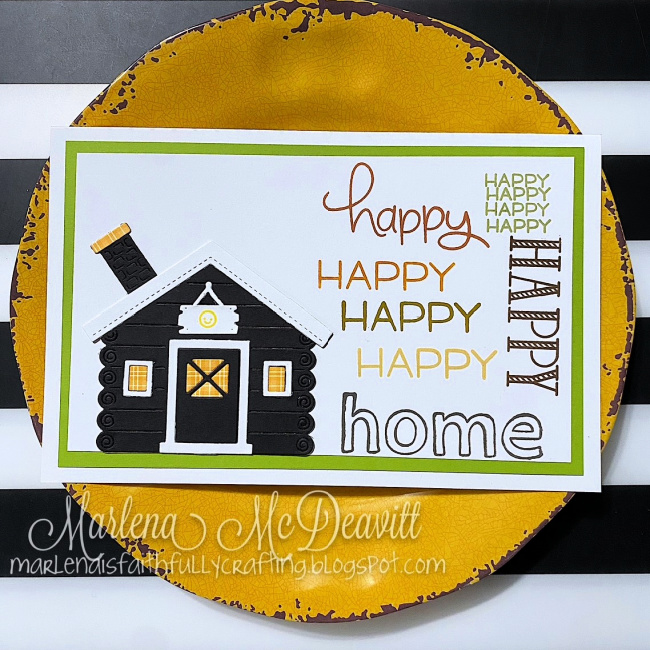
by Marlena
featuring Build-A-Cabin, Happy Happy Happy, Quinn’s ABCs
by Helene
featuring Little Snow Globe: Dog, Cozy Cats, Window Scene: Winter,
Den Sweet Den, Window Frame, Quilted Backdrop, Elephant Parade
And now we have our random drawing winner from Challenge 206 who wins a $50.00 gift certificate to our shop, lawnfawn.com! And the winner is…#10
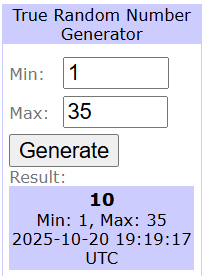
Congratulations to our random winner, Cristina C.! Please send an email to fawnies(at)lawnfawn(dot)com with “Lawn Fawnatics random winner” in the subject line. Then grab this winner badge to display on your blog and social media!
You will find amazing inspiration by our talented Design Team during the next 2 weeks for Lawn Fawnatics Challenge 207 – Rainbows. This challenge runs until Sunday, November 2 at 11:59PM ET.
Supplies: