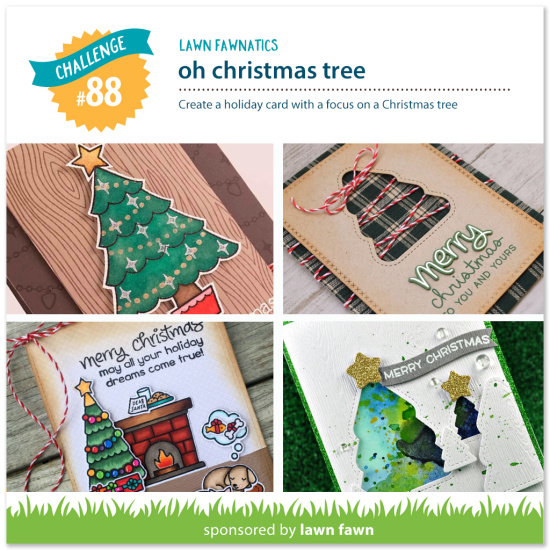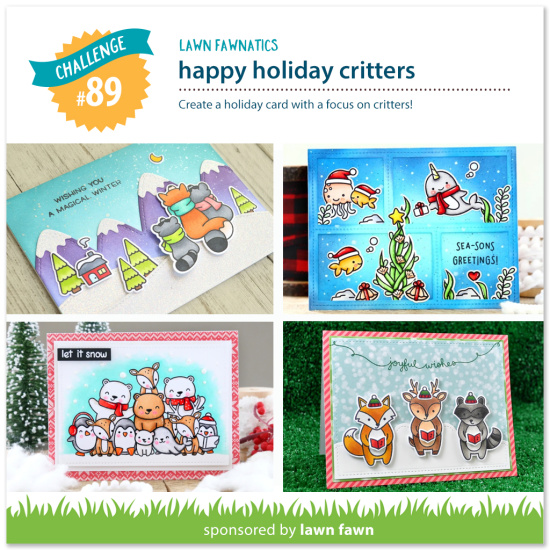
We hope you are having fun with the Happy Holiday Critters challenge! It will be open for 2 more weeks so you have plenty of time to get crafty with your critter sets and play along!
Good morning! Jess here with a card for our current Holiday Critters challenge! This is such a fun way to focus on all the adorable critters Lawn Fawn has to offer!
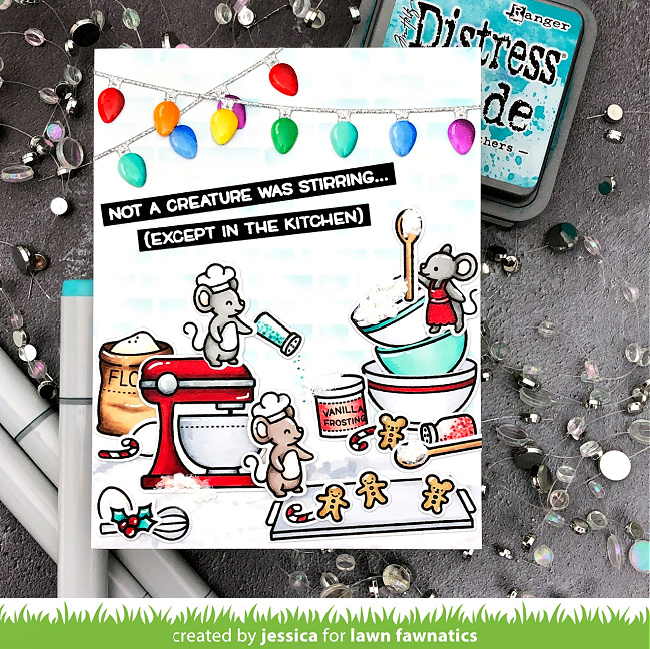
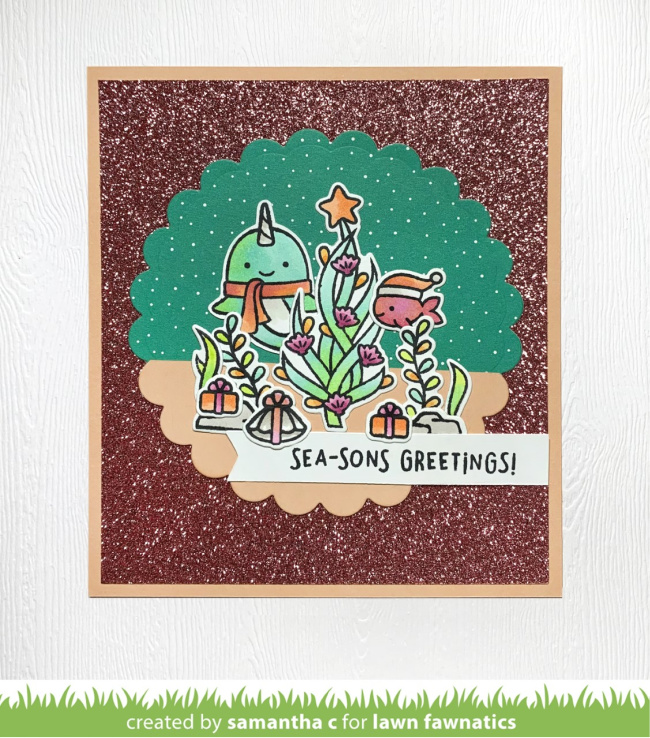
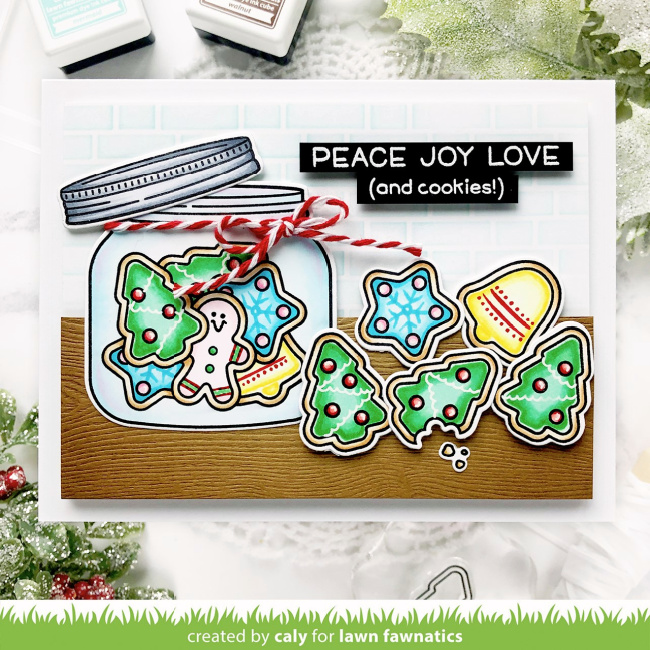
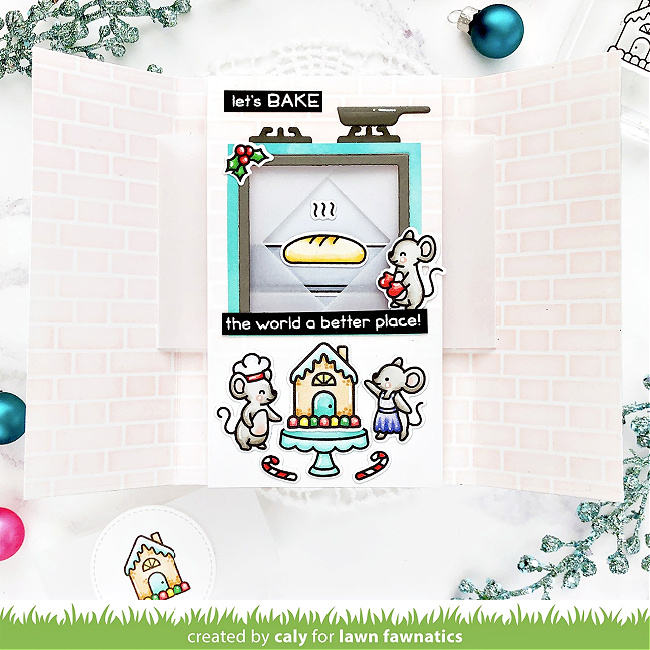
To start I blended Peacock Feathers Distress Oxide ink over the Brick stencil onto a panel of Strathmore Bristol smooth cardstock focusing the color on the top right of each brick to give it a little color. I wanted the effect of white subway tiles in my kitchen scene! Next I used Copic markers to sketch a granite countertop and adhered it to the brick background panel.
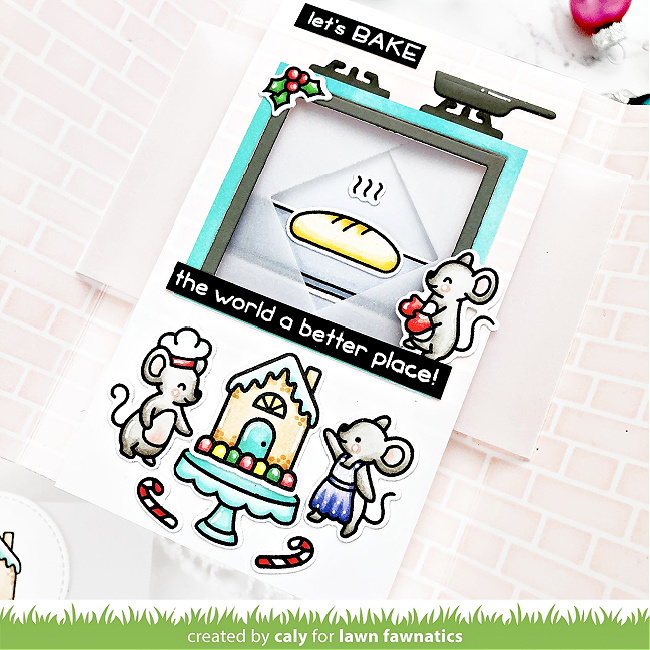
Then I stamped a bunch of images from A Creature was Stirring, Baked with Love, and Sprinkled with Joy using Copic-friendly Jet Black ink and then colored them with Copic markers. I die-cut them with the coordinating dies and added a few accents with a white gel pen.
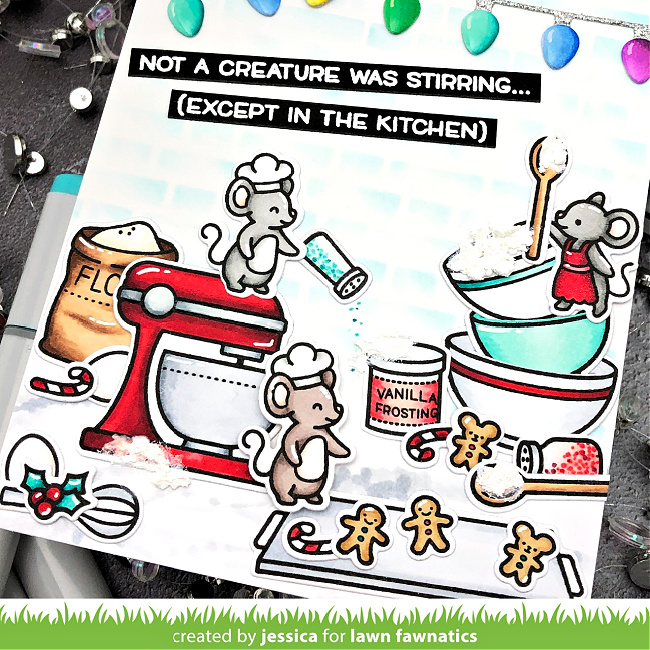
I arranged all the images onto my kitchen scene and adhered them with a mix of regular adhesive and foam mounting tape for a little extra dimension. Then I die-cut the Mini String of Lights from white cardstock and silver glitter cardstock. I colored the light bulbs with Copic markers and then adhered them to the silver light strand. I adhered them to the scene and then added a sentiment from A Creature was Stirring heat-embossed on black cardstock. Once everything was adhered I added a little glitter to the lights and coated them with Nuvo crystal glaze for shine. Finally I finished the card by adding a little grit paste to the spoons and scene for a little messy frosting! 😉
And that’s it! You have two more weeks to get crafty and I can’t wait to see what you’ll create! Thanks so much for stopping by and have a fantastic weekend!
–Jess
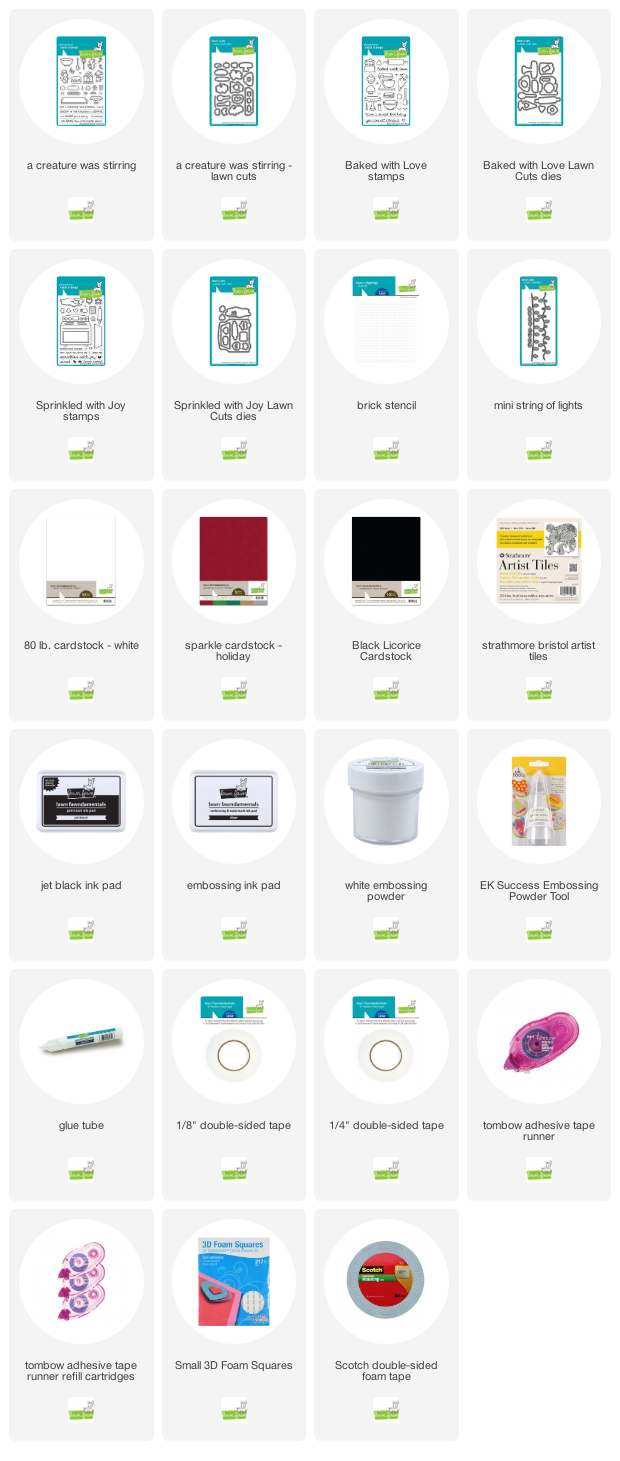
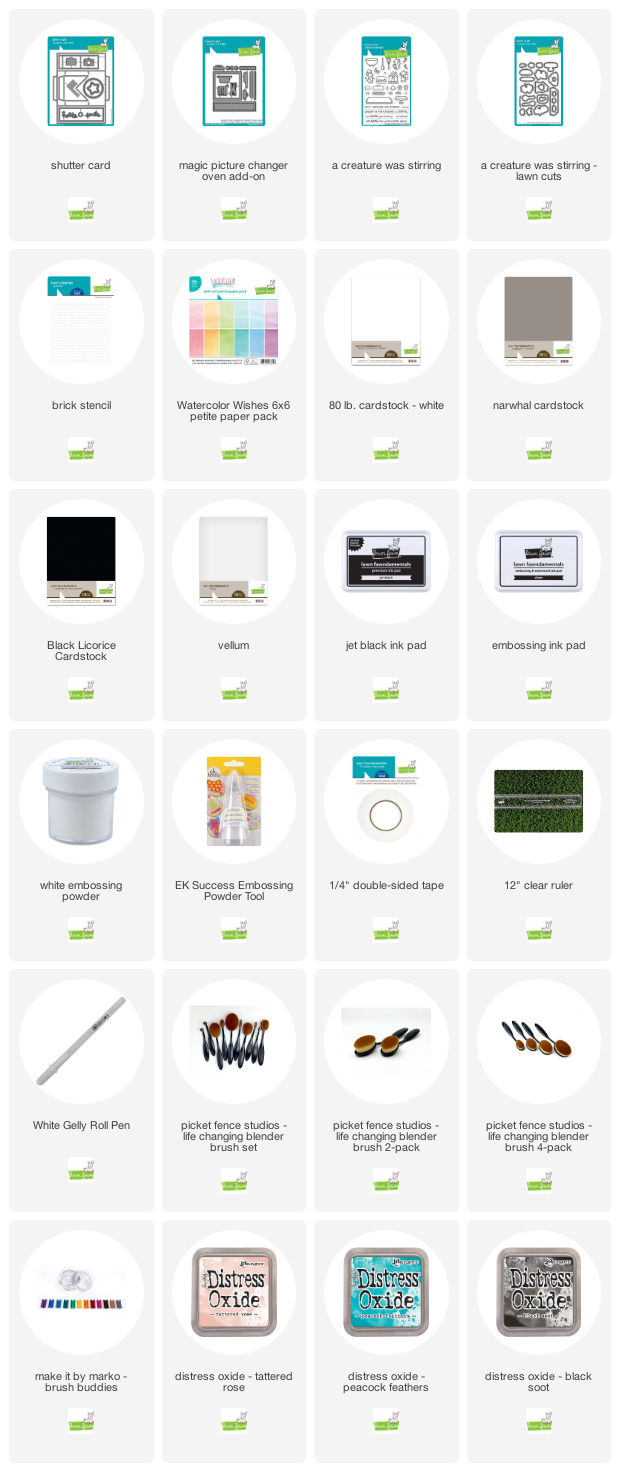
Supplies: