
Good morning and Happy Friday! Jess here with a fun twist on the clever shadow box die for our current 3D Cards Challenge!
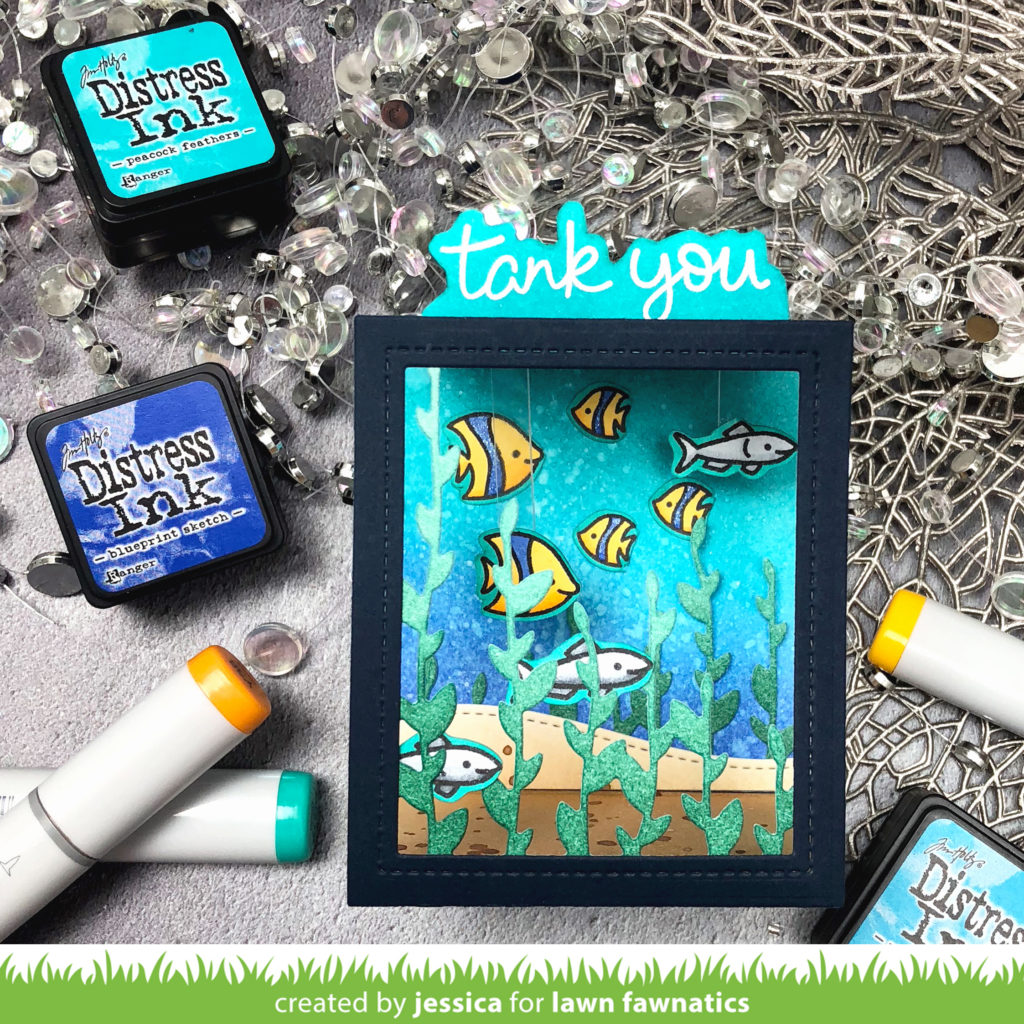
To start I die-cut the Shadow Box die twice from dark blue cardstock. I also die-cut the stitched inside rectangle from one panel to create the window for my card. Next I blended peacock feathers, mermaid lagoon, and blueprint sketch Distress ink onto a piece of Bristol smooth cardstock and cut it down to fit inside the back panel of my Shadow Box Card. I flicked it with water and white acrylic paint to create the look of bubbles and then adhered it to the panel. Then I blended tea dye and gathered twigs Distress ink onto another small piece of Bristol smooth cardstock and flicked it with water and undiluted gathered twigs distress ink. I trimmed part of it down to fit the bottom of the Shadow Box Card die, adhered it to the bottom, and then die-cut another piece using the Stitched Hillside Borders dies. I used the excess from the ocean background and stamped the sentiment from Fintastic Friends with Versamark before heat-embossing it with white embossing powder. I used a craft knife to cut around the top of the sentiment and then adhered the bottom of the sentiment to the front panel of the shadow box card before assembly.
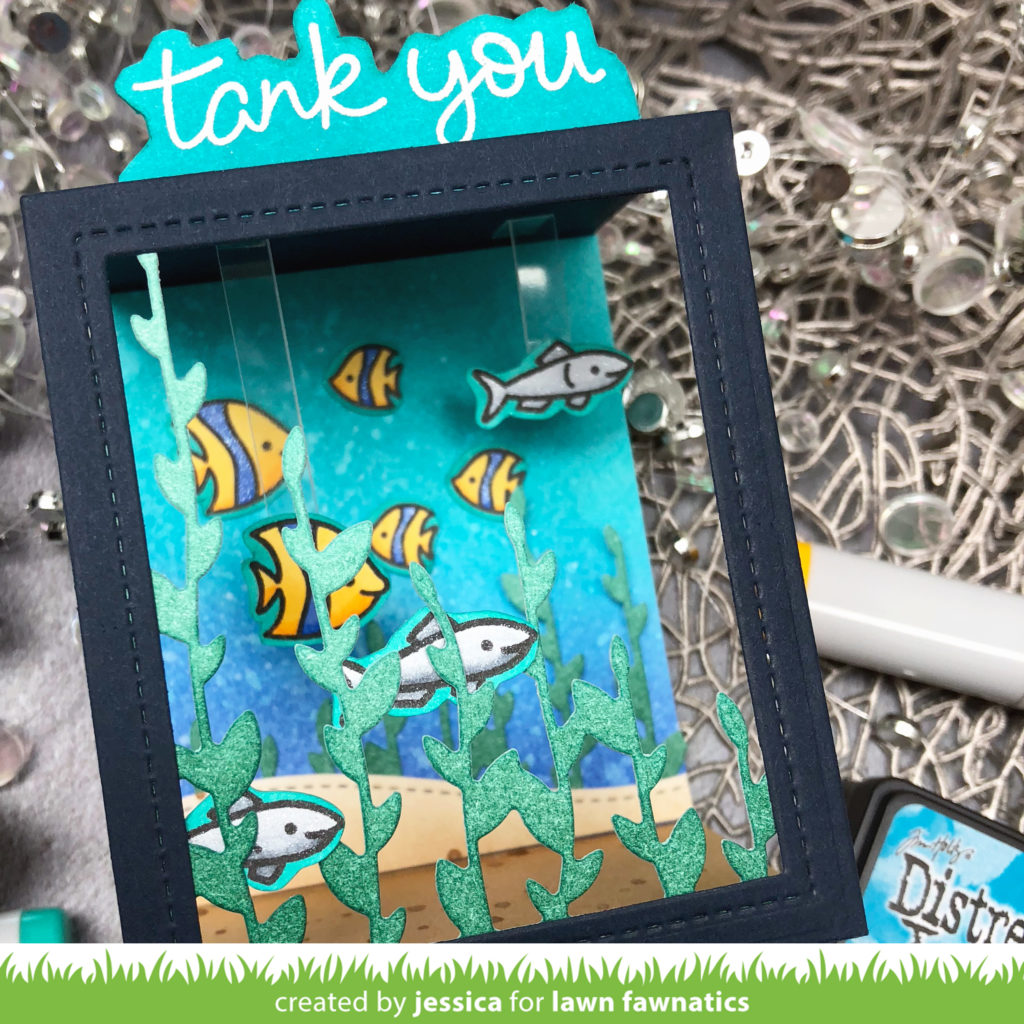
I also blended pine needles and evergreen bough Distress ink onto a third piece of Bristol smooth cardstock and die-cut it with the Bayou Backdrop die to create seaweed for my scene. Next I stamped some of the fish from Fintastic Friends onto Neenah Solar White cardstock with Copic-friendly Jet Black ink and colored them with Copic markers. I die-cut them with the coordinating dies and then colored around the dies so they’d blend in with the ocean background. I also added lots of Spectrum Noir Clear Sparkle to the fish.
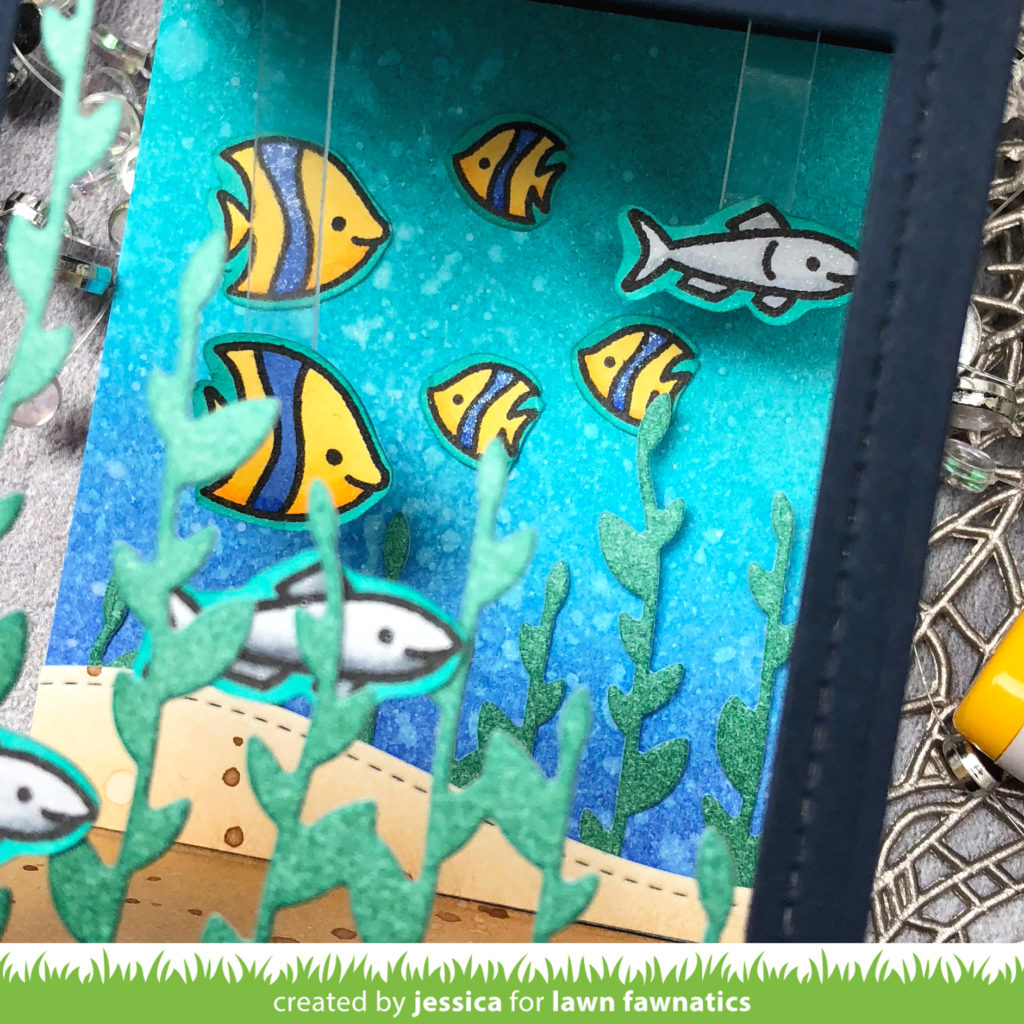
Then it was assembly time! I adhered the seaweed to the back panel and behind the front panel. Then I adhered the stitched hill to the back panel over the seaweed. I used liquid adhesive to tuck two of the silver fish among the seaweed in the front of the card. Next I adhered my yellow and blue fish to the back panel. Finally I cut two small strips of acetate and folded over one end of each strip. I adhered a fish to the opposite ends of the strips and then adhered the fold to the top of the shadow box card to give the fish the appearance of floating within the scene. I love the dimension of the card and how the scene changes depending on the angle you view it from! Voila! Instant fish tank that you won’t have to remind anyone to clean!
**As a side note, this was a particularly tricky card to photograph right-side up so I ended up turning it on its back for photographs; but it sits upright on its own and folds flat for mailing! Upon arrival you might need to tell the recipient to reposition the acetate strip so the fish are “floating!”**
And that’s it! You have two more weeks to get crafty and I can’t wait to see what you create! Thanks so much for stopping by and have a fabulous weekend!
–Jess
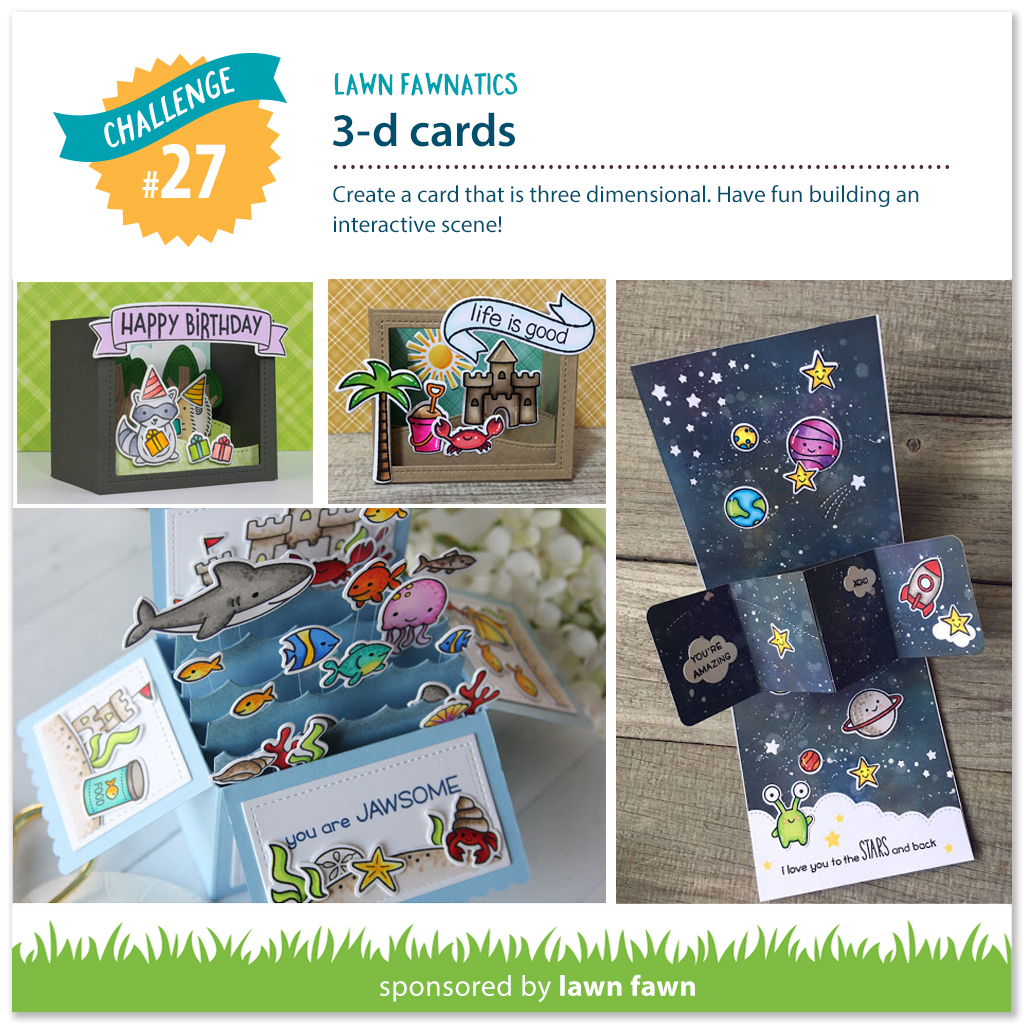
Our 3D Challenge will be open until May 6th at 11:59PM ET. I hope you will join us!
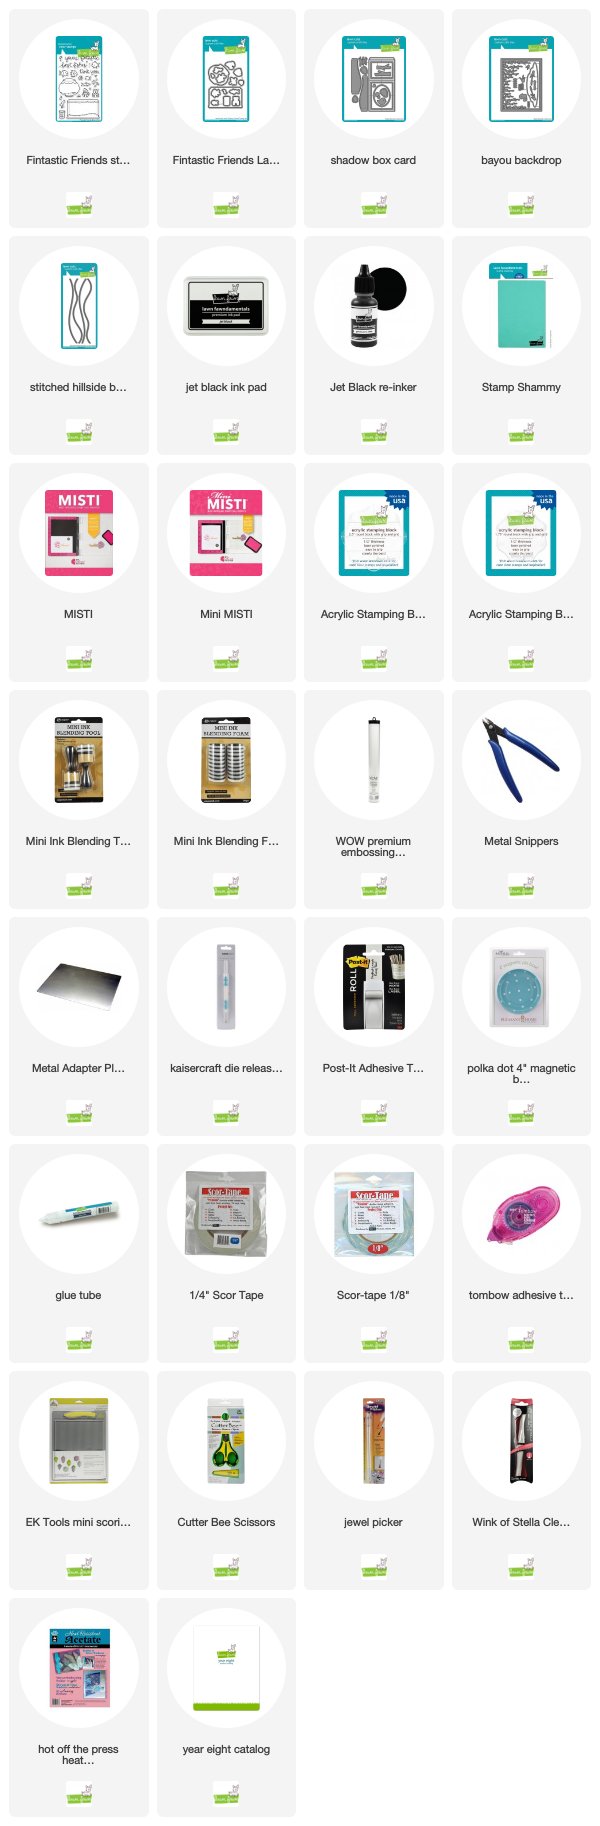
Supplies:
Gorgeous! This is one of my faves.
Oh wow, this is just so fun! Love it!
Awesome card, Jessica!!! Love all the dimension you got. It looks like it involved a lot of time & effort, but so worth it in the finished product! 🙂 ~ Andrea