Lawn Fawnatics Challenge 103 -Little Things

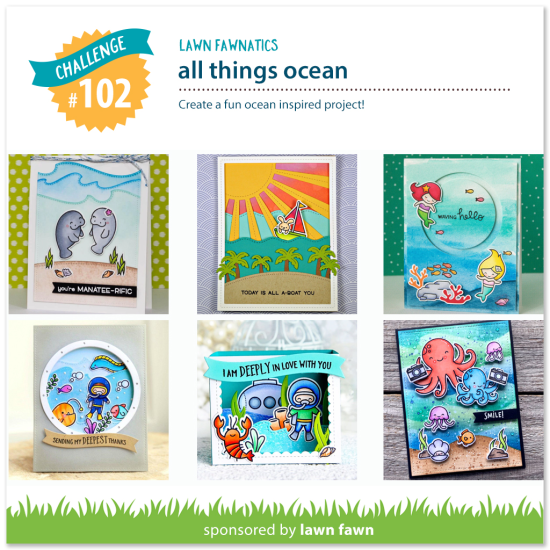
It’s new challenge time again! For this challenge little things will be the stars of your project! Check out the sets in your stash, stamp or dies, and make the small images the focus of your design!

We invite you to share your creativity by linking up your crafty projects at the end of this post! Your project should feature Lawn Fawn stamps, dies and papers. This challenge will run for 2 weeks and be open until Sunday, July 4th at 11:59PM ET.

For each challenge, we will randomly select an entry to receive a $25.00 gift certificate to the Lawn Fawn shop! We will also be highlighting a few of your fabulous projects at the close of each challenge! By linking your projects to our challenges you will give permission for us to post your work to this blog and our social media sites. Check out the How to Play page for a few guidelines to play along. We want this to be FUN so we’ll keep the rules to just a few!

Let’s see how our amazing Design Team was inspired by this new theme!

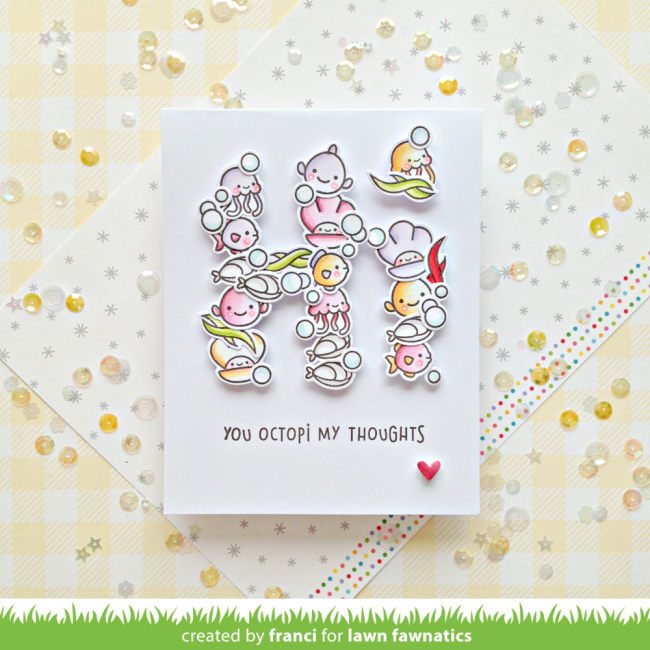
Franci combined lots of the cute little things in Ocean Shell-fie and Mermaid for You to create this happy design!

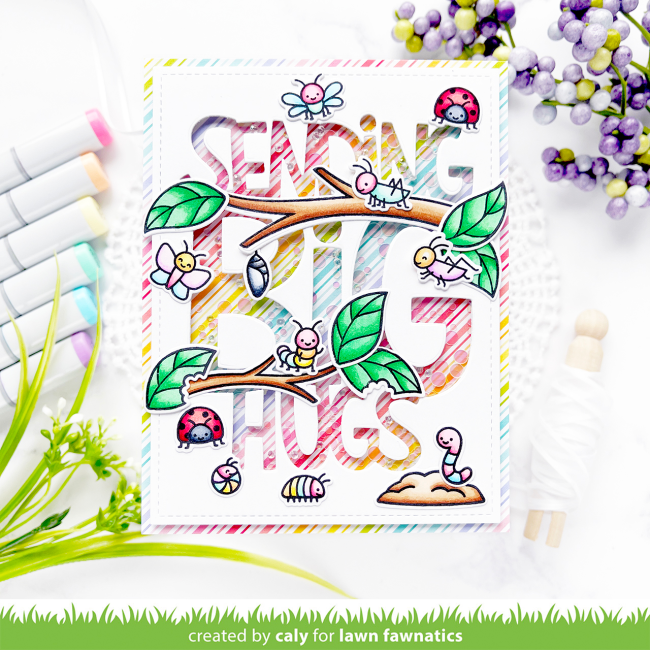
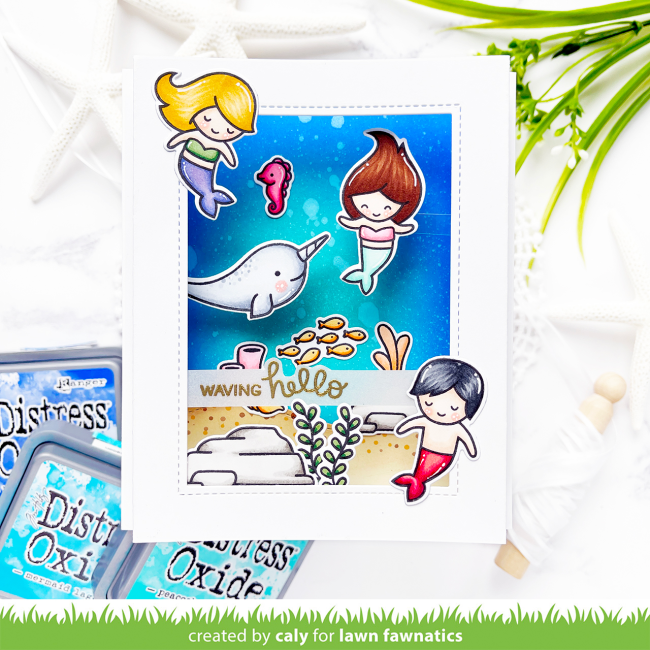
Caly used the little things from A Bug Deal to create a colorful shaker card! She used the negative of the Giant Sending Big Hugs die to make the shaker window and backed it with Really Rainbow paper!

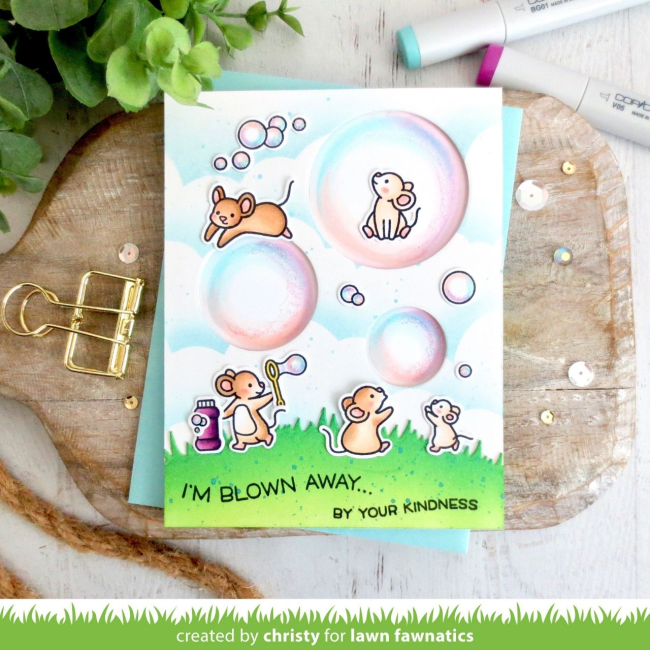
The adorable Bubbles of Joy mice are the little things in Christy‘s sweet card design! Those bubbles are amazing!

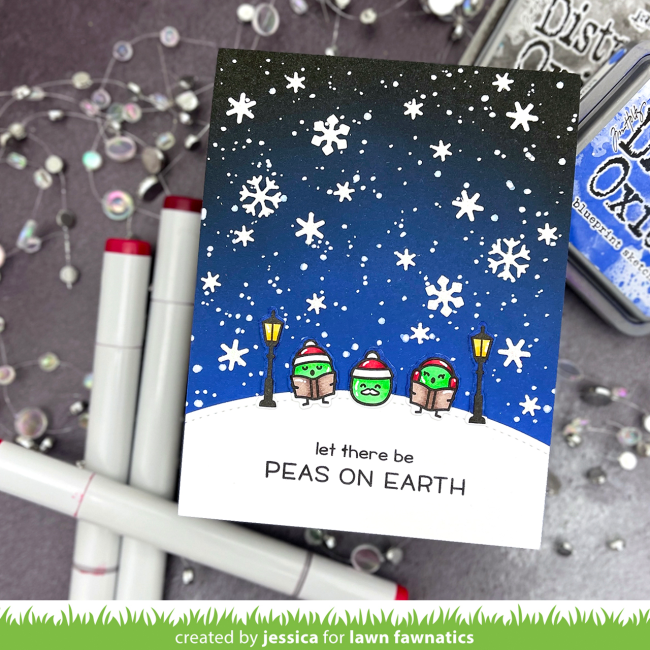
Jessica cleverly used Peas on Earth as her “little things”! It’s never too early to start making holiday cards and you probably have lots of Lawn Fawn sets with just the right little images!

Joyce had a similar idea to Caly’s! Great, creative minds thinking alike! The industrious ants from Crazy Antics look adorable scurrying across the Giant Sending Big Hugs die cut!

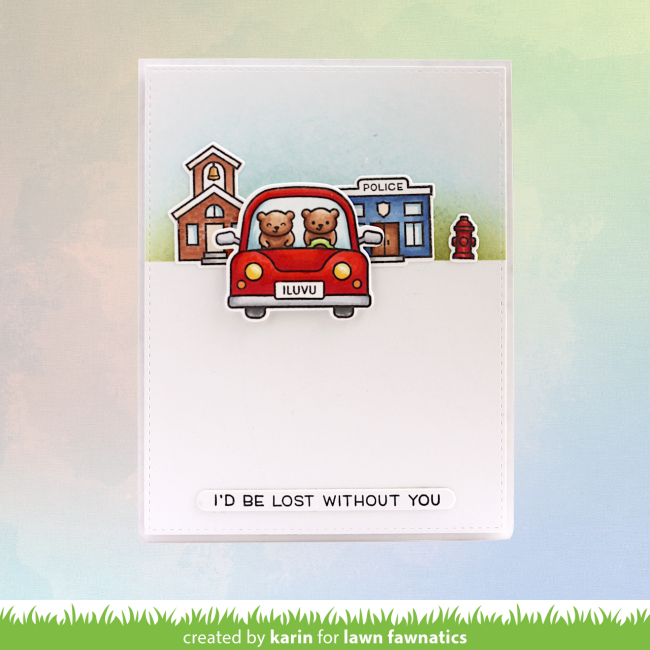
Karin‘s cheery card features Car Critters and Village Heroes! Her beautiful clean and simple design has just a hint of inking in the background to ground the images.

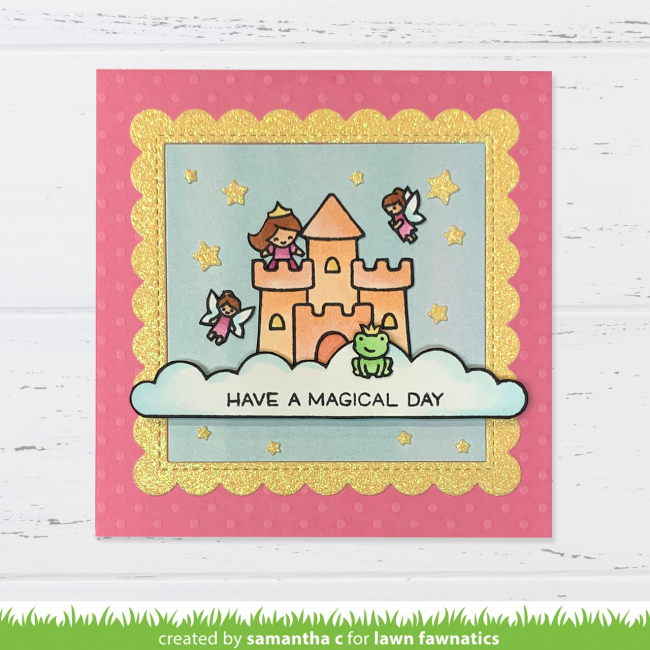
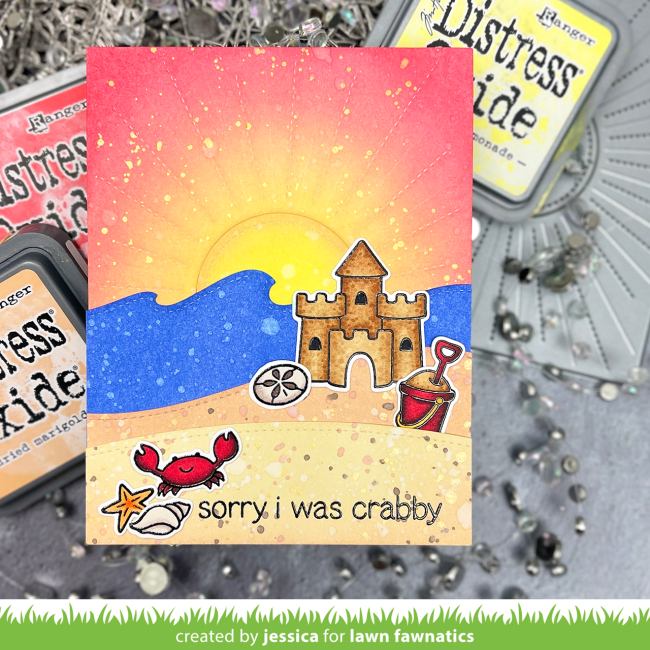
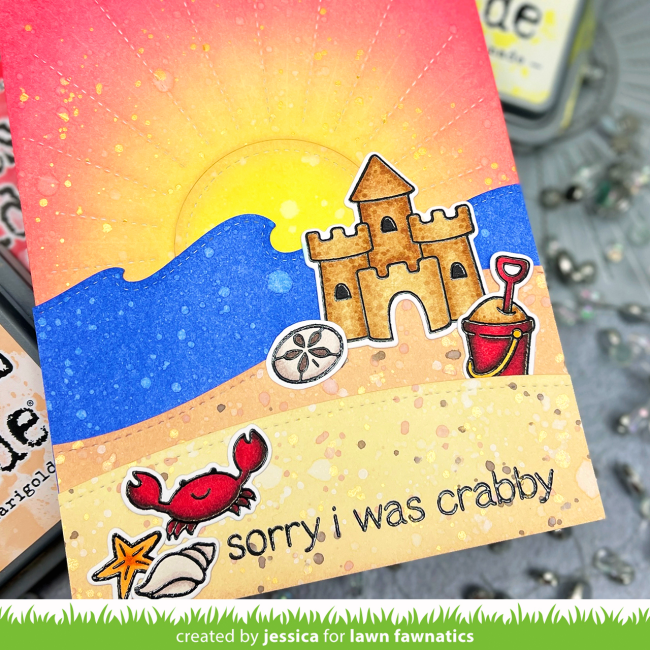
I love this clever card by Samantha! The Tiny Fairy Tale characters are great for this challenge! And the little sand castle from Life is Good is sized perfectly for a little fairy kingdom! Samantha used a Stitched Scalloped Square Frame and the long cloud from Unicorn Picnic to add magic to her design!

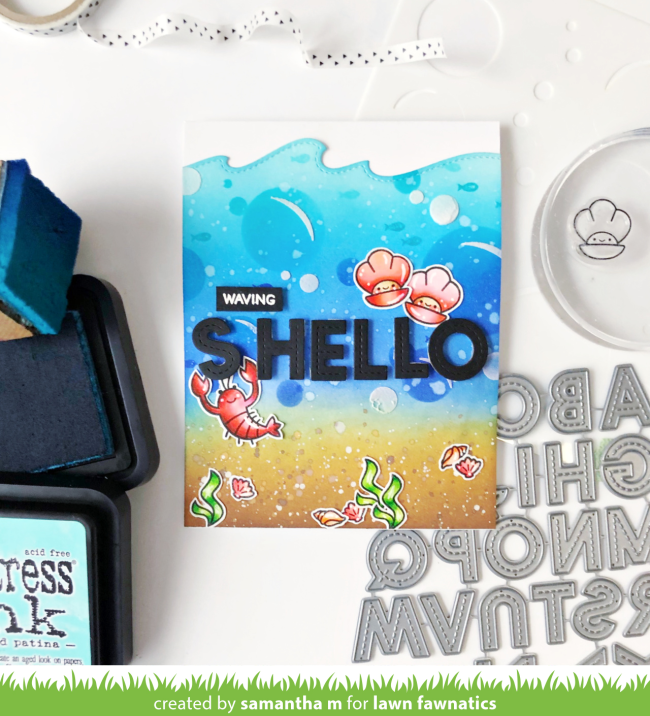
Samantha M. created a perfectly punny custom greeting to go with all her little things with shells! She combined Fintastic Friends, You Are Sublime and Ocean Shell-fie with the Stitched Wave Borders to make an underwater scene! She stenciled bubbles in the background and stamped lots tiny fish from Mermaid for You as well!

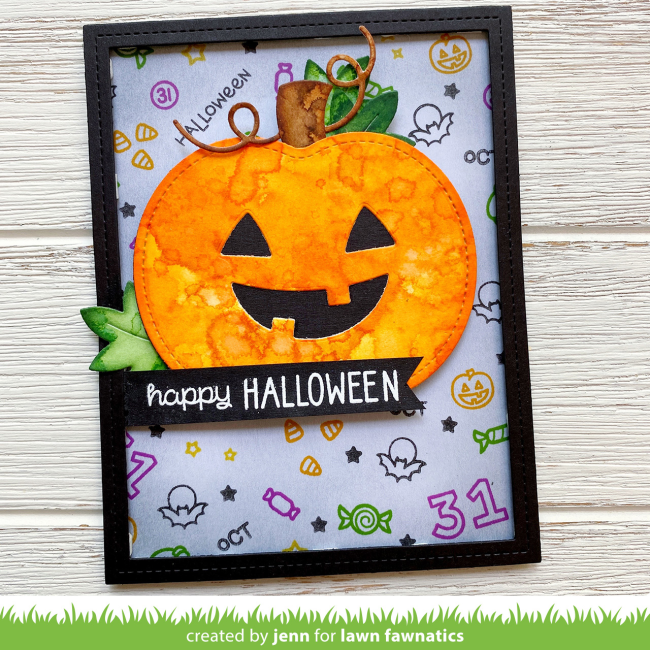
Jessica wasn’t the only team member looking ahead to some holiday fun! Jenn’s jack o’lantern is made with Outside In Stitched Pumpkin. She filled the background with fun little things from Plan on It: Holidays and more of our Halloween sets!

We will share Design Team inspiration for you over the next 2 weeks and we’ll announce our Featured Fawnatics and random winner for Challenge 102 – All Things Ocean tomorrow!

You are invited to the Inlinkz link party!

Click here to enter

Jessica’s Beach-inspired Card

Good morning!  Jess here with a card for our current challenge: All Things Ocean!  Earlier I created a deep sea card and today I’m taking things to the beach!

Its the last weekend for the All Things Ocean challenge! You have until Sunday, June 20th at 11:59PM ET to get your awesome entries added to the challenge gallery. We can’t wait to see all the ideas and creativity you came up with!


To start, I die-cut the Sunburst Backdrop die from Strathmore Bristol Smooth cardstock and blended it with squeezed lemonade, dried marigold, abandoned coral, and festive berries distress oxide ink.  Once it dried I splattered it with water and metallic gold paint. Then I blended another panel with blueprint sketch Distress Oxide ink and die-cut it with the Stitched Wave Borders dies.  Finally I die-cut two sandy hills from the Stitched Hillside Borders and and blended them with antique linen and tea dye distress oxide ink.  I splattered the blue panel with water and the sand panels with water, metallic gold paint, white gouache, tea dye, and ground espresso Distress Oxide ink.  Then I set them all aside to dry.  Once they were dry I stamped a sentiment from Life is Good onto the bottom panel with Versafine ink and heat-embossed it with clear embossing powder.

Next, I stamped a bunch of images from Life is Good (one of my all-time favorite Lawn Fawn sets!) and colored them with Copic markers before die-cutting them with the coordinating dies.  I adhered my blended panels together on a top-folding white card base and then added my colored images to finish the scene!  I love the mix of ink blending and Copic coloring!

And that’s it!  You one more weekend to get crafty and I can’t wait to see your ocean creations!  Thanks so much for stopping by and have an amazing weekend! –Jess

Supplies:

Thanks for sharing with us today, Jess!

Have a wonderful weekend, Fawnatics friends!

Caly’s Mermaid Box Card

Hi, Friends! It’s Caly with you today sharing a mermaid box card for the All Things Ocean Challenge using the Mermaid For You set..  This challenge runs through 6/20/21, 11:59pm ET.  There are a few more days to link up your projects and I hope my card today inspires you!

My box card is really easy to construct!  To create the box, you’ll need two panels cut to 6 1/4″ x 5 1/2″. Place these panels, one at a time, into a score board in landscape orientation and score at 1/2″, 1″, 5 1/4”, and 6″. After scoring both panels, you’ll burnish the folds first away from you, then towards you to create a “z”. When the two are put together, the card front and back form a box with the ends sticking out in the center – but we don’t want to adhere these together until the very end.

Once my box was created, I die-cut a window from one panel using the second largest Outside In Stitched Rectangles die.  I masked off the scored areas on the other panel and ink-blended my ocean background using Peacock Feathers, Mermaid Lagoon, and Blueprint Sketch Distress Oxide Inks.  I sprayed the panel with some water to give it texture before moving on to coloring my images.  I created an ocean bottom using a piece of cardstock die-cut from a Stitched Hillside Border die and ink-blended it with Antique Linen and Gathered Twigs Distress Oxide Inks.  To give it texture, I dotted it with Copic markers (listed below).

I stamped and colored images from the Mermaid For You set and a few accessory images from the You Are Sublime set for the ocean floor plants.
Copic marker color combinations:
Reds:  R32, R35, R37, R39
Pinks:  [RV21, RV23, RV25, RV29], [RV10, RV11, R43]
Oranges: [YR31, YR61, YR68], [YR00, YR01, YR02]
Yellows:  YR23, YR24
Greens:  G21, G24, G28
Teals:  BG10, BG11, BG34
Purples:  BV11, BV13, BV17
Warm Grays (Rock):  W1, W3, W6
Cool Grays (Narwhal):  C00, C0, C2, C4
Neutral Grays (Merman):  N4, N6, N8
Skin:  R20, E000, E51, E11
Browns:  E23, E25, E27

Once everything is colored and die-cut, all you have to do is create the scene!  I adhered the narwhal and one of the mermaids to the bottom flap of the bottom, ink-blended panel.  The mermaid is attached with acetate so it fits under the window and it makes her more visible.  My sentiment is embossed in gold in vellum so it doesn’t distract from the colorful background.  At this point, you can adhere the end flaps together – securing the narwhal and mermaid in place and forming your box card.  They move when you lightly pull on the flaps!  It’s so fun. 

I hope you enjoyed this card!  Thanks so much for stopping by today!  Be sure to link up your projects for this Challenge.  Again, you have until 6/20/2021, 11:59PM ET.
~Caly

Supplies: