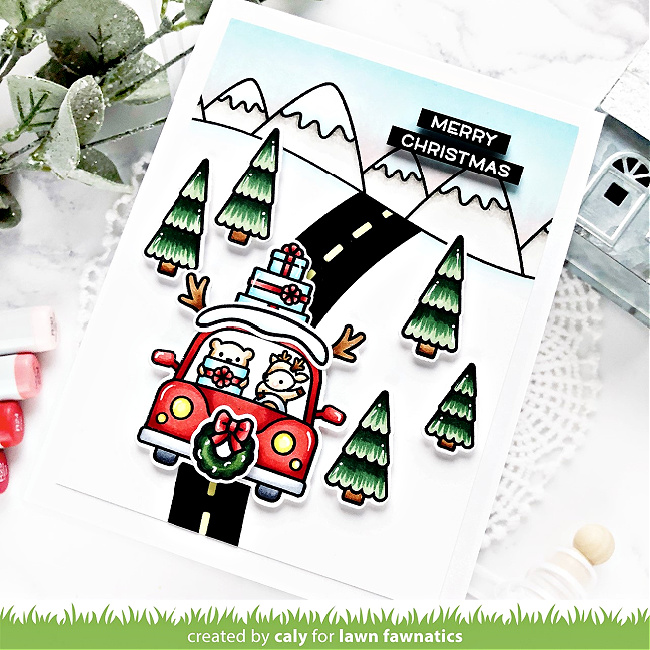
Hi Friends! It’s Caly and I’m so happy you can join me today for a Happy Holiday Critters card for Challenge #89! Lawn Fawn has such adorable critters and the holiday critters have that added charm that gets me every winter! Today, I’m using the Car Critters Christmas Add-On set to make my holiday card festive.
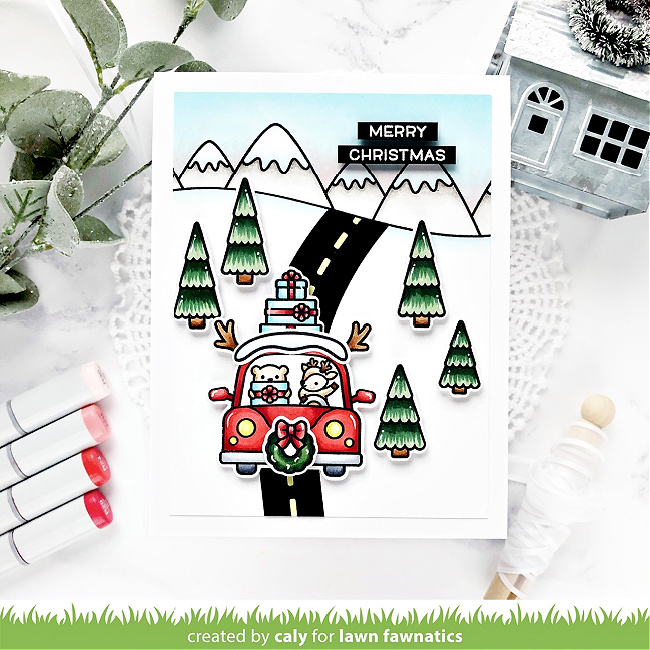
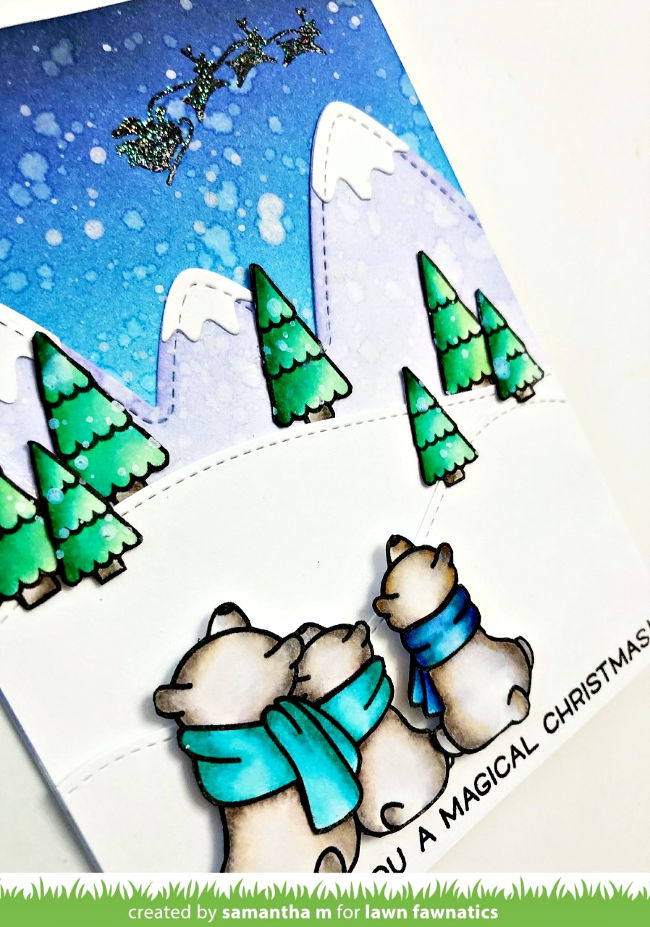
I began by stamping my background panel with the Over the Mountain Borders. For the rest of the images (Car Critters, Car Critters Christmas Add-On and Winter Skies trees) I stamped on another piece of white cardstock knowing I would die-cut to adhere them to the background panel. I colored everything with Copic markers and added white gel highlights to them using my Sakura Gelly Roll Pen.
Copic markers:
Reds: R30, R22, R24, R29
Yellows: Y11, Y15
Greens: G21, G24, G28, G29
Blues: B0000, B000, B000, B01, B02
Browns: E000, E51, E30, E33, E35, E37
Grays: [W00, W1, W3, W5], [C0, C2, C4, C6]
Next, I used the Road Border die to die-cut my road in black. I rotated it to fit the curve of the mountain background so I didn’t have to trim it where the road meets the mountain border. Then using the Y15 Copic marker, I added the yellow to brighten the dash marks with color.
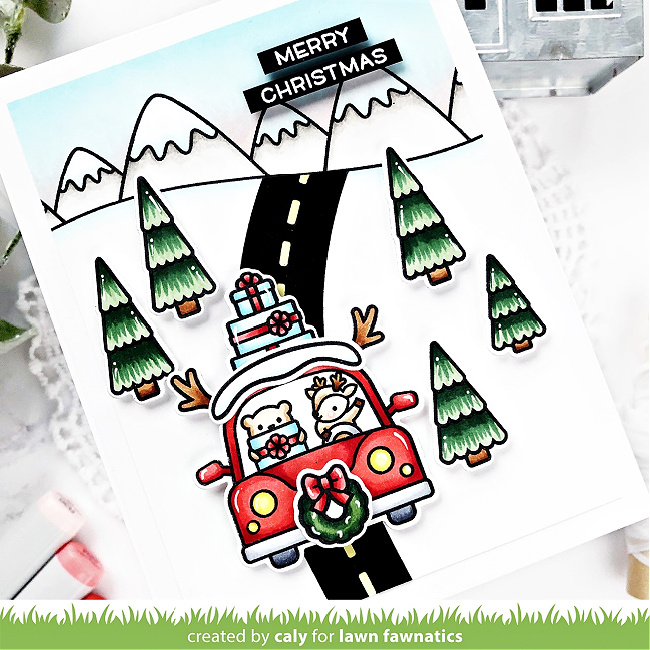
To finish, I attached my images with foam adhesive to give everything lots of dimension. I love this holiday scene and I hope you do too!

Happy Holiday Critters challenge runs 3 weeks through December 6th at 11:59pm PST, so I hope that’s plenty of time for you to play along! Have a blessed day!
Thanks so much for stopping by today!
Caly
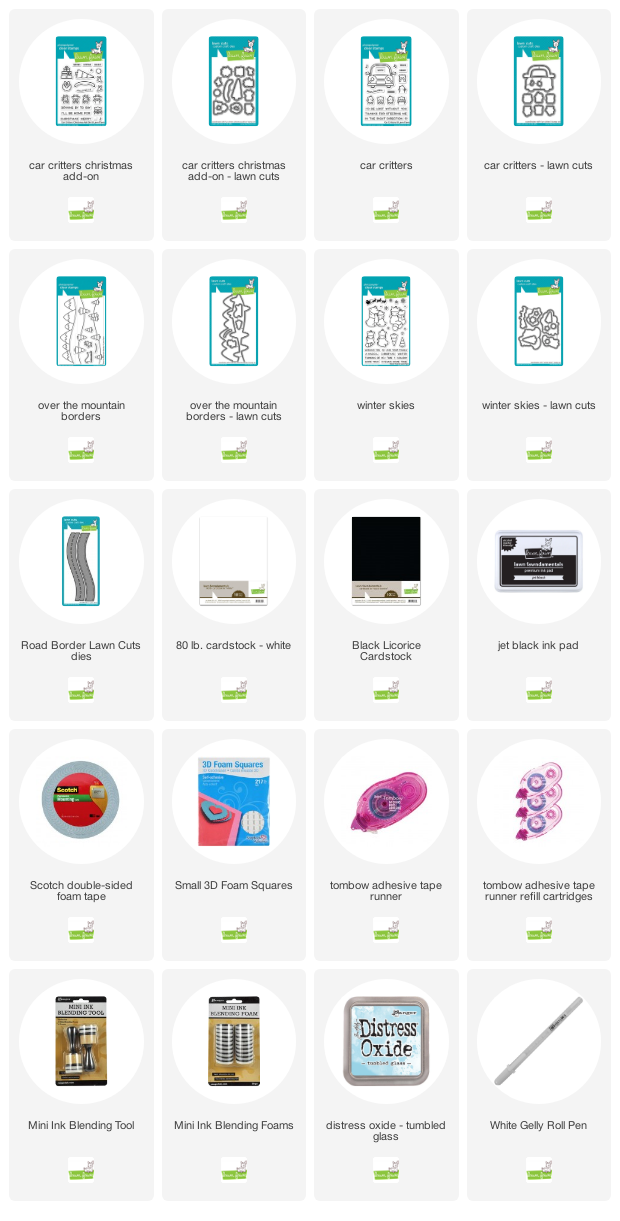
Supplies: