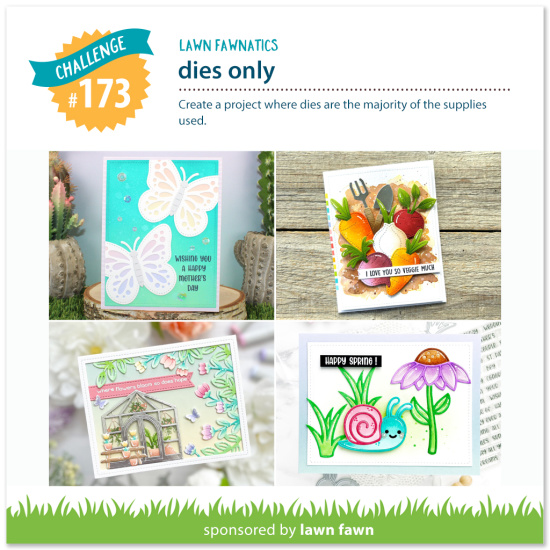
You are invited to share your creativity by linking up your crafty projects at the end of this post! Your project should feature Lawn Fawn stamps, dies, stencils and papers. This challenge will run for 2 weeks and be open until Sunday, June 1 at 11:59pm ET.
For each challenge, we will randomly select an entry to receive a $50.00 gift certificate to the Lawn Fawn shop! Everyone who enters a challenge has a chance to be the random winner! Yay!
We will also be highlighting a few of your fabulous projects at the close of each challenge! By linking your projects to our challenges, you will give permission for us to post your work to this blog and our social media sites. Check out the How to Play page for a few guidelines to play along. We want this to be FUN, so we’ll keep the rules to just a few!
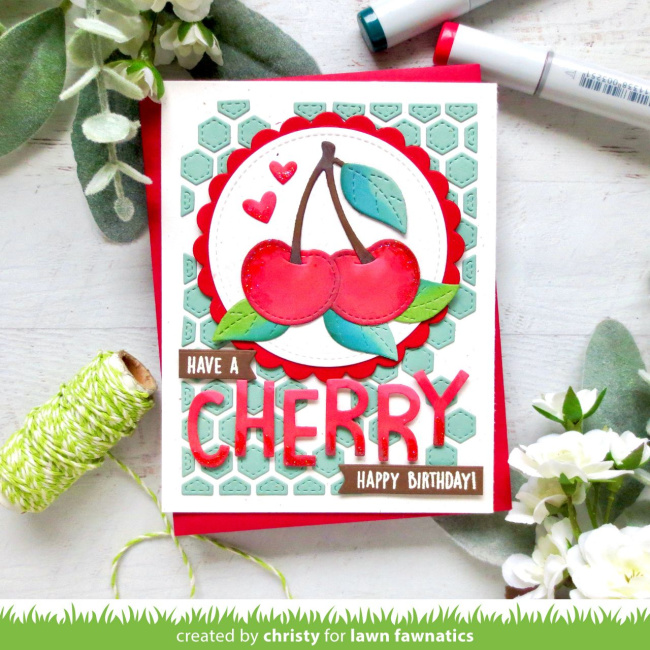
Hey friends, it’s Christy here with another card for our Dies Only Challenge! The bees have been buzzing in my backyard, so I was inspired to make a beehive card. I started by die cutting the Tree Branches Backdrop: Portrait out of some Chocolate Bar Cardstock. Then I cut the leaves from Cilantro and Noble Fir.
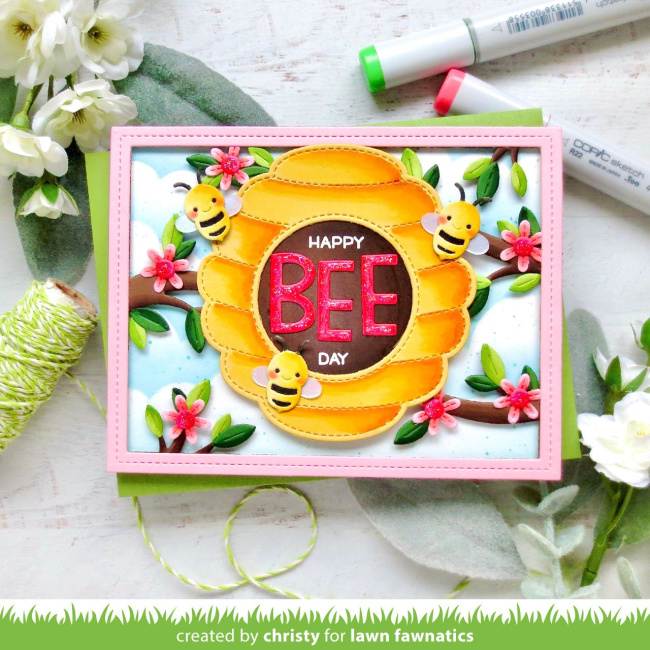
Next, I trimmed the Magic Iris Beehive Add-On from Sunflower Cardstock, backed the hole with more Chocolate Bar, and die cut the bees from Sticky Note, Black Licorice, with Pearlized Vellum for the wings. I cut the flowers from Ballet Slippers and Guava Cardstock and also cut the word “BEE” from Guava using Finley’s ABCs. I added shading to all my die cut elements with Copic markers. Then I white heat embossed the “happy’ and ‘day” parts of my sentiment into the center of the beehive, leaving enough room in the middle for my die cut letters.
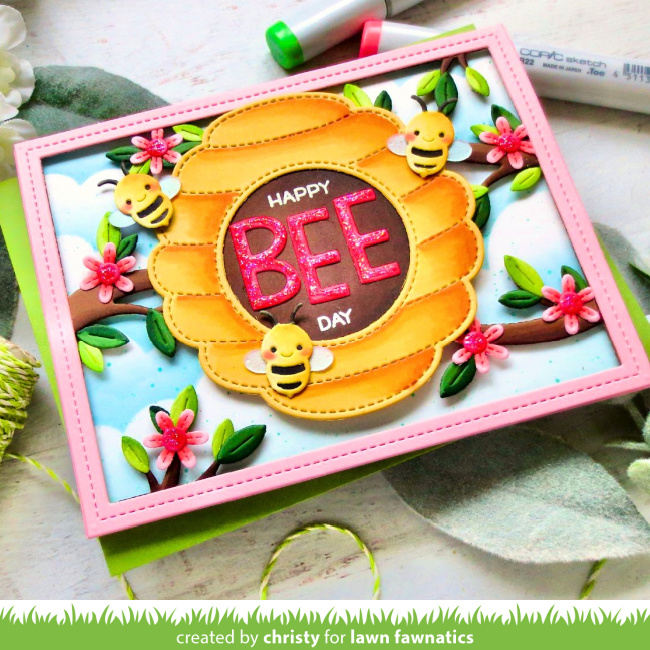
Then I took a piece of Bristol Cardstock and created a background using the Cloudy Stencil and some Salvaged Patina Distress Oxide Ink. I popped the Tree Branches Backdrop: Portrait up with foam tape to give the scene some dimension and added in my beehive, leaves, flowers, and bees. I finished with a bit of Stardust Stickles.

I did stamp on the inside of my card with Bubblegum Ink, which you can check out in the video tutorial on my YouTube channel, Christy Gets Crafty. I really hope you enjoy it! Thanks so much for stopping by today.
I love this bright and cheery card, Christy! Thank you so much for this wonderful inspiration!
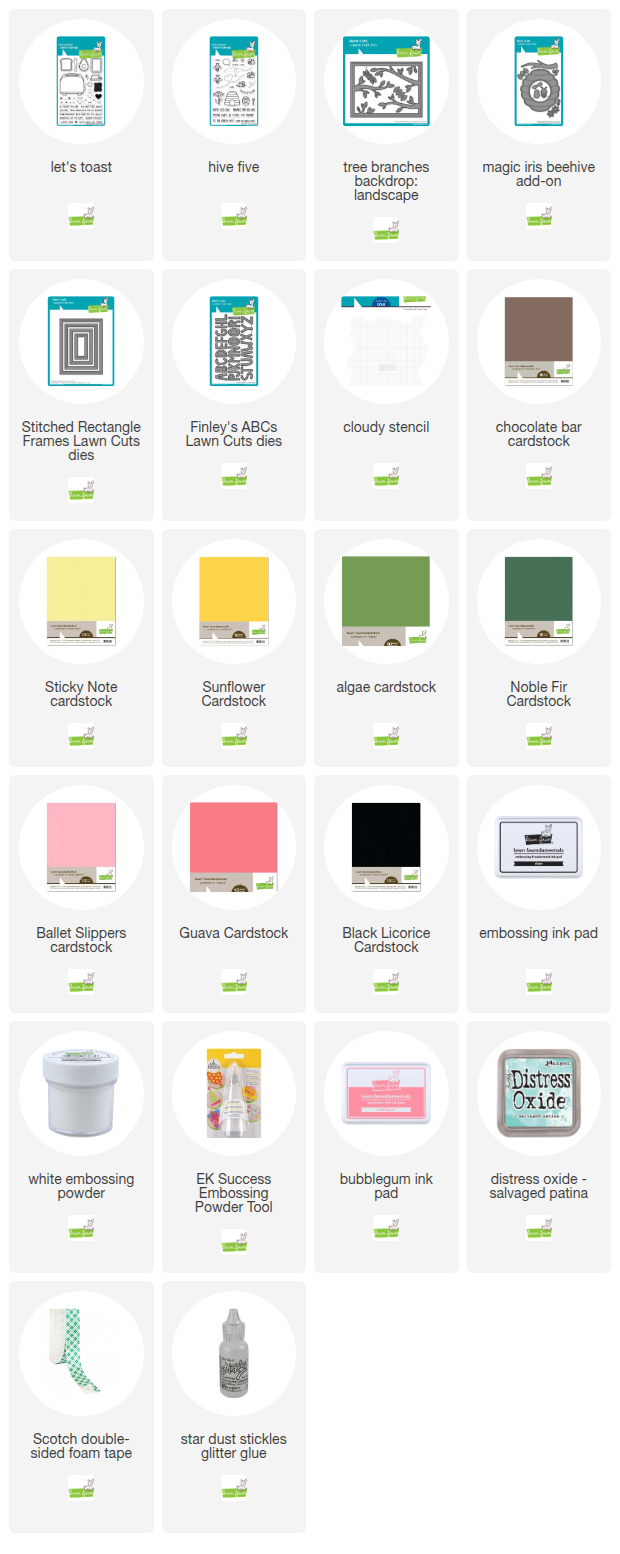
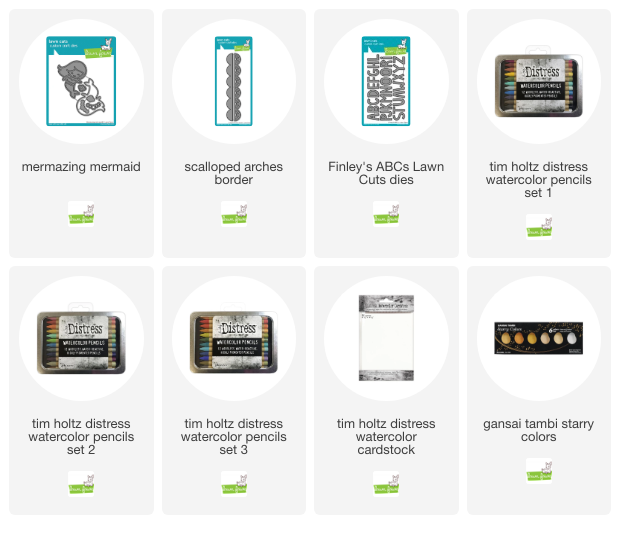
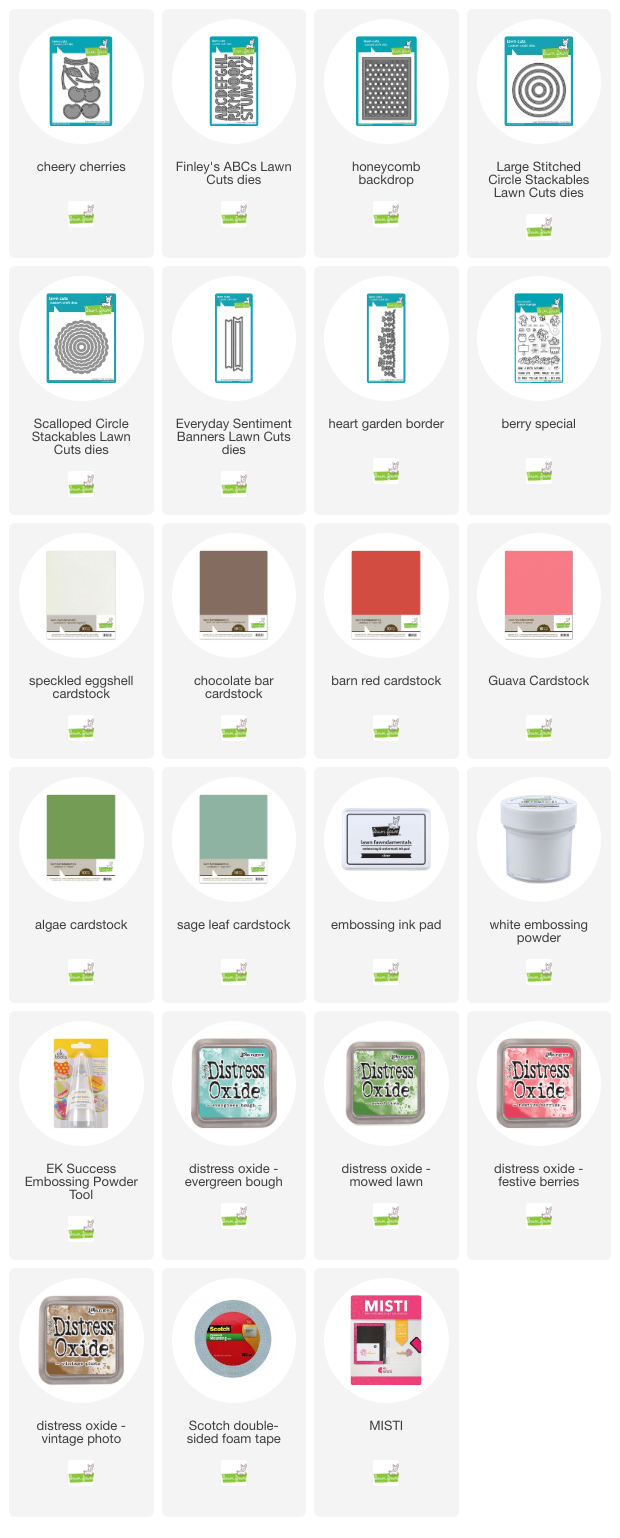
Supplies: