
You are invited to share your creativity by linking up your crafty projects at the end of this post! Your project should feature Lawn Fawn stamps, dies, stencils and papers. This challenge will run for 2 weeks and be open until Sunday, September 3 at 11:59PM ET.
For each challenge, we will randomly select an entry to receive a $50.00 gift certificate to the Lawn Fawn shop! Everyone who enters a challenge has a chance to be the random drawing winner! Woohoo!
We will also be highlighting a few of your fabulous projects at the close of each challenge! By linking your projects to our challenges, you will give permission for us to post your work to this blog and our social media sites. Check out the How to Play page for a few guidelines to play along. We want this to be FUN, so we’ll keep the rules to just a few!
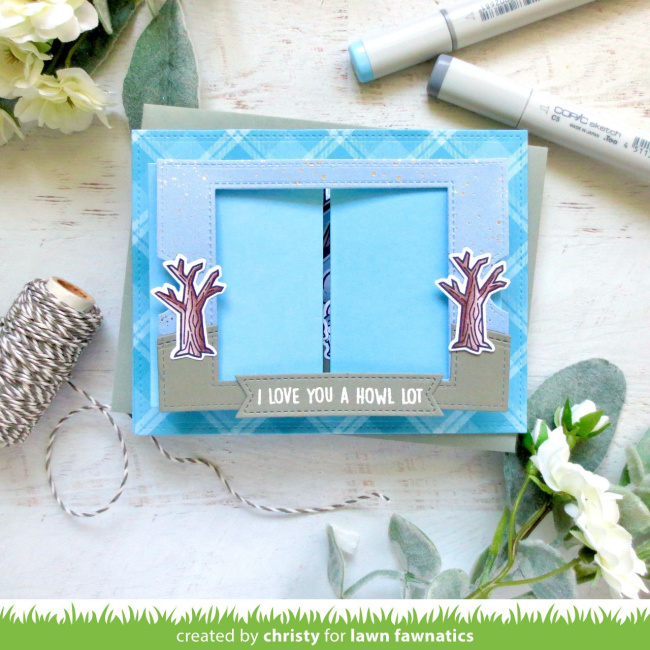
Hey friends, it’s Christy here with another card for our 3D Card or Project Challenge! I knew this was the perfect time to test out the brand-new Ta-Da! Diorama! I combined it with the adorable wolves from the new Wild Wolves stamp set.
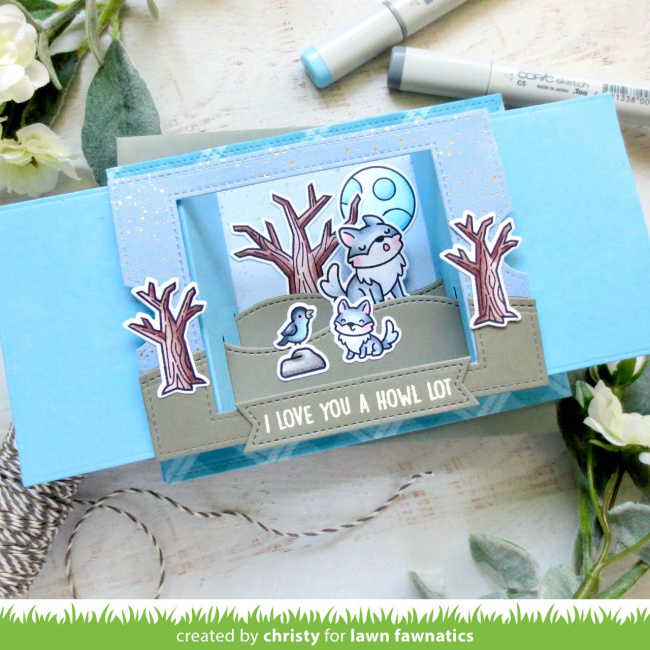
To begin, I stamped out all my images in Jet Black Ink, colored them with Copic markers, and trimmed them out with the matching dies.
Then I began to build my Ta-Da! Diorama! I first cut the front and back pieces from some Spiffier Speckles 6×6 patterned paper. Then I cut the side panels and bands from Moonstone Cardstock. I also cut the Ta-Da! Diorama Hillside Inserts from Narwhal Cardstock. Then I cut another front piece with the window out of Narwhal and used a Simple Stitched Hillside Border to turn it into a hill to glue on the front of my diorama.
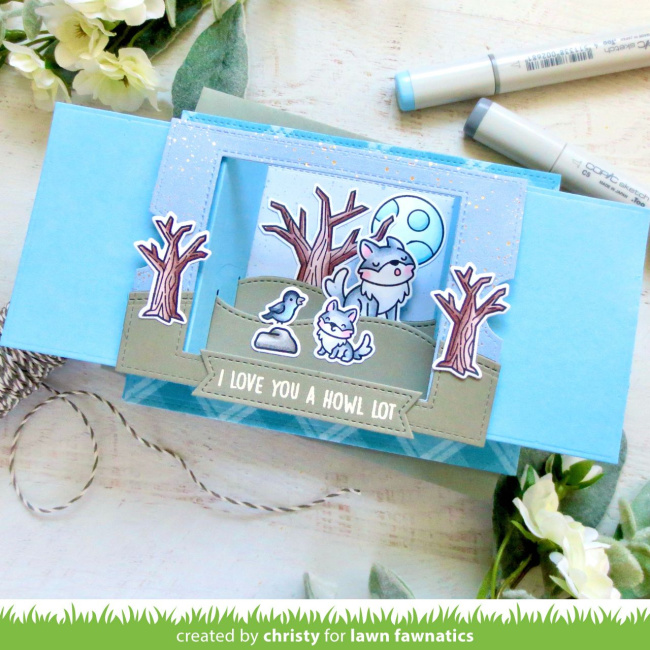
The Ta-Da! Diorama! is super easy to assemble. I just followed the instructions given in the Lawn Fawn video, and in no time at all, my diorama was built. I wanted to adhere mine to an A2 standard size card, so I created one out of more Moonstone cardstock, then covered that in a piece of Favorite Flannel 6×6 paper, which I trimmed down with the largest Large Stitched Rectangle Stackables. Then I simply adhered my Ta-Da! Diorama to the card front and decorated it with the images I had colored. I finished off with a white heat embossed sentiment banner, which is included with the Ta-Da! Diorama, and also did some stamping on the inside with Blue Jay Ink.
If you’d like to watch this card come together, you can check out the video tutorial on my YouTube channel, Christy Gets Crafty! Thanks so much for stopping by!
Thank you so much for inspiring us today, Christy!
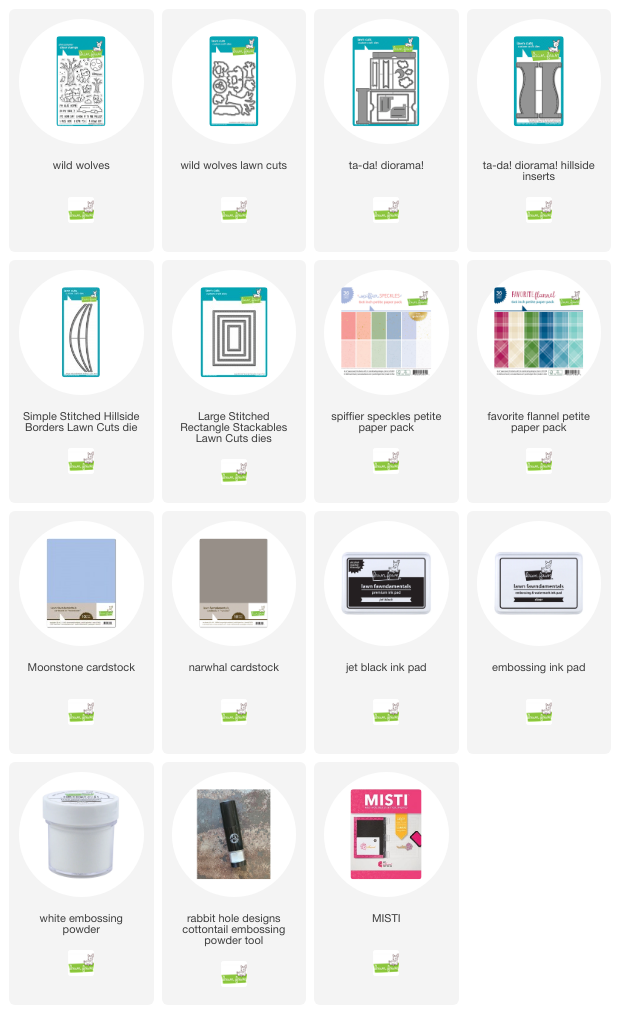
Supplies:
There is another week for the 3D Card or Project challenge; we can’t wait to see your awesome creations! Link them up to enter the challenge HERE.
Love the different shades of blue, such a stunning diorama!
This is superb! Love it! TFS –
Lori S in PA
This is fantastic … can’t wait to get these stamps and dies!