Hi, Friends!
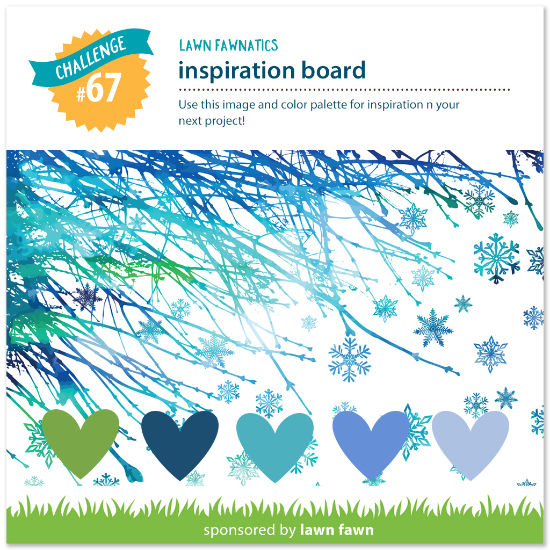
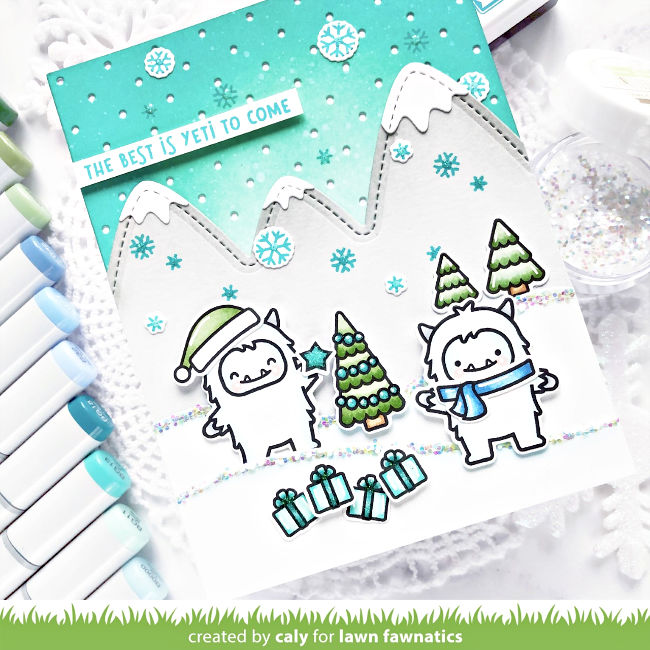
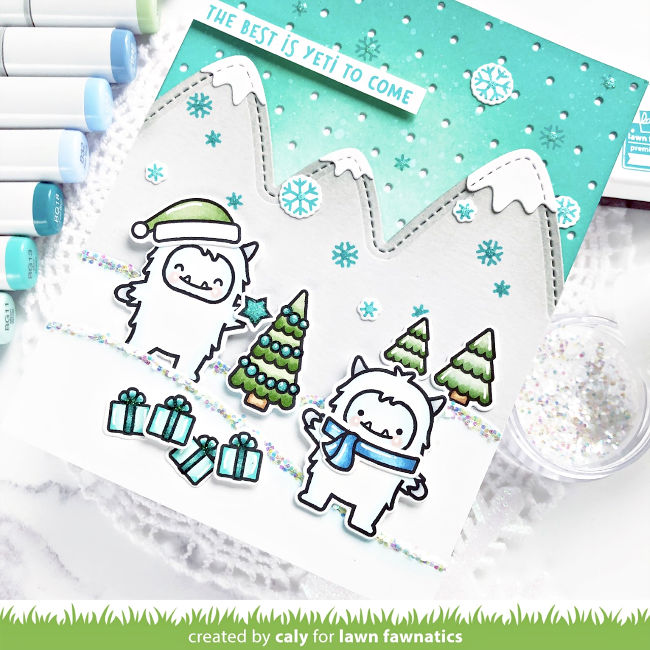
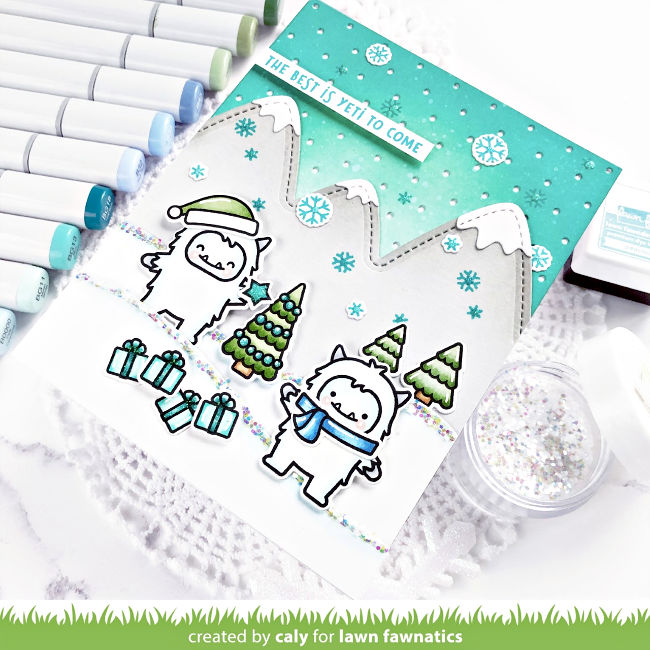
This is Caly. Thanks so much for joining me today! I’ve got a fun card to share with you using the Yeti or Not stamp set. Our current challenge is an Inspiration Board and I’ve created a card based not only on the colors, but also the snowflakes!
I started by creating my scene! I usually color first knowing what I set I’m going to use, but I worked backwards for this card because I also knew the colors I wanted to use and the products to create my background.
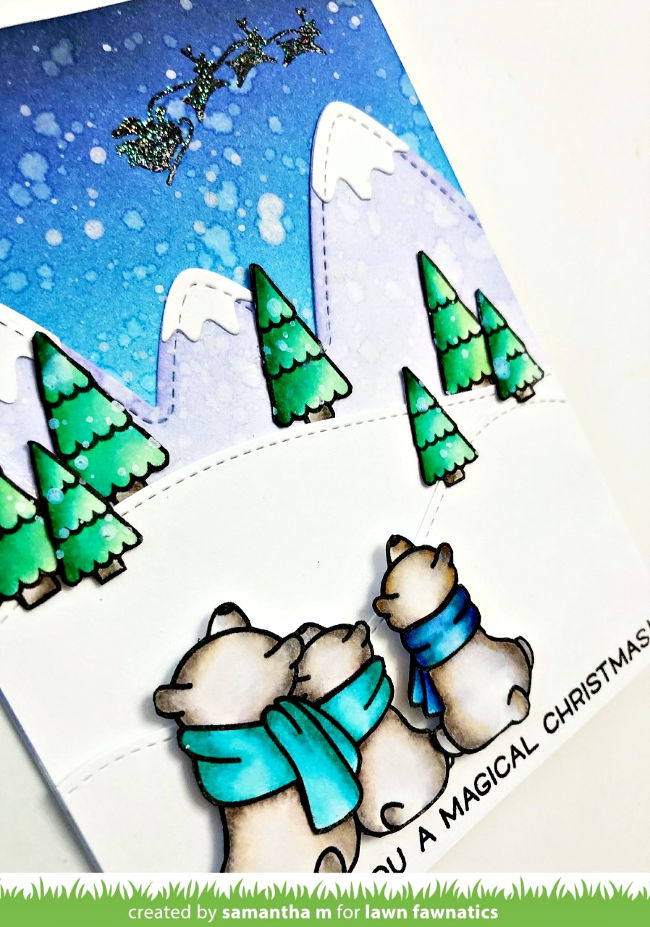
I first ink-blended the background with Distress Oxide Inks (Cracked Pistachio, Tumbled Glass, Peacock Feathers, Mermaid Lagoon), then I sprayed it with a light mist of water for some texture and die-cut it using the Itsy Bitsy Polka Dot Backdrop. It creates a snowy scene when placed over a white card base.
The hillside is created next with the Stitched Hillside Borders die. I cut two layers, then colored the top with Copic markers to shade it with some blue (B0000, B000). To give it some sparkle, I added some clear adhesive and Chunky Glitter. The background is finished by die-cutting the Stitched Mountain Borders die with Fog cardstock. I ink-blended the tops with Hippo ink to give it some shading before adding my white mountain caps. I also stamped the background with several snowflakes using Peacock ink.
Next, I stamped and colored my images from the Yeti or Not stamp set. I colored them with Copic markers, then die-cut the images to prepare them for my card also adding white gel high-lights.
Copic colors used: Light Blues (snow, yeti bodies):
B0000, B000
Blush: R20
Grays (yeti hands and horns): C1, C3
Browns (tree trunk): E31, E25
Greens (trees, hat): YG61, YG62, YG67
Teals (ornaments, gifts): BG11, BG13, BG18
Blues (scarf): B32, B34, B45
Once I adhered all my images, I stamped my sentiment and adhered it
to the card using foam adhesive at the top of my card. To add more
shine and sparkle to my ornaments, snowflakes, star tree topper, and
gifts, I added some teal glitter glue over the areas.
I really hope you enjoyed this card. The current Inspiration Board challenge runs for three weeks and ends on Sunday, January 5th at 11:59PM ET. Lots of time and we hope you’ll find some time to play along.
Thanks so much for stopping by today and Happy Holidays, everyone!
Caly
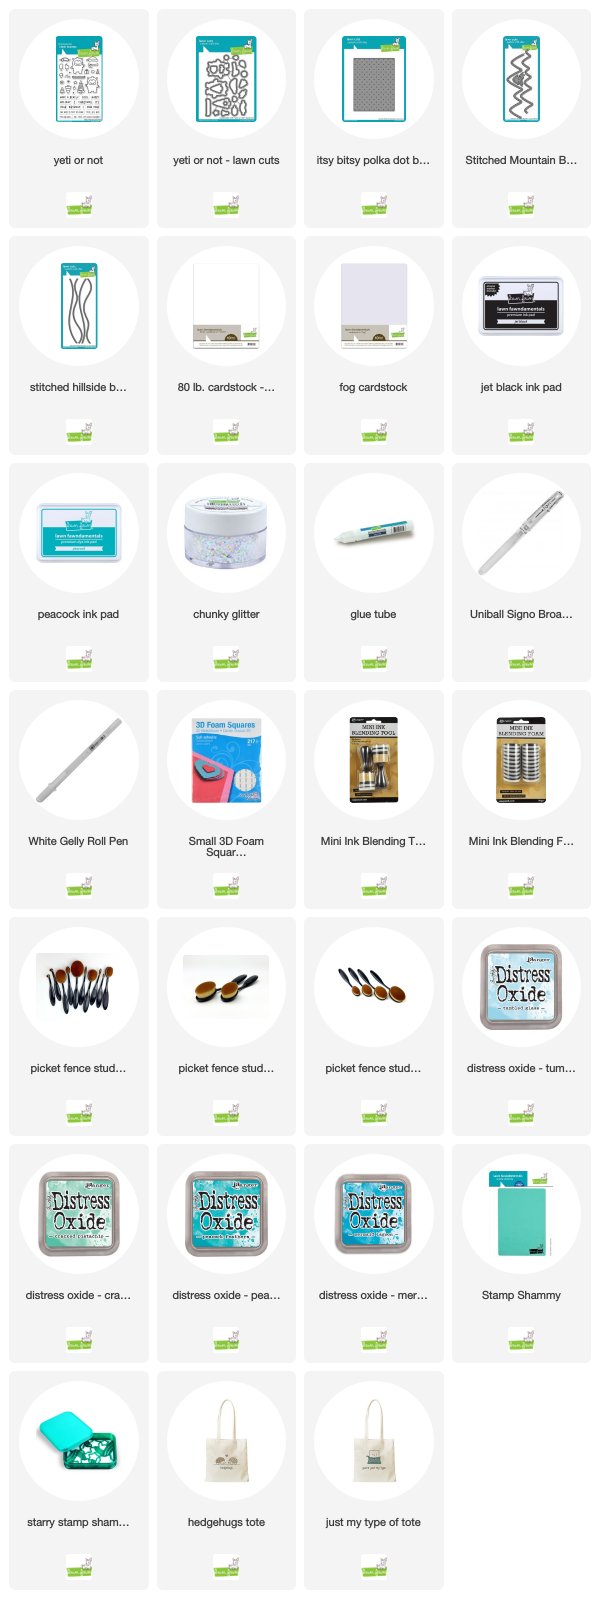
Supplies: