Lawn Fawnatics Challenge 18 – Emboss Resist

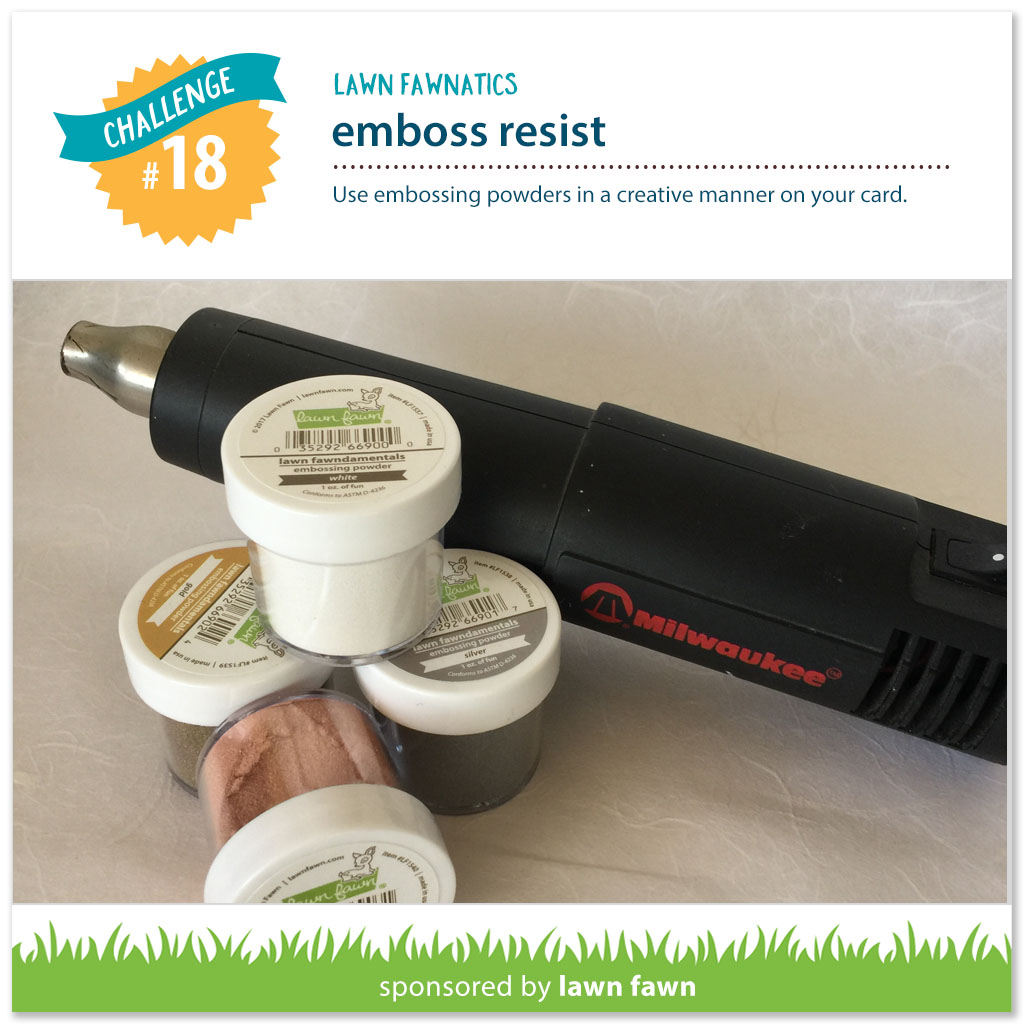
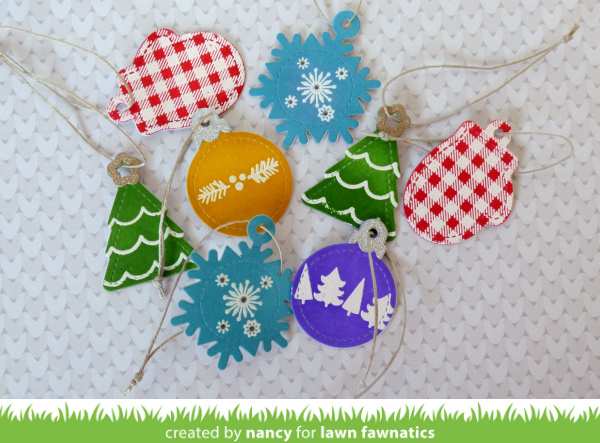
Hello Fawnatics! Welcome to Challenge 18! This time we have a fun technique for you! Show us your creative new cards and projects using Emboss Resist! This technique involves stamping and heat embossing using embossing powder, then adding color with ink blending, watercolor or any number of fun ways revealing the heat embossed image below. If you’ve never tried this technique this is the perfect time add it to your crafty repertoire! You can find lots of great tutorials and examples of emboss resist with a quick web search. This challenge will run through December 17 at 11:59PM PT.

For each challenge, we will randomly select a winner to receive a $25.00 gift certificate to the Lawn Fawn shop! We will also be highlighting a few of your fabulous projects at the close of each challenge! By linking your projects to our challenges you will give permission for us to post your work to this blog and our social media sites. Check out the How to Play page for a few guidelines to play along. We want this to be FUN so we will keep the rules few! Note: we’ve amended the rules a bit to limit entries to no more than 4 for each challenge.

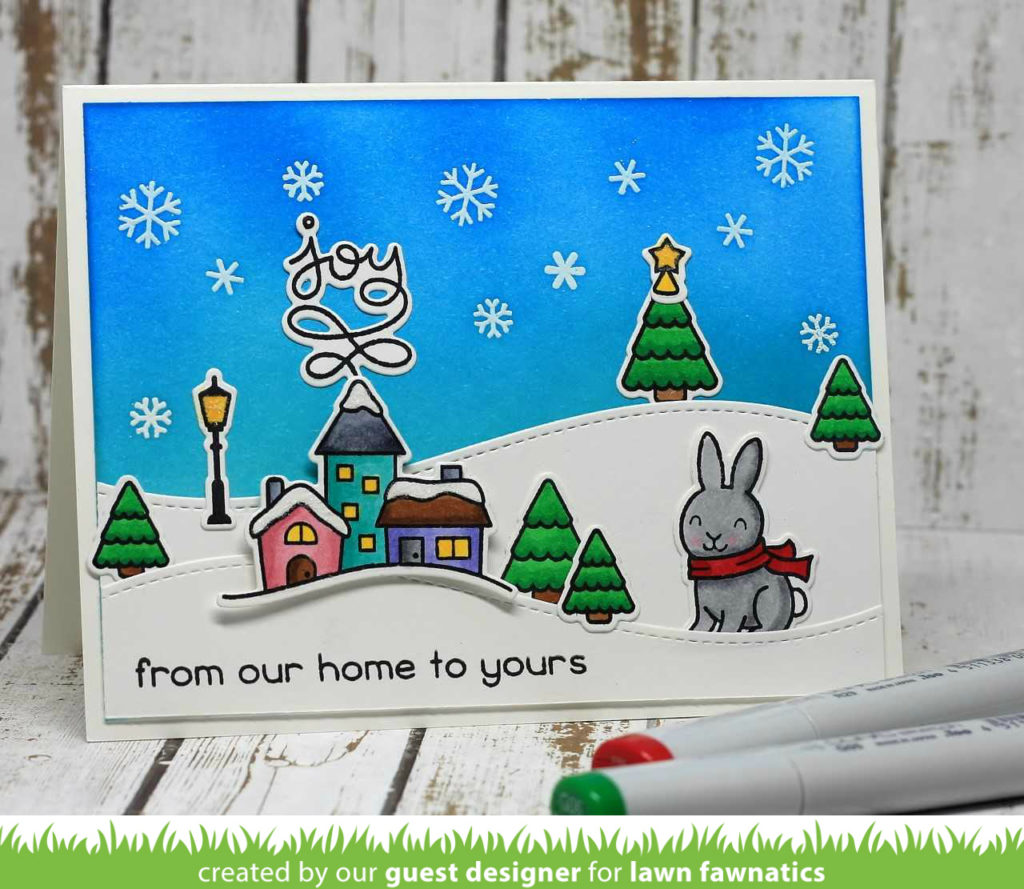
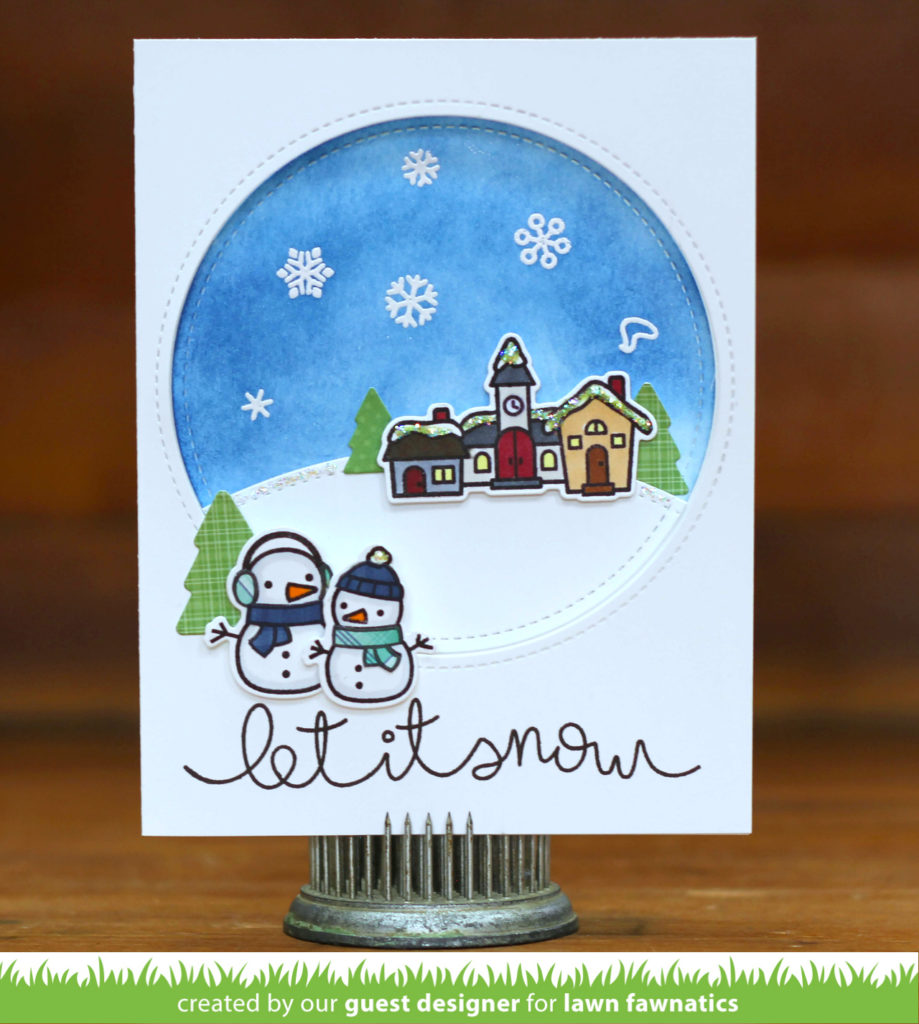
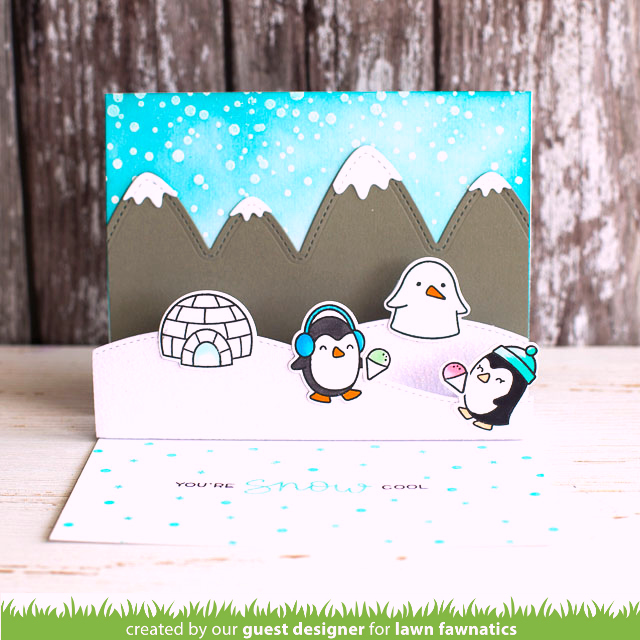
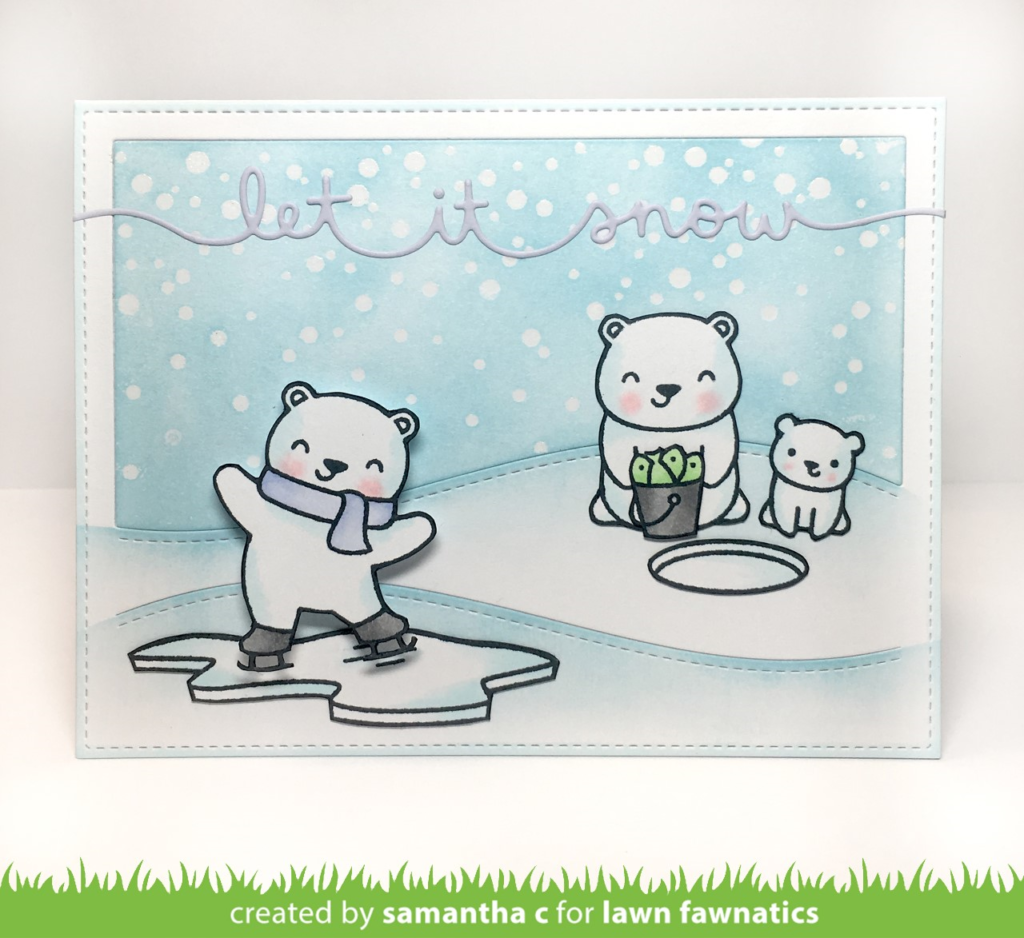
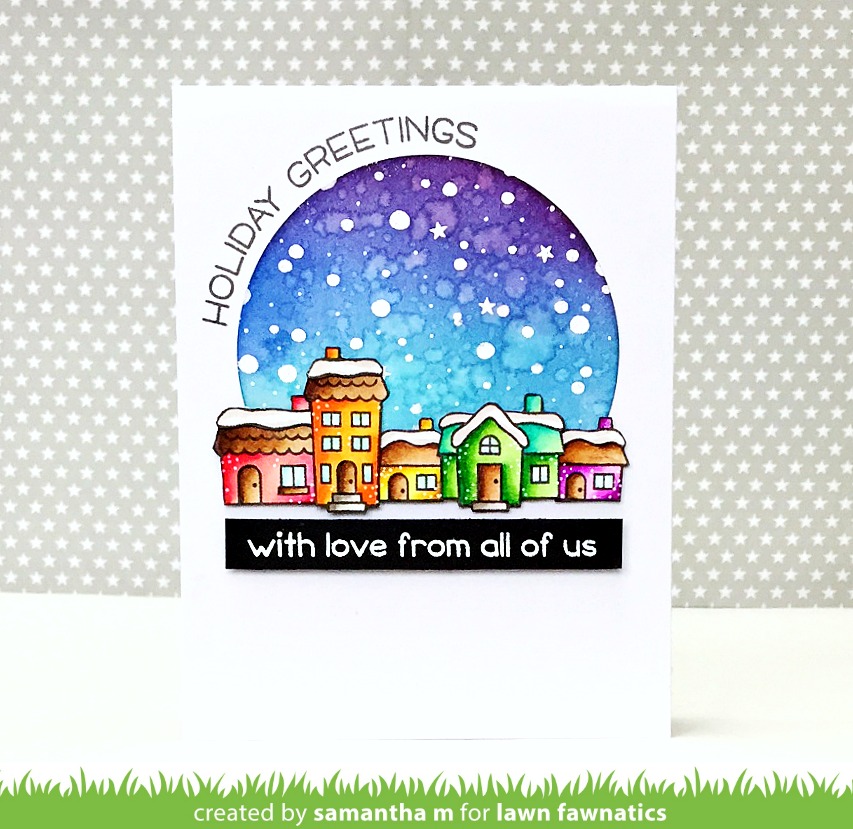
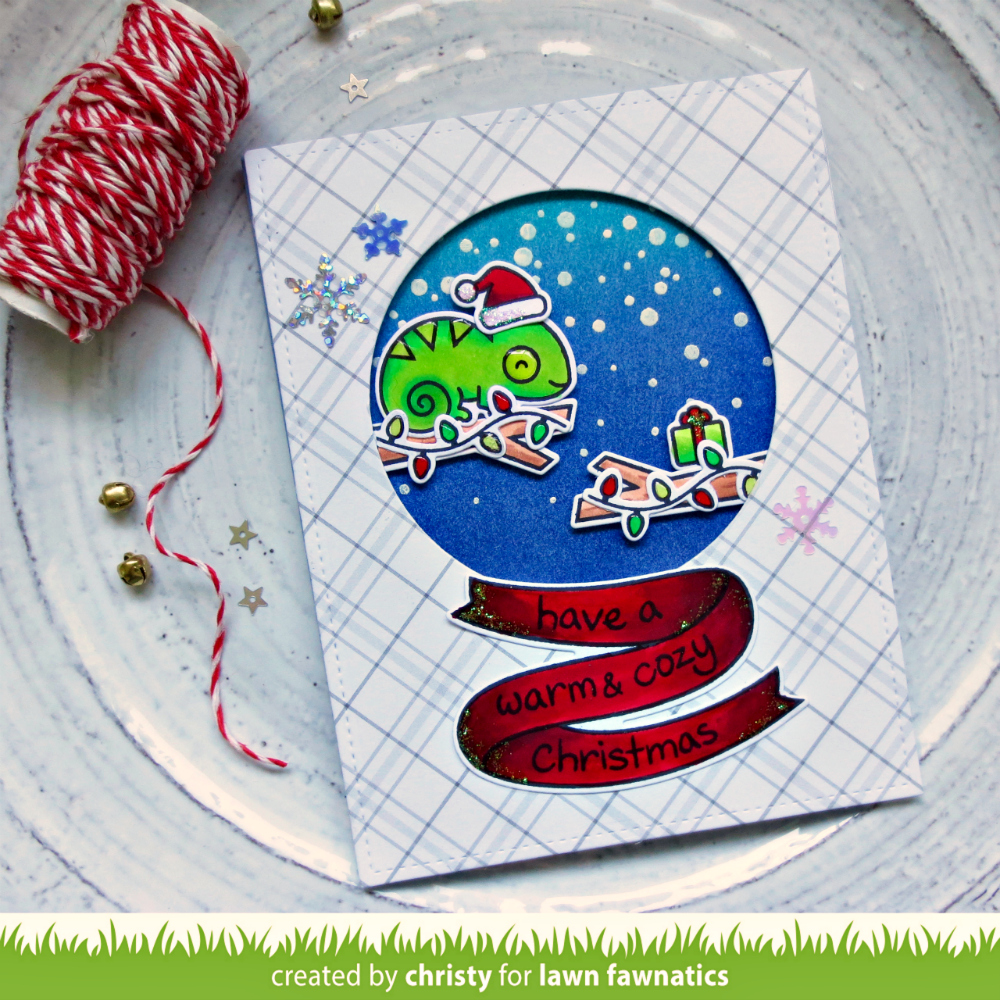
We are so excited to have three talented Guest Designers joining us today! Please welcome Lynn Kopas, Kathy Skou and Cheiron Brandon to the blog! I love that they all had the same idea to create wintry snowy skies using emboss-resist!

Lynn‘s beautiful Winter Village landscape gets a fun bit of whimsy from our Critters in the Arctic snow bunny! I love how the pretty snowflakes shine through the inky sky!
Kathy created a lovely winter scene using Ready Set Snow and an Outside In Stitched Circle! I love how she placed the cute snowmen just outside the window! The greeting is from Winter Big Scripty Words.
Cheiron created a super fun Stitched Hillside Pop-Up scene for the Snow Cool penguins! She used the emboss resist technique to make the falling snow pop!

Now let’s check out what our fabulous Design Team has to inspire you!

I love this frosty winter scene by Samantha C.! She combined the falling snow from Snow Cool with the playful bears from Beary Happy Holidays on a Stitched Hillside Backdrop: Landscape!
Wow, the colors on this Winter Village card by Samantha M are amazing! The beautiful stormy sky created with emboss resist uses Snowy Backdrops.
Christy added some emboss resist texture behind our cute Black Friday special mini set, One in a Chameleon! She added cute holiday images from Baaah Humbug! That deep red Bannertastic banner is really cool!
Nancy created a set of Winter Tiny Tags with fun holiday motifs using Lawn Fawn White Embossing Powder and bold Distress ink colors! Check out the Lawn Fawn blog for more on these tags!

We will have Design Team inspiration for you over the next 2 weeks and of course, we will have our Featured Fawnatics and Random Winner from Challenge 17 tomorrow!


Here We Go A-Waddling Cuteness by Karin!

Challenge 17 – Color Inspiration ends this Sunday Dec 3 at 11:59PM PT

Karin used our Color Inspiration Board to add festive fun to her Here We Go A-Waddling tag card!

The cute little penguin scene is created on a Stitched Circle Tag! The little red  polka-dot bow is the perfect finish!

We can’t wait to see what you will share with us for the Color Inspiration Challenge! Link up your new card or crafty project by Sunday at 11:59PM PT.

Christy’s Otterly Adorable Card!

Challenge 17 will be open until Sunday, December 3 at 11:59PM PT

Hey friends, Christy here with a super fun Christmas card inspired by our current challenge! I took the color palette and gave it a girly twist by adding pink into the mix. I’d been dying to ink up my Winter Otter, so I colored him with Copic markers and gave him a little candy cane to hold. So cute!

For my focal panel, I die cut a circle out of patterned paper with the Stitched Circle Stackables and added some vellum waves with Ocean Wave Borders. Since I was going girly, I absolutely had to add some of the gorgeous iridescent Chunky Glitter to the edges.

The rest of the patterned papers I die cut with the Large Stitched Rectangle Stackables and the Stitched Journaling Card. I layered them on my card base and added my sentiment stamped in Peacock ink on an Everyday Sentiment Banner.

For a finishing touch, I added a trio of Stitched Snowflakes, with a dab of Stickles glitter glue in the centers. If you’d like to see the video tutorial for this card, please visit my YouTube channel, Christy Gets Crafty.

You still have a few days to enter our Color Inspiration Board Challenge! The entries so far have been so inspiring. I can’t wait to see what you create!

Thank you so much, Christy for sharing this decidedly feminine card! Love how you used the color inspiration!