Christy’s Wild Shadow Box Card Featuring Toucan Do It

Our 3D card challenge is a 3 week challenge, open until September 5, at 11:59PM ET. We can’t wait to see your 3-dimensional card creations! Link them up HERE.

Hello friends, it’s Christy here with another card for our 3D Card Challenge! I just can’t get enough of the sweet jaguars from the Toucan Do It stamp set, so I just had to use them again. I also added in the small leaf from Critters in the Jungle. I colored all the images with Copic markers and trimmed them out with the matching dies.

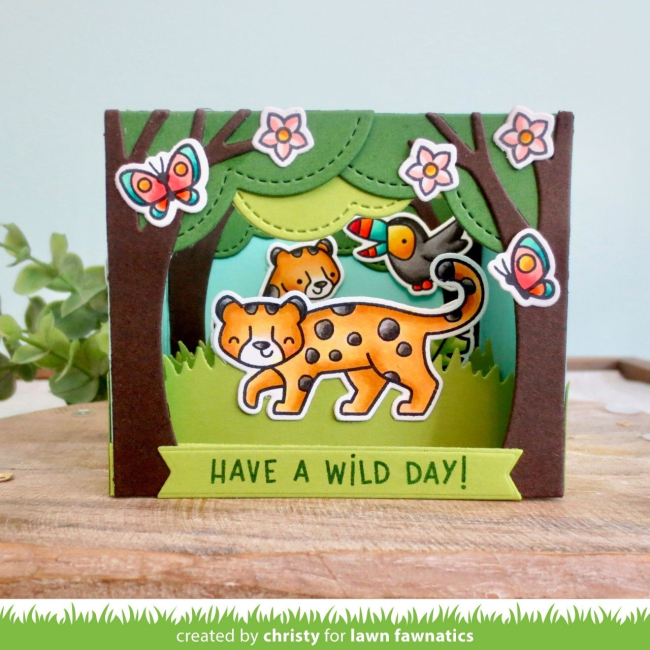
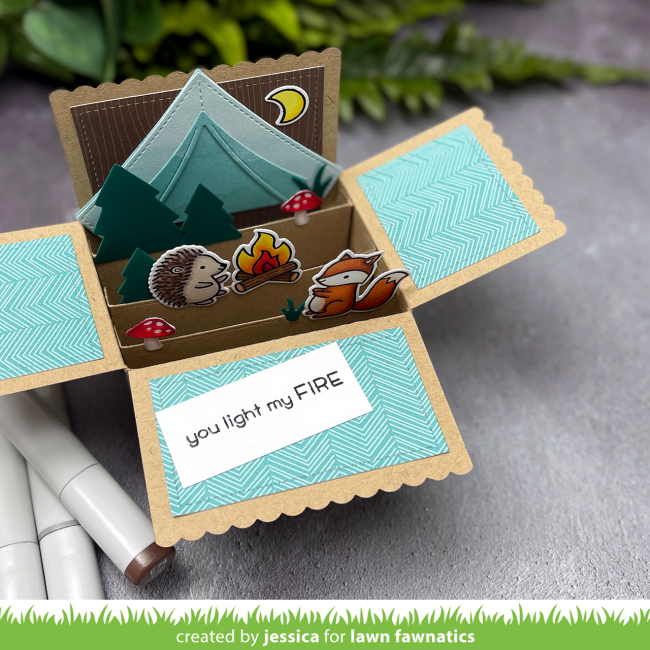
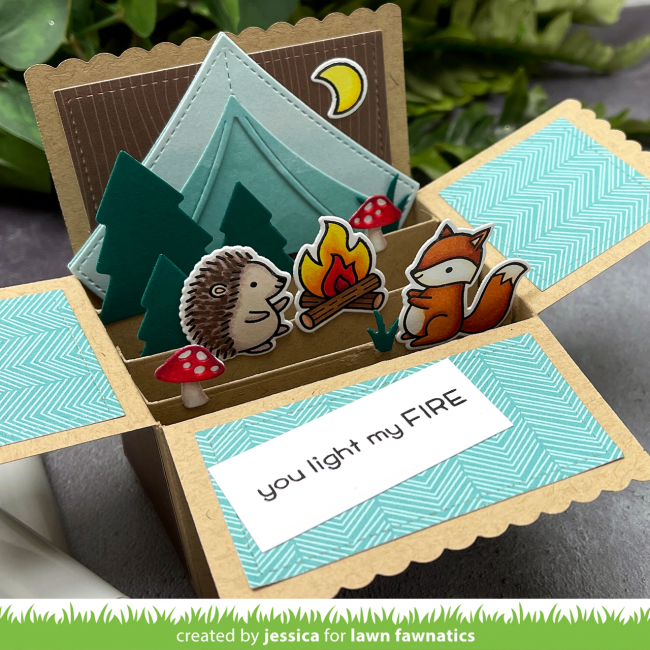
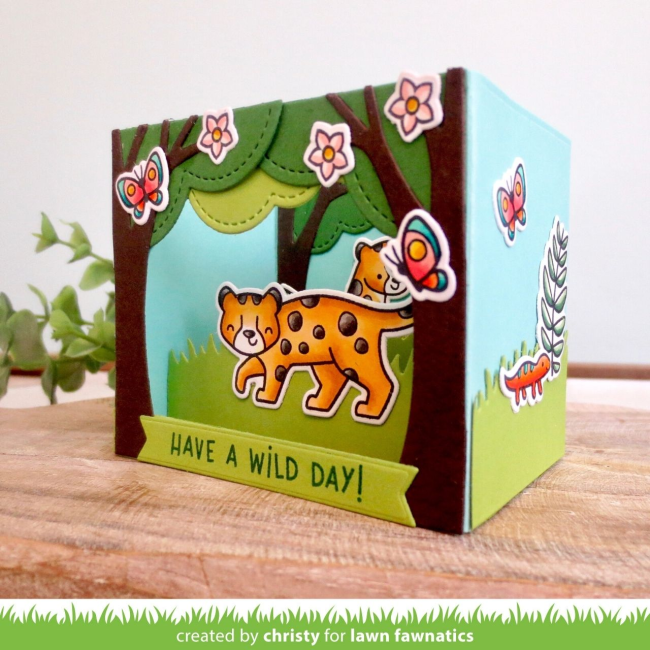
I die cut the two pieces of the Shadow Box Card die from Mermaid Cardstock. Then I cut out the trees from Ground Coffee, the tree tops from Noble Fir, and the Grass from Cilantro. I also cut out the cloud tab from the Shadow Box Rainbow Add-on from Cilantro Cardstock and turned it upside down and trimmed off the tabs to fill in my tree tops. I put the trees on both the front of the Shadow Box and on the back panel to create a little forest.

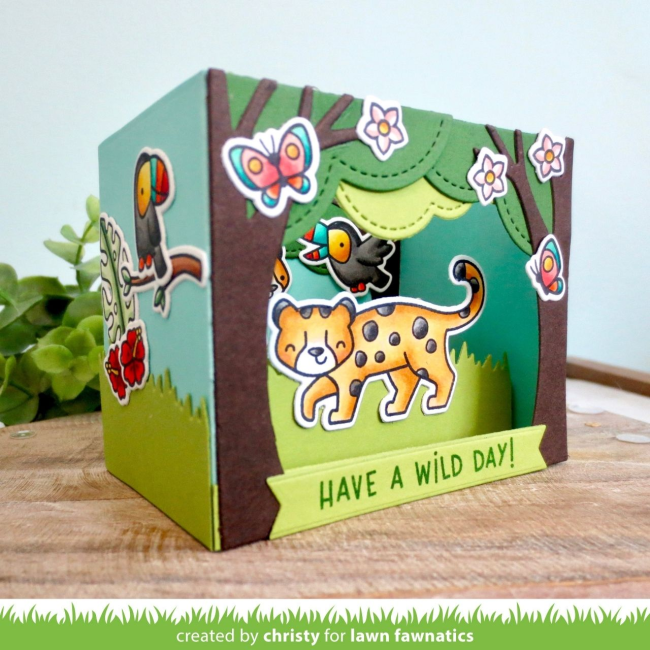
I assembled everything using 1/8” Double Sided Tape. I also trimmed down more of the grass tabs to finish off the sides of the box, but left the back blank so I have a space to write a message to the recipient. Then I added my images inside and out using Mini Glue Dots and finished with an Everyday Sentiment Banner stamped in Noble Fir Ink.

If you’d like to see this Shadow Box Card come together, check out the video tutorial on my YouTube channel, Christy Gets Crafty!

If you’d like to play along in our 3D Card Challenge, you still have time to enter! We can’t wait to see what you create!
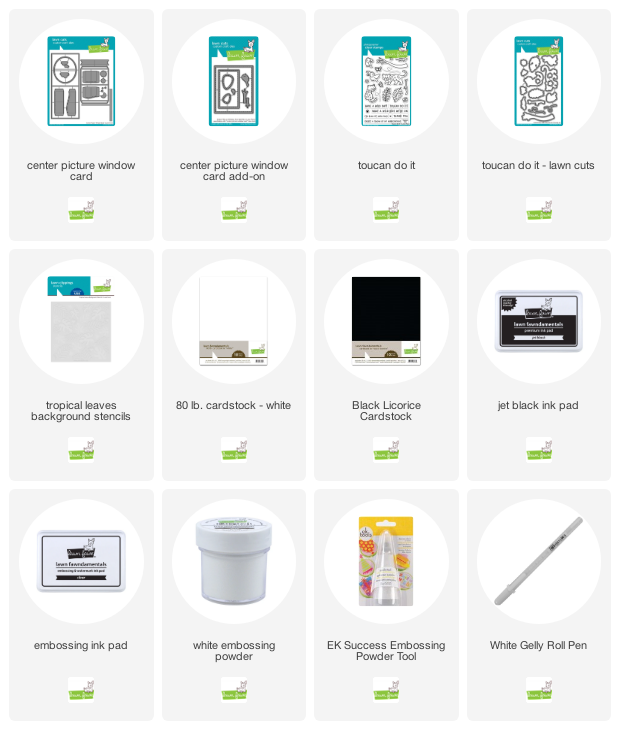
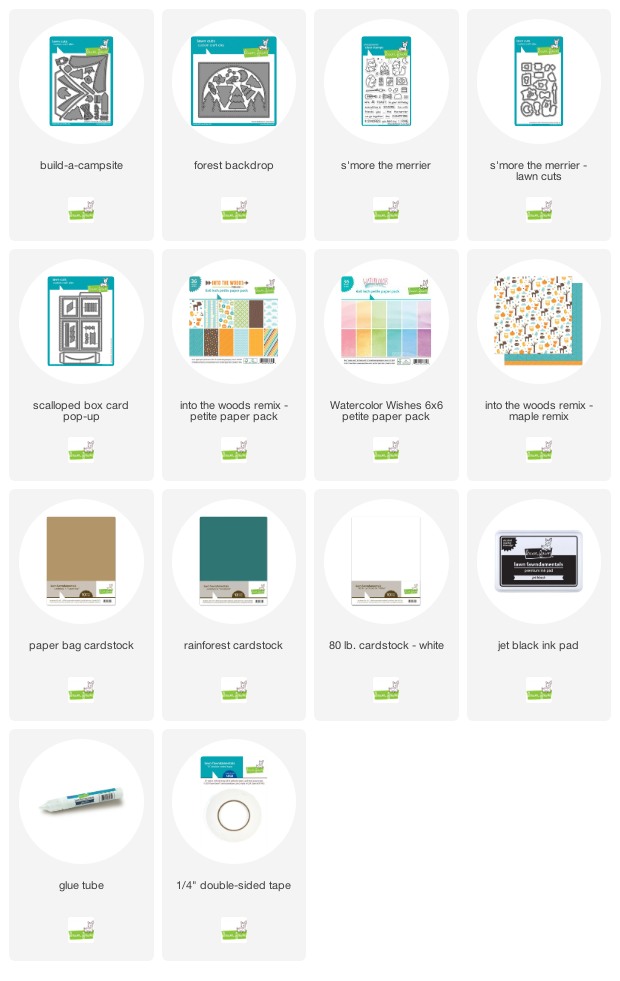
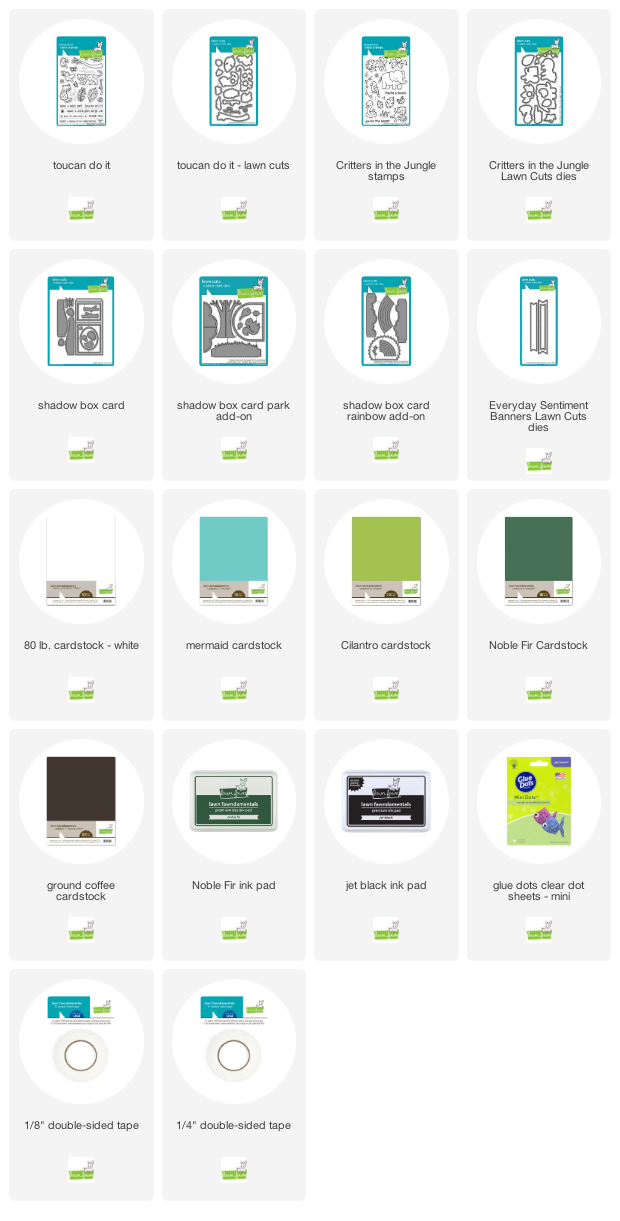
Supplies:

We hope you have a happy, crafty weekend!

A Tropical Center Picture Window Card with Samantha!

Our 3D card challenge is a 3 week challenge, open until September 5, at 11:59PM ET. We can’t wait to see your 3 dimensional card creations! Link them up HERE.

Samantha M joins us today to share her cute Center Picture Window Card featuring lots of tropical fun!

This is Samantha’s first attempt to create a Center Picture Window Card and she said she was a little intimated at first. She decided to check out the Intro Video at Lawn Fawn’s YouTube channel for the step by step instructions for assembling these cute 3D mini cards. You’ll find the Intro to Center Picture Window Card video HERE.

Samantha decorated the card with Tropical Leaves Background Stencils in a pretty blend of green and teal. The punny sentiment is such a fun way to send a note of thanks!

Instead of using the layering pieces included in the Center Picture Window Card set, Samantha used the tree branches and leaves from Toucan Do It to add dimension to the scene inside the window. Such a clever idea!

She included a spot on the back of the card to write a sweet message!

Thank you for inspiring us today, Samantha! I’m so happy you finally tried this fun die set!

Supplies:

We are looking forward to seeing your 3D Cards! We will have more Design Team inspiration for you over the next week and a half! Check out the challenge gallery HERE.

Jessica’s Build-A-Campsite Box Card


Good morning! Jess here with a card for our current challenge: 3D Cards!  When I was a kid I was a huge fan of camping but as I’ve gotten older I’ve become a bigger fan of no bugs and AC…but I thought I’d head back to my childhood for today’s card! 😉

To start I die-cut my Scalloped Box Card Pop-Up from Paper Bag cardstock.  I also die-cut the stitched rectangles for the flaps from the Into the Woods Remix paper pack.  I adhered my box card and added three spacers inside to create my scene.  Then I die-cut my trees and grass from the Forest Backdrop set with Rainforest cardstock and the tent from Build a Campsite with the Watercolor Wishes paper pack.   I also die-cut mushrooms from the Forest Backdrop set with white cardstock and colored them with Copic markers.

Next, I stamped images from S’more the Merrier and colored them with Copic markers before die-cutting them with the coordinating dies.  I also stamped a sentiment from the set onto white cardstock and trimmed it down to a label.  I built my scene and added the images on the different layers inside the box card to give it a little dimension.  Finally I added the sentiment to the front flap to finish the card!

And that’s it!  You have two more weeks to get crafty and I can’t wait to see your 3D cards!  Thanks so much for stopping by and have an amazing weekend! –Jess

Supplies: