A Beach Destination with Caly

Hi Friends! It’s Caly with you today!  The Travel Destination/Favorite Place Challenge is going strong.  I bet there are lots of places people are wishing they were at or could be soon!  Today’s card is beach-themed.  ANY nice beach will do. I shared on my blog on Monday about how naïve I am to traveling – it intimidates me! My kids have been begging to go anywhere with a beach and I hope we can soon!

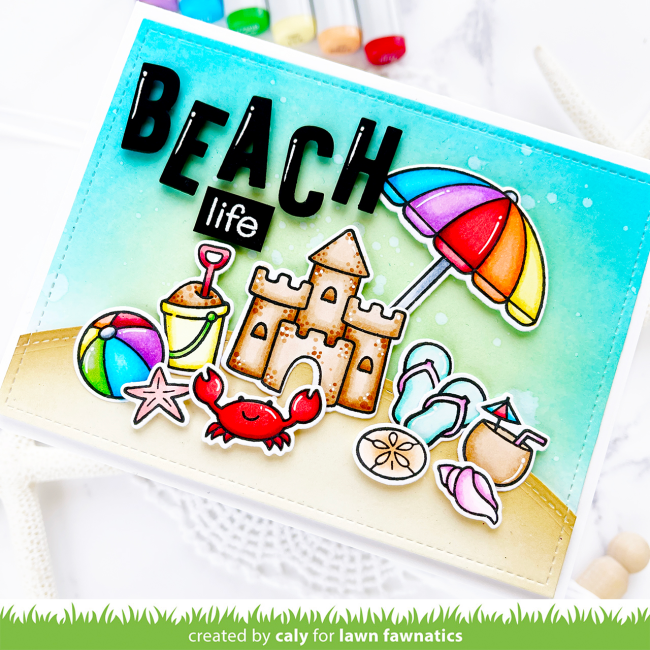
My beach scene today includes images from the Life is Good and On the Beach sets.  I stamped and colored them with Copic markers to bring them to life.

Copic markers:
Reds:  R32, R35, R39
Oranges:  YR61, YR65, YR68
Yellows:  Y00, Y11, Y15
Greens:  G21, YG06, YG09
Teals:  BG10, BG11, BG13
Blues:  B01, B02, B05
Purples:  V01, V04, B05
Pinks:  [RV00, RV52, RV55], [RV30, RV42]
Browns:  [E50, E53], [E30, E31, E34, E35]
Grays:  C1, C3, C5

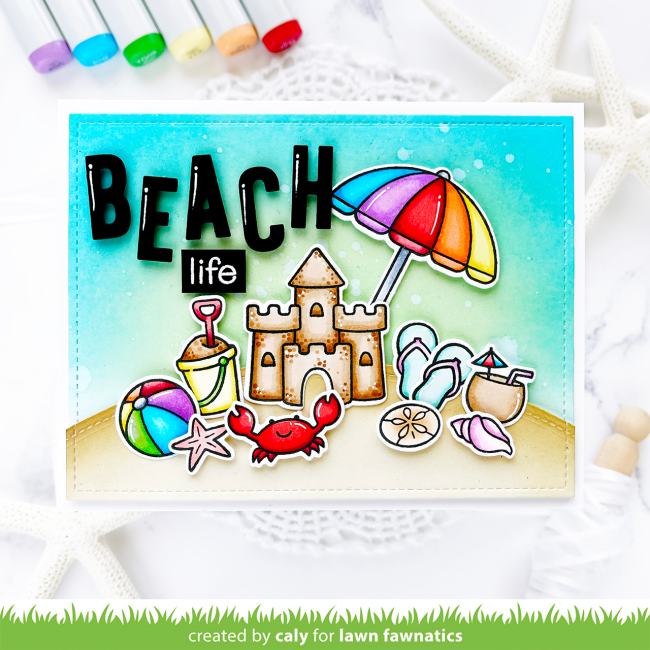
For my background, I ink-blended the sky with Cracked Pistachio and Mermaid Lagoon Distress Oxide Inks.  I splattered it with some water droplets to give it some texture – but I love the soft glow it gives. 

On another panel, I ink-blended with Antique Linen Distress Oxide Ink. After die-cutting it with a Simple Stitched Hillside Borders die, I added some Gathered Twigs Distress Oxide Ink to give it shading at the top. I used the largest Outside In Stitched Rectangles die to add a decorative stitch around both ink-blended panels to give them more interest.

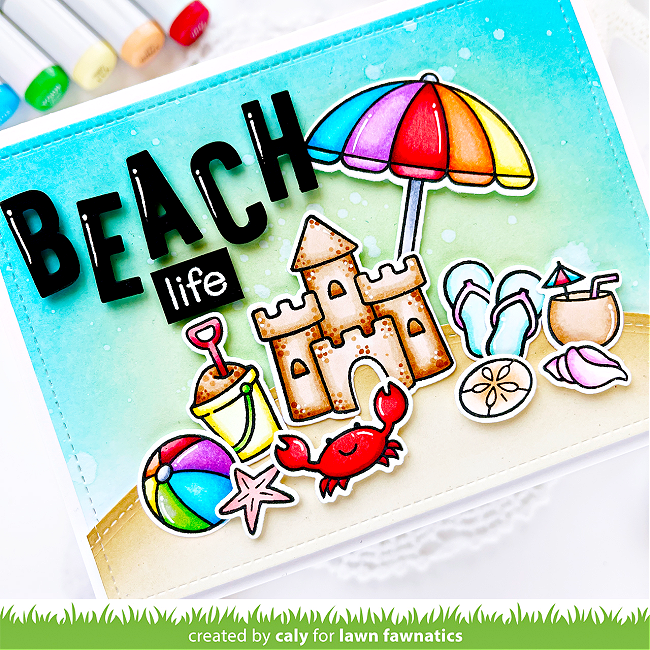
Last but not least, I added my images to the card to fill my sandy beach scene. I finished by attaching my sentiment, which is comprised of die-cut letters from the Cole’s ABCs set and an embossed sentiment from the Life is Good set. 

I hope you enjoyed this beach scene!  Thanks so much for visiting today!
~Caly

Thank you, Caly for sharing with us today!
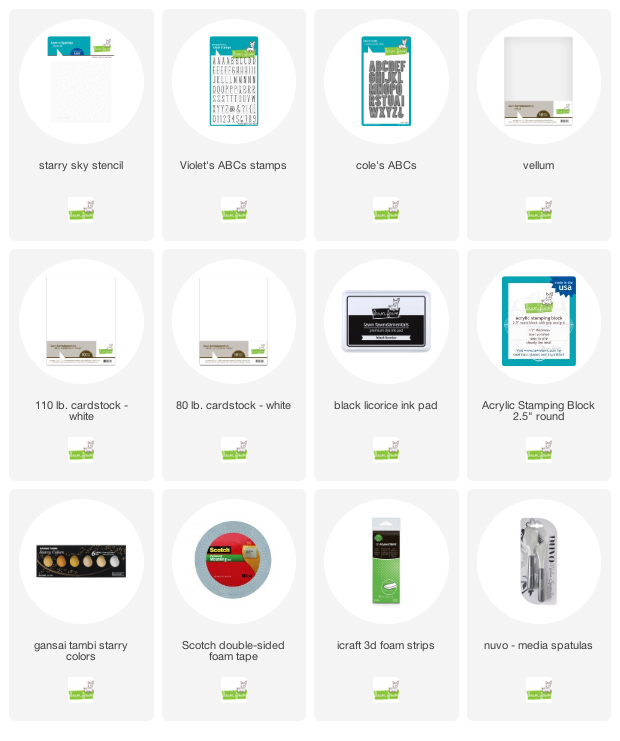
Supplies:

Karin’s Notebook Inspired by Matilda!

We have reached the last weekend for our Inspired by a book, movie or song challenge, but there is still time to enter! You have until Sunday, April 4th at 11:59PM ET to add your projects to the challenge gallery HERE.

Karin is here today to share a cute way to add personality to a notebook, inspired by a favorite book!

Karin gives us some thoughts about her inspiration: “I have always loved the story about Matilda by Roald Dahl. I laugh extra hard at the part where the teachers dream of telling the parents of their student the truth about their children. I used the classic book cover as inspiration for a note book that I will use at work (if you don’t know already I am a high school teacher.”

Karin combined the girl from Bicycle Built for You with lots of books from Den Sweet Den to recreate the classic Matilda book cover. She added shading to patterned paper for the background. She added Cole’s ABCs to spell out “notes” to mimic the title on the book cover.

She used some cute Into the Woods Sticky Notes for adding encouraging messages!

Thanks so much for sharing this sweet inspiration with us today, Karin!

Supplies:

Have a wonderful weekend Fawnatics friends! Happy crafting!

A Dreamy Scrapbook Page with Samantha

We are in the second week of our 3 week Inspired By challenge and we are so impressed with all the creativity you are sharing! If you haven’t joined the challenge yet, you still have plenty of time. The challenge closes on Sunday April 4th at 11:59PM ET.

Hi friends, it’s Samantha! The title of my scrapbook page “don’t let your dreams be dreams’ is a lyric from a Jack Johnson song Dreams Be Dreams.

My little Menn are getting older every day, and they don’t hesitate to tell me! But when I check on them at night, and they still cuddle their stuffed animals, and dream their little dreams, they’re still just the baby boys I used to rock to sleep!

To create my layout, I started by using the Starry Sky Stencil and translucent embossing paste to create the starry, textured background. Then once it was dry, I used watercolors in blues, mints and greys to create the swoopy background, over the stars! Once the watercolor was dry, I used the star stencil again and using only the largest star in the stencil and white embossing paste, I used added even more texture!

I used vellum, white cardstock and frosted gift bags from my stash to back my photos! Then I popped them up on foam tape, and attached it to the background. I stamped the small letters using Violet’s ABC’s around the swirls! The “dreams” words were die cut out of white cardstock with Cole’s ABCs. I added some grey and gold watercolor and popped them up with foam tape so they stand out a little more!


Thanks so much for sharing your gorgeous scrapbook page with us today, Samantha!

We can’t wait to see what inspires your creativity! Thanks for stopping by today!

Supplies: